Nice work mdmetzle. ![]()
After testing, I was trying to place a small binary image on the TV Screen.
For this test I made two small sketches. In this test I used an small image of 10 x 10 px, as we see in figure 1.

Figure 1 - Test image 10 x 10 px
The image was created on Gimp, and saving it as grayscale image, format pgm (in ASCII mode).
Using Processing, the test image is loaded to create our vector to use in the Arduino sketch.
String [] img; // Image is m x n px
PrintWriter salida;

void setup(){

  int i;
  int Mini = 4 ;  // Begin from posc 4 of pnm or pgm file
  int Maxi = 100; // Image is 10 x 10 px

  salida = createWriter("imagen.txt");
  img = loadStrings("mA2.pgm");  //Format pnm or pgm

for (i = Mini; i <= Maxi; i++) {

  if ( int(img[i]) == 255) {

     if (i == Maxi){
     salida.print( "1");
     }else {
     salida.print( "1" + ",");
     }

  }else{

     if (i == Maxi){
     salida.print( "0");
     }else {
     salida.print( "0" + ",");
     }

  }

}

salida.flush();
salida.close();
exit();

}


void draw(){

}
Code 1 - Image reading, writing vector in Processing
Finally its created an small code to read the vector and load the image to the TV Screen. In figure 2 its shown the resulting output. In code 2 is one mode to read the vector.
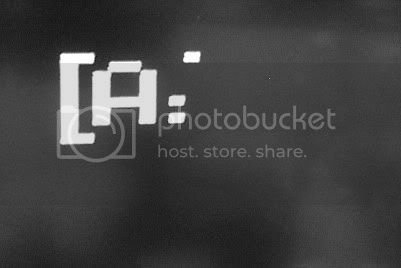
Figure 2 - Result image on TV Screen.
#include <TVout.h>

TVout TV;
unsigned char x,y;

int img [] = {1,0,0,1,1,1,1,1,1,0,1,0,1,1,0,0,1,1,1,1,0,0,1,0,1,1,0,1,1,1,1,0,1,0,1,1,0,1,1,1,1,0,1,0,1,1,0,1,1,1,0,0,1,0,0,0,0,1,0,1,1,0,1,0,1,1,0,1,1,1,1,0,1,0,1,1,0,1,0,1,1,0,1,1,1,1,1,1,1,1,1,0,0,1,1,1,1};


  int i,p;
  int Maxi = 10; //Image size is 10 x 10, each 10 pixels is a new row
  int Maxt = 100; // Total size of the image

  int LEDR = 7;
  int LEDV = 6;


void setup() {

  Maxt = Maxt - 3;

  x = 0;
  y = 0;

  TV.start_render(_NTSC);

  pinMode (LEDR, OUTPUT);
  pinMode (LEDV, OUTPUT);

}

void loop() {

  digitalWrite (LEDR,0); //for debugging
  delay(500);
  digitalWrite (LEDR,1);  //for debugging
  delay(500);
  digitalWrite (LEDR,0);  //for debugging
  delay(500);


  p = Maxi;
  x = 0;
  y = 0;

  TV.clear_screen();
  TV.print_str(0,0,"Testing ...");
  TV.delay_frame(60);

  TV.clear_screen();

//Reading an image

  for (i = 1; i < Maxt; i++){

      if (i < p){

       if (img[i] == 1){

        TV.set_pixel(x,y,0);
        // digitalWrite (LEDV,0); //for debugging
        // delay(10);

        }else{

          TV.set_pixel(x,y,1);
          //digitalWrite (LEDV,1); //for debugging
          //delay(10);

        }

        x++;

     }else {

       y++;
       x = 0;
       p = p + Maxi;

     }

   }

  TV.delay_frame(60);

}
Code 2 - Arduino code to read an image.
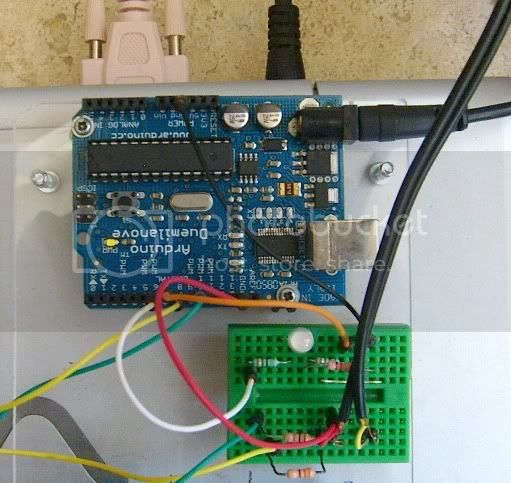
Figure 3 - Arduino Board for testing.
Now testing how to load a bit bigger images. 8)