Hi,
just been wondering, has anyone else been doing he's (or her's) arduino's? If I count all that I have done at home, it goes like this:
4x serial single sided
5x serial double sided
3x freeduino (with USB ftdi chip)
And here they are, some of them that stayed at home (and two still waiting to be assambled)
You should probably have posted this in Development or Bar Sport for better results, but I suppose posting it here was accurate, as you are exhibiting your boards as well as asking others.
On topic though: No, I have never made my own board :). I'm still getting comfortable with Arduino, but maybe once I really get it entirely, I'll make my own clone. I also don't have regular access to things like a Laser Printer or UV Exposure box, so that's contributed as well.
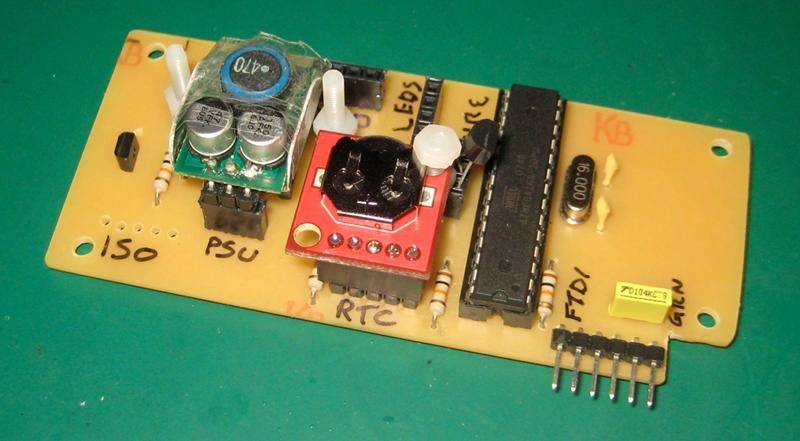
Since I build robots, I needed a board that is designed a bit different, or I needed to use shields. First option was cheaper and more appealing, so I have recently designed R-Dev-Ino, a Robotic Development Arduino (software) compatible board. It relates more to a Nano, as it doesn't have a FTDI on board. It has all digital and analog pins on one side, with power and ground pins next to them and the I can chose which group of pins gets regulated or unregulated power. At the top of the board there are the ISP and FTDI connectors and at the bottom there are the power connectors. The fourth side features a double mirrored I2C connector so the boards can be stacked directly or sideways. Below the I2C connector there is a small prototyping area so I can customize it depending on my needs. I am using 4 R-Dev-Ino boards on my robot and I'm very pleased how well they work. I am uploading code using a Basic FTDI board from SparkFun.
I've made several boards, mostly using variations on the circuit of the RBBB from modern device company adding or subtracting bits as required for my project of the day.
If I am thinking of making a circuit board for a shield, I find it quite easy to plop down a microprocessor footprint and associated circuitry right on the board. With this approach, no Arduino board is necessary.
For programming, it is easy to tack solder the 5 connections for an external serial USB board, creating a temporary programming dongle. Plug in a processor with a boot loader, tell Arduino's IDE you're connecting to a Duemilanove with 168 or 328, and it uploads your code and supports serial communications just as if you're using a real Arduino board. This approach worked fine for an update of my Arduino Whole House Telephone Intercom.
See Whole House Telephone Intercom Update for a 3D CAD rendering of the board. Since that page was posted, I have built a working copy and programmed it using this technique.
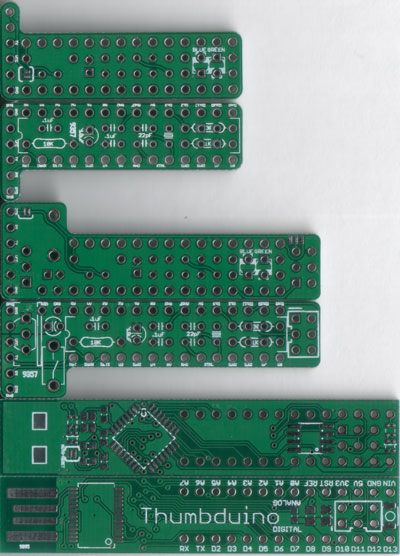
I love that last picture of the Thumbduino on top of its namesake. This thread (and others) really show how successful and adaptable the Arduino design/concept has been - the creators must be very pleased.
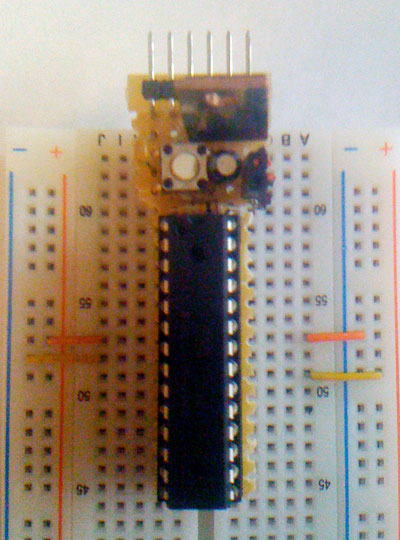
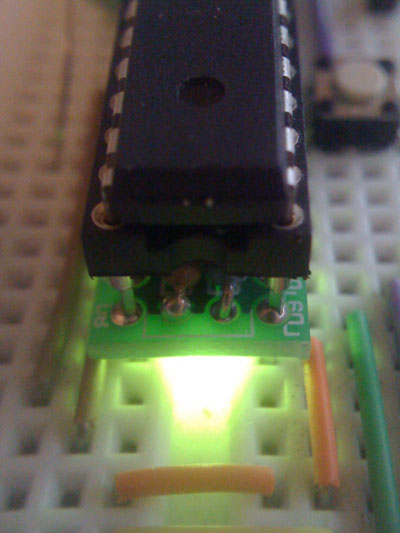
it apparently works fine without the caps not sure how stable but its been behaving well and is currently plugged into a freeformed cylon/KITT running light (was origonally planned as a POV but i havent got back to that yet)
It was being really unstable at 1st but that was probably down to the POV program corrupting the chip, and that borked the bootloader too or summin. so i burned in the current prog via ICSP on another board (boarduino) and its been happy ever since.
runs nice off a small battery too.