Hi @all,
in a few month we will feed into our new house. So I decided to do some resarch on how to make some automatisation. In order to receive IR signals I stumbled over IRMP. And then I found an Arduino Lib:
https://gitorious.org/arduino-addons/irmp-arduino
I decided to build a simple Plug & Play IR receiver based on a custom made mega88 board.
And this is my result. Maybe it´s interesting for some others ...
What you need
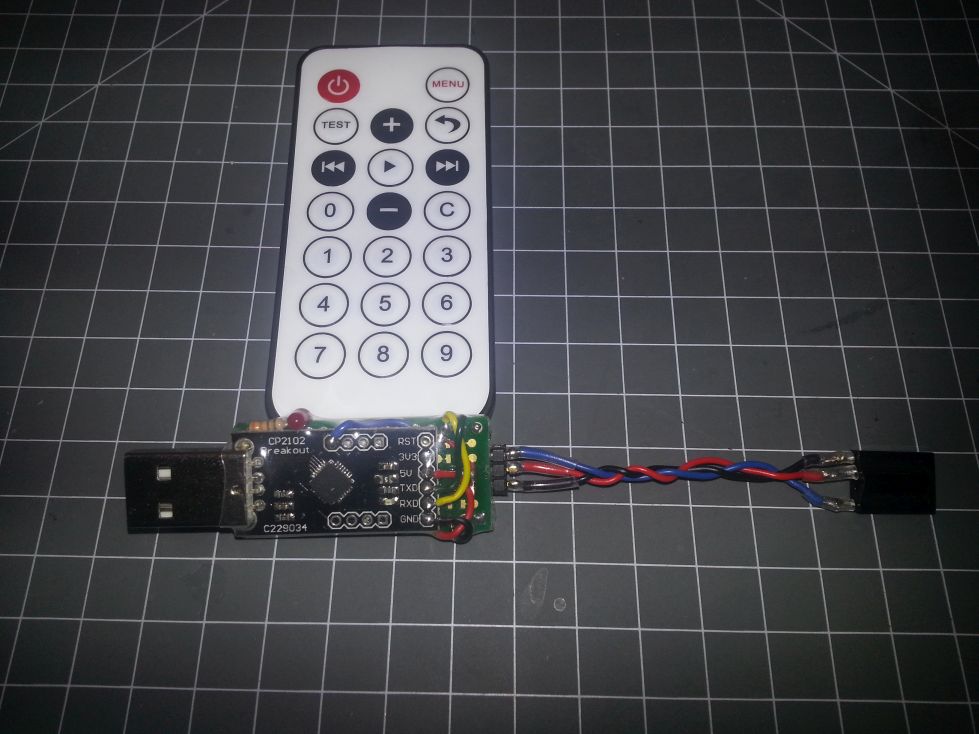
- CP2102 breakout board
- TQFP 32 adapter board
- Mega88 ( I had some lying around ... )
- IR Receiver (I used a TSOP 31238)
- ISP Programmer to get the bootloader flashed
- IR remote control
Which Software did you need
- Arduino IDE with the IRMP sample
- avrdude for flashing the bootloader
- optiboot (Google Code Archive - Long-term storage for Google Code Project Hosting.) - you get a 1k bootloader instead 2k ...
- Serial Terminal
Which steps are to do
- Build a basic Arduino with internal clock (8MHz). I found this image useful : http://surasto.de/cms/download.php?cat=60_Elektronik&file=Arduino_minimal.png
- Build the mega 88 bootloader. You find information here : Minimal Arduino using an ATmega88 | hackup.net
- Burn the bootloader and set the fuses. I used avrdude / burnomat for this task. Fuses: low_fuses=0xe2, high_fuses=0xdf, extended_fuses=0x02.
- Connect the Arduino board to the CP2102 breakout. You need only 5 lines so it´s pretty simple ...
- Connect the IR receicer (Data out -> Pin PD2 -INT0/PCINT18)
- Add a new device to your arduino boards.txt. You find information here : Minimal Arduino using an ATmega88 | hackup.net
- Start the Arduino IDE, select your board & Port, load blink sample and check if it can flash your device. (I attached a small LED to the Pin 13 ...)
- Load the IRMP Sample, flash it and see if you receive data from the serial Port.
That´s basically all ![]()
Pictures
See attachements ![]()
Happy coding.
Dominik
btw. This device works like a charm directly on my Raspberry Pi. ![]()


