I made it. For unknown reasons my fresh mega 2560 r3 had only usbserial firmware loaded in Atmega16u2. So all I need to do is burn the big combined firmware. Here is how.
I used a parallel programmer and Windows OS. your may need to change some operations according to your hardware and software.
-
Prepare a avr programmer. I used a parallel programmer. Check this link to make yours.http://www.arduino.cc/en/Hacking/ParallelProgrammer
-
Prepare a PC with parallel port. Power off if turned on.
-
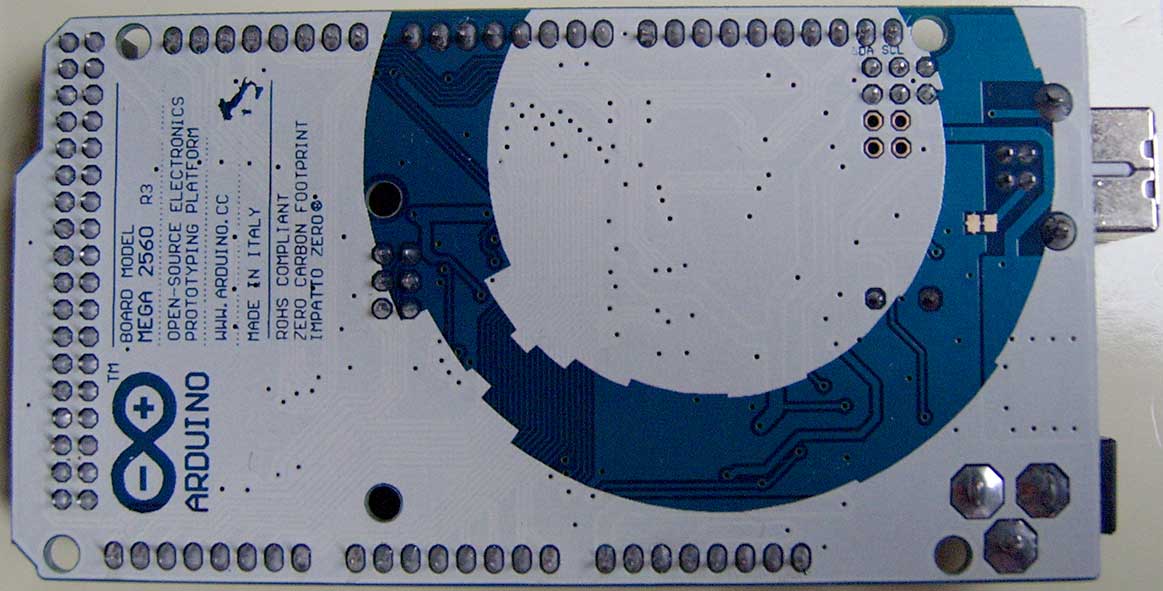
Connect the programmer to the 6-pin ICSP near the USB connector (only 5 pins are to be used here). connect the parallel port to PC.
-
Turn on your PC. The "on" and "L" LEDs on Arduino should dimly lit. Connect Arduino using the USB cord.
-
Now the PC OS is on, copy some files for latter convenience. Change ""s to your arduino root directory.
"\hardware\tools\avr\etc\avrdude.conf" to "\hardware\tools\avr\bin"
"\hardware\arduino\firmwares\atmegaxxu2\Arduino-COMBINED-dfu-usbserial-atmega16u2-Mega2560-Rev3.hex" to "\hardware\tools\avr\bin", rename it to a.hex
- Open command line, change current directiory to \hardware\tools\avr\bin\
cd "\hardware\tools\avr\bin"
- type this command and wait, it should be fast.
avrdude -p m16u2 -c dapa -U flash:w:a.hex -U lfuse:w:0xFF:m -U hfuse:w:0xD9:m -U efuse:w:0xF4:m -U lock:w:0x0F:m
- If successful, you get messages like the following, otherwise your programmer may not be working well. If you are using a parallel programmer, you may need shorter, or higher quality wires.
avrdude: AVR device initialized and ready to accept instructions
Reading | ################################################## | 100% 0.00s
avrdude: Device signature = 0x1e9489
avrdude: NOTE: FLASH memory has been specified, an erase cycle will be performed
To disable this feature, specify the -D option.
avrdude: erasing chip
avrdude: reading input file "a.hex"
avrdude: input file a.hex auto detected as Intel Hex
avrdude: writing flash (15668 bytes):
Writing | ################################################## | 100% 5.18s
avrdude: 15668 bytes of flash written
avrdude: verifying flash memory against a.hex:
avrdude: load data flash data from input file a.hex:
avrdude: input file a.hex auto detected as Intel Hex
avrdude: input file a.hex contains 15668 bytes
avrdude: reading on-chip flash data:
Reading | ################################################## | 100% 4.58s
avrdude: verifying ...
avrdude: 15668 bytes of flash verified
avrdude: reading input file "0xFF"
avrdude: writing lfuse (1 bytes):
Writing | ################################################## | 100% 0.00s
avrdude: 1 bytes of lfuse written
avrdude: verifying lfuse memory against 0xFF:
avrdude: load data lfuse data from input file 0xFF:
avrdude: input file 0xFF contains 1 bytes
avrdude: reading on-chip lfuse data:
Reading | ################################################## | 100% 0.00s
avrdude: verifying ...
avrdude: 1 bytes of lfuse verified
avrdude: reading input file "0xD9"
avrdude: writing hfuse (1 bytes):
Writing | ################################################## | 100% 0.01s
avrdude: 1 bytes of hfuse written
avrdude: verifying hfuse memory against 0xD9:
avrdude: load data hfuse data from input file 0xD9:
avrdude: input file 0xD9 contains 1 bytes
avrdude: reading on-chip hfuse data:
Reading | ################################################## | 100% 0.00s
avrdude: verifying ...
avrdude: 1 bytes of hfuse verified
avrdude: reading input file "0xF4"
avrdude: writing efuse (1 bytes):
Writing | ################################################## | 100% 0.00s
avrdude: 1 bytes of efuse written
avrdude: verifying efuse memory against 0xF4:
avrdude: load data efuse data from input file 0xF4:
avrdude: input file 0xF4 contains 1 bytes
avrdude: reading on-chip efuse data:
Reading | ################################################## | 100% 0.00s
avrdude: verifying ...
avrdude: 1 bytes of efuse verified
avrdude: reading input file "0x0F"
avrdude: writing lock (1 bytes):
Writing | ################################################## | 100% 0.00s
avrdude: 1 bytes of lock written
avrdude: verifying lock memory against 0x0F:
avrdude: load data lock data from input file 0x0F:
avrdude: input file 0x0F contains 1 bytes
avrdude: reading on-chip lock data:
Reading | ################################################## | 100% 0.00s
avrdude: verifying ...
avrdude: 1 bytes of lock verified
avrdude: safemode: Fuses OK
avrdude done. Thank you.
- Now with a swift bridge of the Reset and GND pins, you get DFU mode.
Here is the picture of the stuff I used.