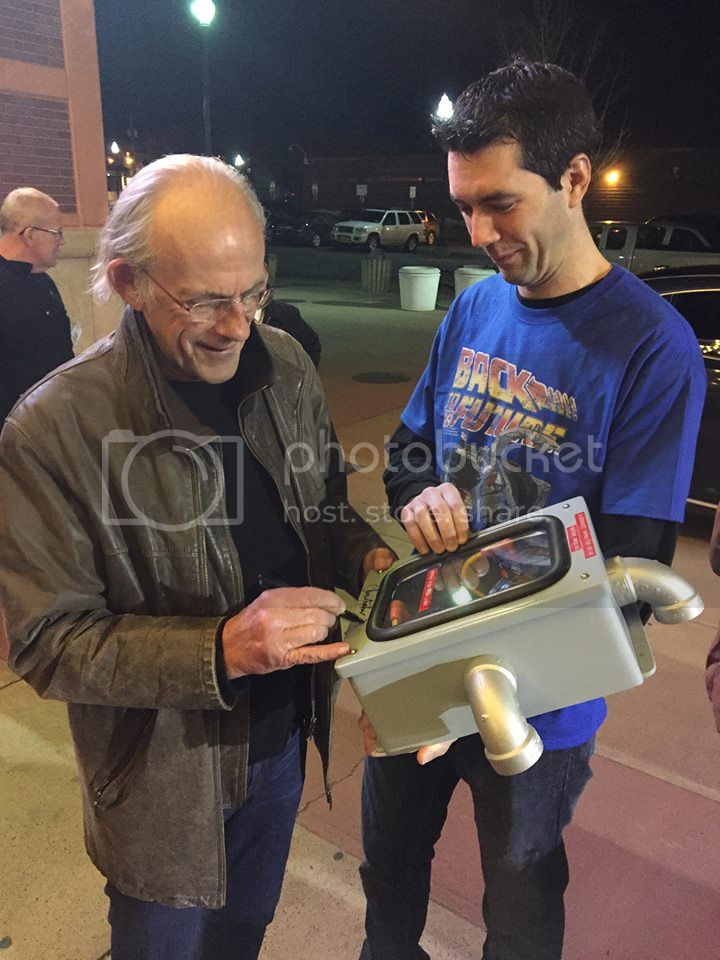
My wife bought me a showing of Back to the Future at a local theater with a meet and greet with Christopher Lloyd after. Well that just means I need to make a flux capacitor to bring along! After some research from www.myfluxcapcitor.com and searching this site for help I was able to put it all together and keep it under $100.
First we need to draw up a plan. I usually use sketch up, but paper this time.
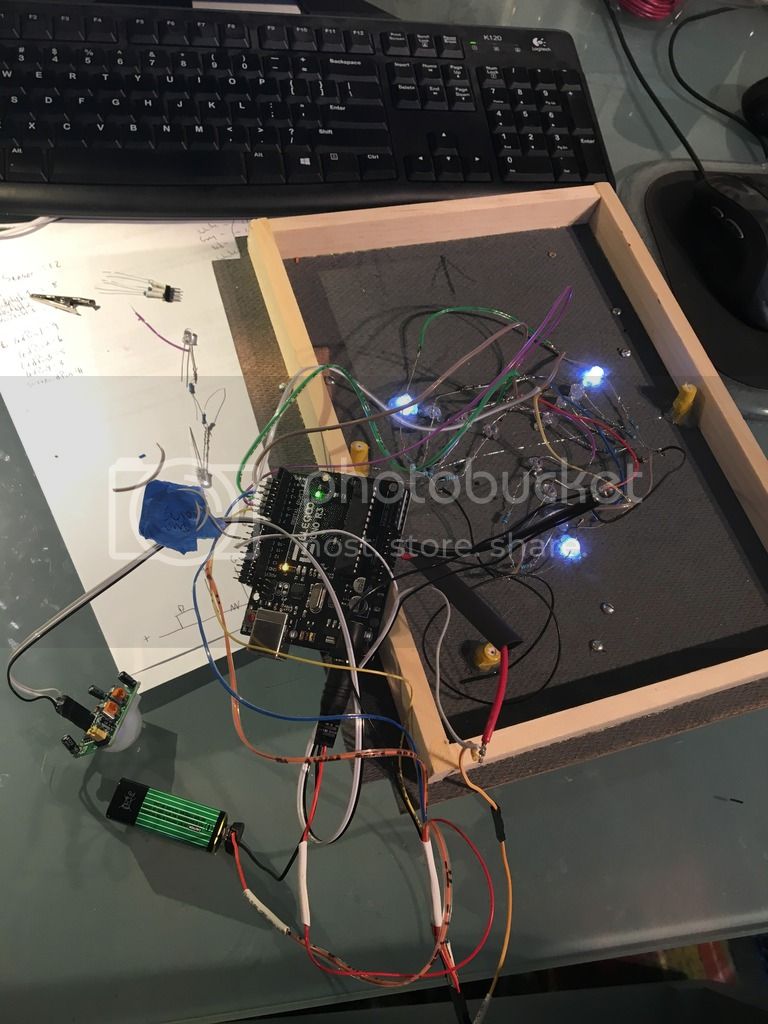
First thing I did was start to wire up an Arduino Uno as I had never programmed one of these. I did write a few webpages back in '97 with wordpad, that was the extent of my coding abilities.
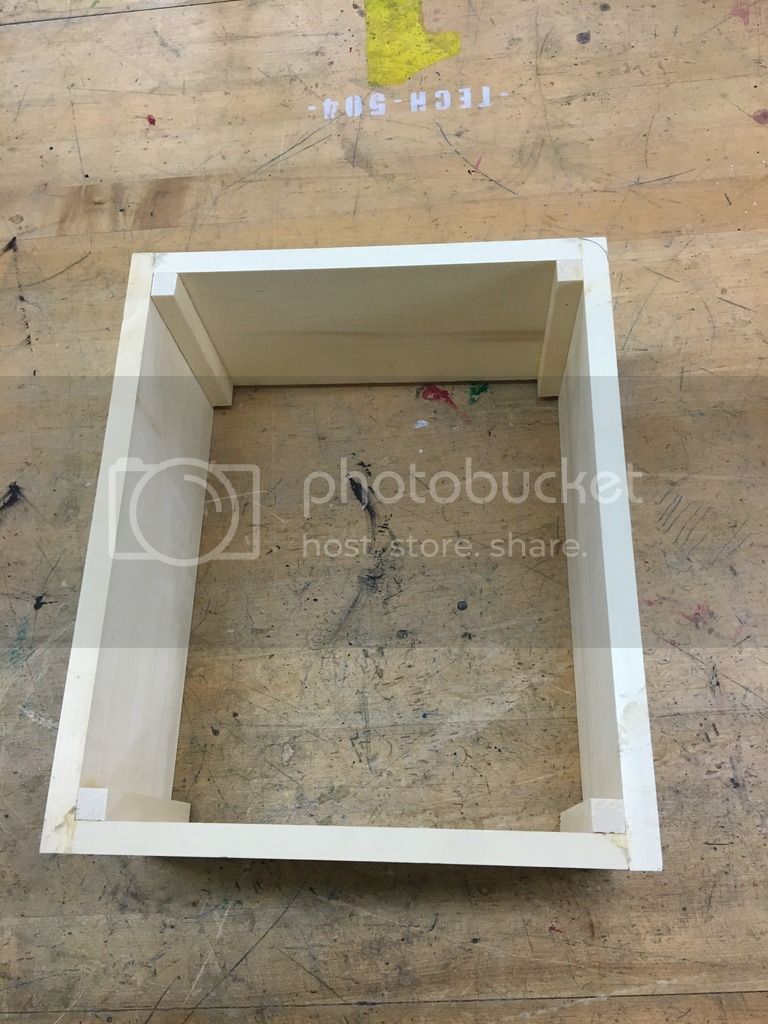
A screen accurate electrical box was $125, so mine was made from poplar wood.
Traced a round corner and hit it to the belt sander.
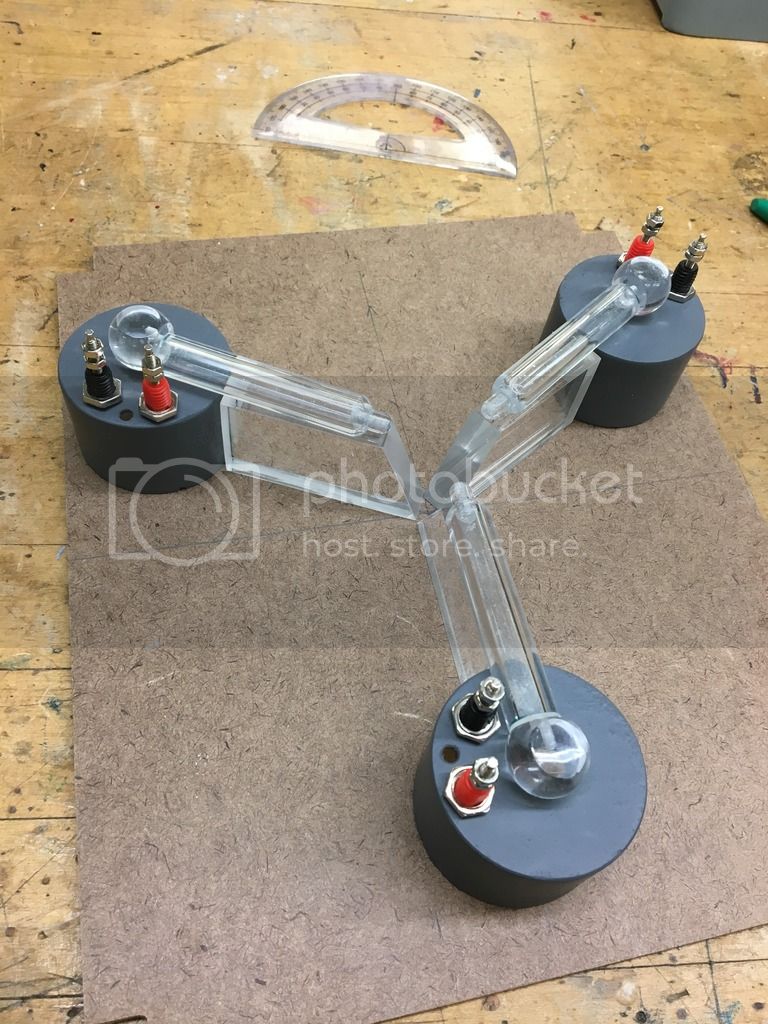
Bought some acrylic rods, balls and tubes off Amazon and ebay. Cut them, sanded from 80-500 grit and polished them. You can also polish with a dremel.
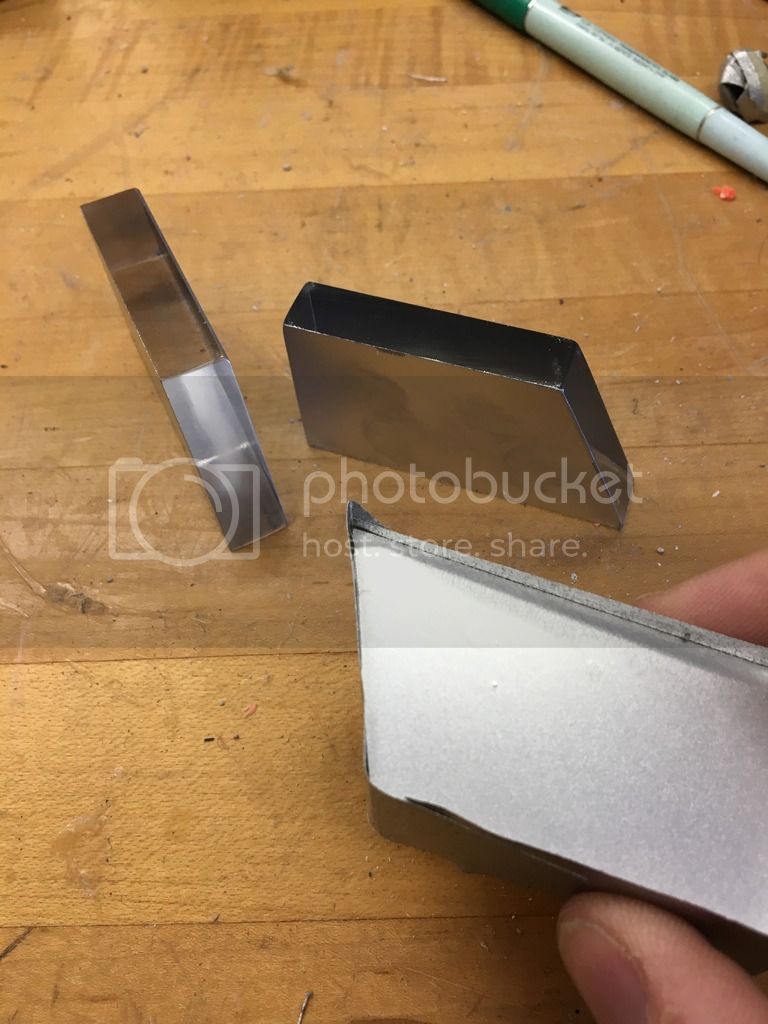
Here I masked off the outside of the blocks and painted them silver.
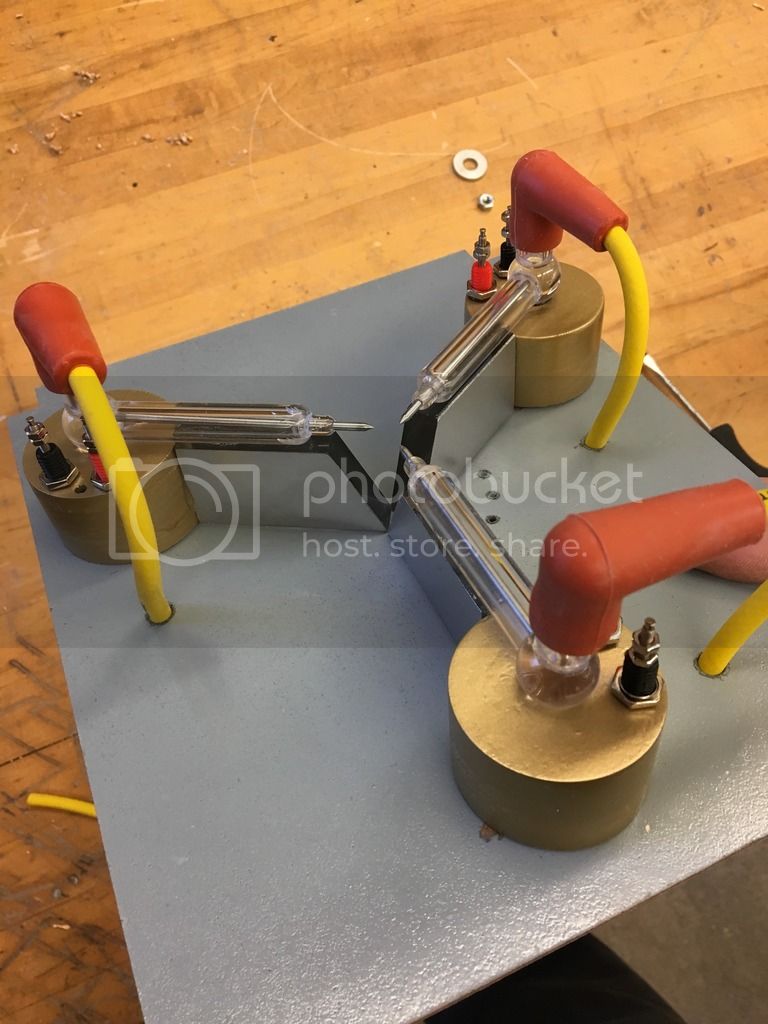
I picked up some terminal ends off Amazon to use and made them shorter. I also made the cylinders from pine, coated it with glue and sanded it. These are the "solenoids" for the Fluxing.
Bought some yellow/red spark plug wires off Amazon ($40!) and used those. Came in a set of 8, so I have a few more.
Cut a hole for the window and used a piece of plexiglass. The trim is from MccMastercarr and was $15 I think.
Found a vintage label maker at work to do the labels. You can also buy this label maker at Staples or Amazon around $15. Pipes are PVC from the hardware store painted silver.
Putting in the electronics. We have 16 LEDS with a resistor on each, DIP switches to change programs, and powered by a 9volt or wall adaptor. I also picked up some connectors at Amazon so it can come apart. There is a motion sensor on the bottom so it turns on when you walk by it.
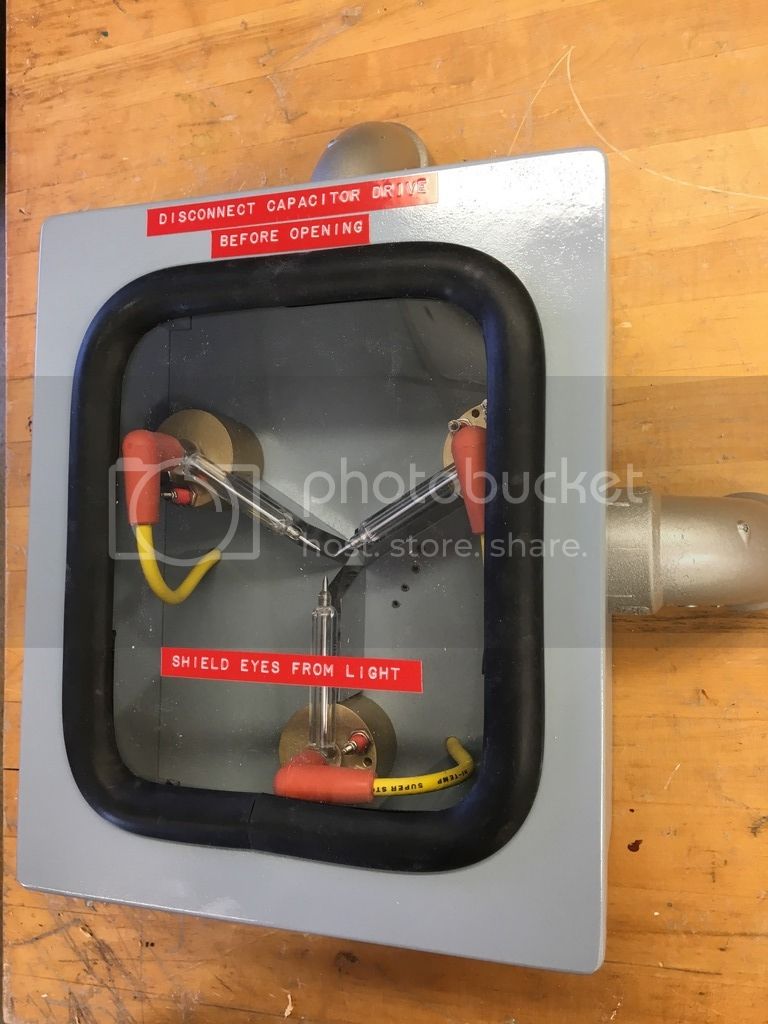
Final prop all made and done:
Here is a youtube video of it:
DIY Flux Capacitor Prop - YouTube
I have my code posted here. Feel free to use it as the main code I took from this site (Flux Capacitor Sketch - LEDs and Multiplexing - Arduino Forum) Thanks to Elykem for getting me started with a basic code. I tried to past in a "code" box but it is too long.


