$4 Cypress PSoC 4/ 4200 Prototype Board

Microcontrollers and electronic hardware are my hobby; it has been 40 years since I made a living from "electronics." Now retired, I enjoy the opportunity to play without having to actually have an end-game other than knowledge and a bit of fun. So, when I stumbled onto the PSoC $4 prototype board from Cypress, I took the plunge purchasing $20 worth of boards from Mouser (2-4100 and 3-4200) to cost justify the $5 S/H.

Note to self: don't waste time on the 4100 as it is a stripped-down 4200 design and is the same price!

The raw uC are available directly from Cypress at $1 each/any qty with free shipping- limited time offer for folks that can do their own eval boards.

Spending $25 was nothing compared to the investment I had to make in my gray matter... lots of neurons had to be devoted to this seemingly simple technology which looks somewhat like FPGA . The software tools will make a dent in your hard disk and your download volume from the ISP: \Programs Files\Cypress will contain over 17K files at a total of over 2G of storage (for comparison, Arduing 1.0.5 is around 8.6K of files and 660MB.)

Note to self: Toss in another $25 because you really, really need the Pioneer board to do debugging of the firmware!)

If you wish to debug directly on the 4200 board, you need Cypress' $99 programming tool. All said and done, the initial investment is around $60.

I cannot remember the number of online training videos I watched, but the first 2 minutes of every 6 minute video is a sales pitch before the meat of the video is released. Likely, I watched more than 30 videos, some from amateurs which were a complete waste of time. If you are going to watch training videos, watch the official ones and consider the first 2 minutes an invitation to go get a cold beer.

My biggest hurdle was that I had a few ideas I wanted to explore and those ideas did not lay down with any particular training materials; so I was impatient and attempted did some stupid things in the GUI.

Note to self: You can fry your butt in just a few clicks inside the GUI... it is not just a code editor... it is more like an intergalactic star cruiser with many self-destruct features.

Fortunately, as you work through code and get a clean compile, you can quickly elect to create an archive of that point in time... it is compressed and time efficient and provides a great snapshot to get back to a past point in time.

My takeaway: I may never use another 8 bit AVR. Reality: I have a drawer full of 328 and tiny85 and 1284 SO I WILL USE AVR... but I am in love with the 32-bit 4200 PSoC. I am in love with the Cypress Creator development GUI. It's all GCC so there are lots of similarities but you will notice that Cypress pushes C over C++ (for efficiency) and the GUI is configured for Integer and C but can easily be adjusted with a few clicks to support C++ and floating point by default. Another interesting adjustment in the property sheet is the ability to fine-tune the stack size. I thought it was awkward at first, but the Cypress GUI gives all help requests in PDF documents. The project also collects and packages the required PDFs for the components utilized in a design - in a way, it is self-documenting, but at a high-level component level. The details come in the form of a final report: (shown is a 4100 programmed for Nokia 5110 GLCD and a 6 channel analog A/D and serial I/O):

------------------------------------------------------------
Technology mapping summary
------------------------------------------------------------

Resource Type                 : Used : Free :  Max :  % Used
============================================================
Digital clock dividers        :    0 :    4 :    4 :   0.00%
Pins                          :   19 :   17 :   36 :  52.78%
Interrupts                    :    1 :   31 :   32 :   3.13%
Comparator/Opamp Fixed Blocks :    0 :    2 :    2 :   0.00%
SAR Fixed Blocks              :    1 :    0 :    1 : 100.00%
CSD Fixed Blocks              :    0 :    1 :    1 :   0.00%
CapSense Blocks               :    0 :    1 :    1 :   0.00%
8-bit CapSense IDACs          :    0 :    1 :    1 :   0.00%
7-bit CapSense IDACs          :    0 :    1 :    1 :   0.00%
Temperature Sensor            :    0 :    1 :    1 :   0.00%
Low Power Comparator          :    0 :    2 :    2 :   0.00%
TCPWM Blocks                  :    0 :    4 :    4 :   0.00%
Serial Communication Blocks   :    1 :    1 :    2 :  50.00%
Segment LCD Blocks            :    0 :    1 :    1 :   0.00%
</CYPRESSTAG>

My trek from awkward to comfortable has been 30 days and numerous hours devoted to playing, viewing videos, and keyboard work with examples and Google searches. The best resource I found is last years 100 Projects in 100 days:

This group of projects covers the basic Arduino sample programs such as Blink and then goes further beyond that into real and useful projects. Highly recommended but local storage is about 2.5G and 28K files... that is a lots of examples!

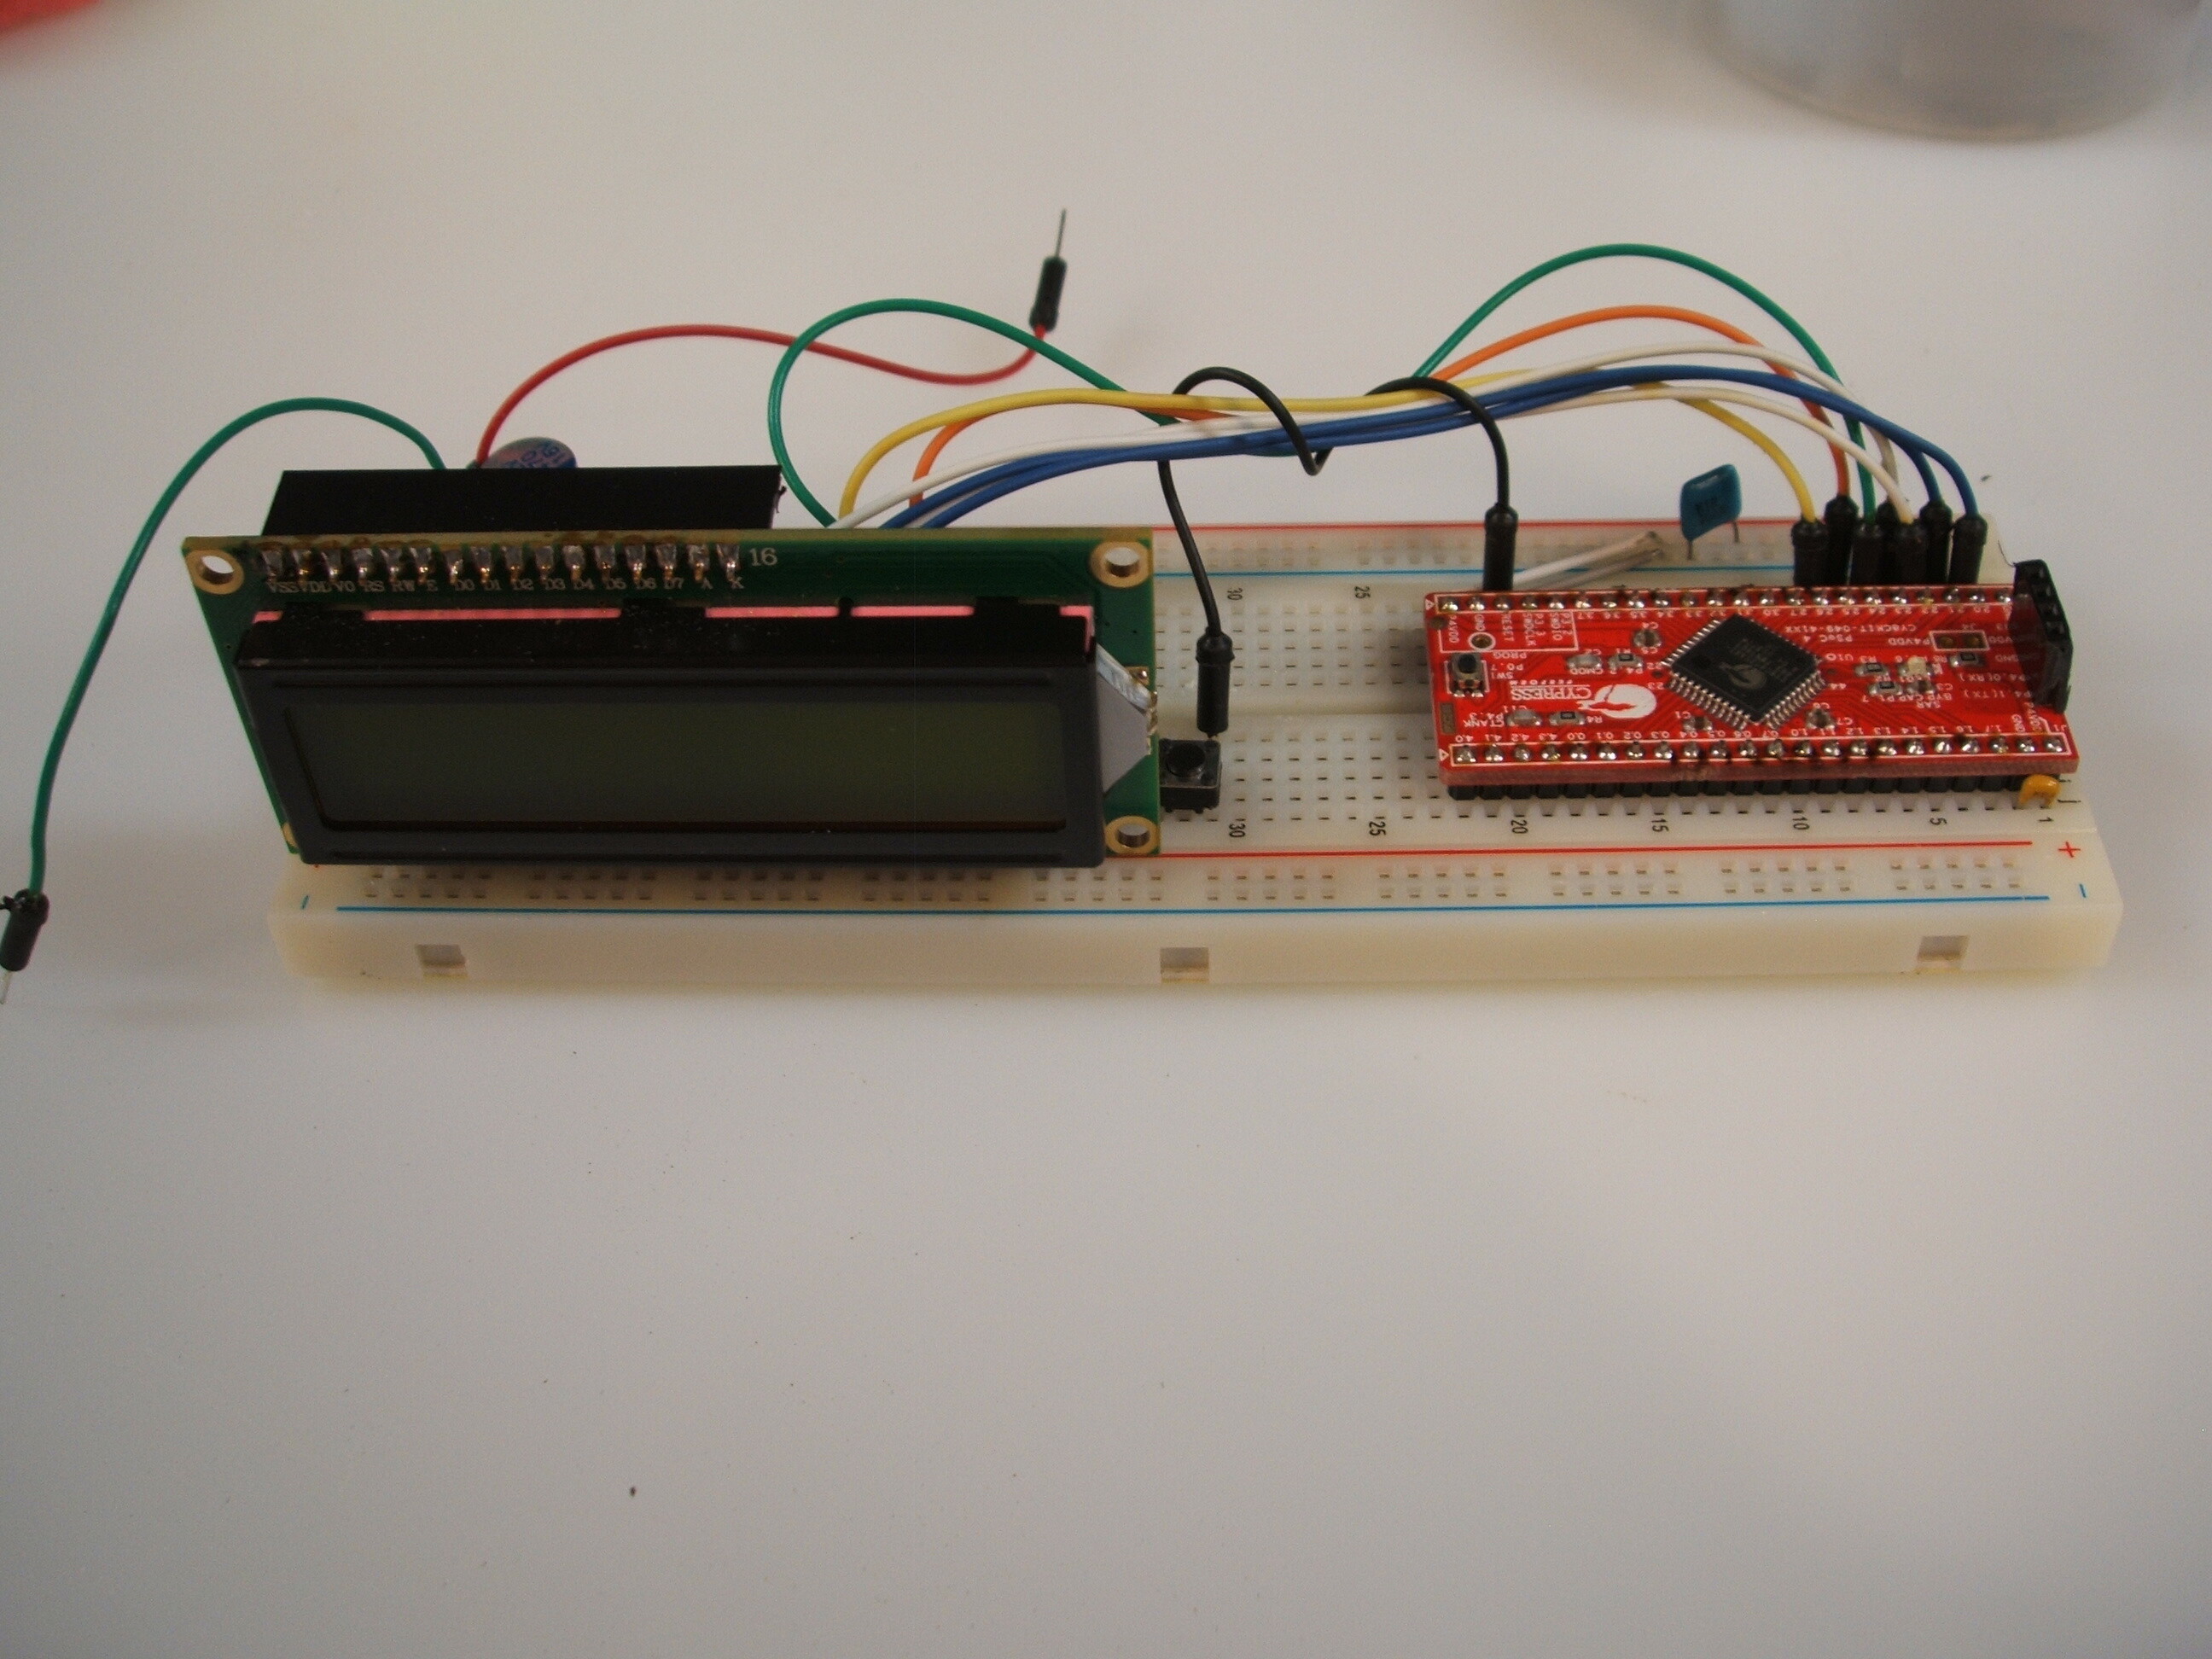
The pictures show my take on the ILI9341 SPI Color 2.2 inch display and the Nokia 5110 B/W GLCD. The color TFT is running on a 4200 board using hardware SPI but the Nokia is on a 4100 board using software SPI/bit-banging. Again, the 4100 and 4200 chips and boards are the same price, so make your life simple and just buy the 4200; the same PSoC used in the Pioneer board.

Recommended hardware for getting started in PSoC 4: (under $30)

If you have never worked with soft silicon before, I strongly suggest you allocate an hour a day to watch video and do this for a minimum of 2 weeks. After that, you should have enough terminology exposure that the PDF will be satisfactory for advancement. Do NOT avoid the example programs... silly Blink is done 3 ways in PSoC: two in hardware without any firmware and one entirely in firmware. The ability to build logic that does not utilize any CPU resources is wonderful as the AVR only does this for PWM after firmware configuration.

Go forward with an open mind. $30 will set you back only the price of an inexpensive dinner out for 2 people. With $30, a month to play, and 15 hours of TV (of tablet) video time, you will be forever enlightened!

As for me, it is 32-bits and PSoC for all new projects. I am a big believer in multi-CPU projects anyway, so I am sure many AVR chips will be used for peripheral device controllers with the PSoC being top-dog (for now, who knows what next year may bring as it is hard work being top-dog for any length of time!)

Ray

The code for the Nokia 5110/PSoC 4100

/* ========================================
        M. Ray Burnette - Nokia B/W GLCD + 6 Channel A-D
        20140725 - Please reference "Credits_Licenses.txt"
        All code by Ray is Public Domain
        Note: Modified heap and stack constants
        Flash used: 10424 of 32768 bytes (31.8 %).
        SRAM used: 1888 of 4096 bytes (46.1 %).
 * ========================================
*/
#define GLCD_DEVICE_PSOC           //PSoC
#define GLCD_CONTROLLER_PCD8544    //Controller
#define CR 0x0D
#define LF 0x0A
#define CLEAR_SCREEN        (0x0C)
#define CONVERT_TO_ASCII    (0x30u)
#define NewLine() UART_UartPutChar(CR); UART_UartPutChar(LF);   // Used to insert a CR/LF

#include <project.h>
#include "glcd/glcd.h"
#include "glcd/fonts/font5x7.h" // Fonts for Nokia 5110
#include <ADCmux.h>             // structures

// Function Prototypes
void UART_UartPutString();

void initHarware()
{
    UART_Start();               // Property sheet sets default @9600 BAUD
    CyGlobalIntEnable;          //Enable Interrupts
    glcd_init();
    glcd_set_contrast(75);      //0== light 100==full black
    // remaining hardware initializations
    ADCmux_Start();
    ADCmux_StartConvert();    
    CyGlobalIntEnable;
    GLCD_TEXT_INIT();
}

void putdata ( void* p, char c) // part of tinyprintf() see "PrintExamples.txt"
{
	UART_UartPutChar(c);
}

	/* tinyprintf supports the following formats:
    	'd' int as a signed decimal number
    	'u' uint as a decimal number
    	'c' character
    	's' null terminated string
    	'x' / 'X' hexadecimal with lower / upper case letters   */

// Global variables
	int8 d = -10;
	uint8 u = 127;
	char c = 'c';                           // uint8_t c = 32;

	uint8_t len = GLCD_LCD_WIDTH / 6;
    // char string[GLCD_LCD_WIDTH / 6 + 1]; // LCD line buffer
	// char buffer[50];                     // serial tty original line buffer
    char buffer[GLCD_LCD_WIDTH / 6 + 1];
    // Variables for A--> D results Ports P2[0] - P2[5]
    int16 result0;
    int16 result1;
    int16 result2;
    int16 result3;
    int16 result4;
    int16 result5;


int main()
{
    // activate PSoC hardware modules
    initHarware();

    // Announce activity to PC over serial console
    UART_UartPutString("Hardware Configured\n"); NewLine(); NewLine();
	init_printf(NULL, putdata);

    for(;;)
    {
        // Read all 6 of the AD channels and output
        // Single ended 4096 slices = 2.048V max = 0.500mV / slice
        ADCmux_IsEndConversion(ADCmux_WAIT_FOR_RESULT); // blocking

        result0 = ADCmux_GetResult16(0) / 2 ;
	    sprintf(buffer, "Ch0 mV = %d", result0);
	    UART_UartPutString(buffer); NewLine();
		buffer[len] = '\0';
        GLCD_WRITE(buffer);

        result1 = ADCmux_GetResult16(1) / 2 ;
	    sprintf(buffer, "Ch1 mV = %d", result1);
	    UART_UartPutString(buffer); NewLine();
		buffer[len] = '\0';
        GLCD_WRITE(buffer);

        result2 = 0.5 * ADCmux_GetResult16(2) / 2 ;
	    sprintf(buffer, "Ch2 mV = %d", result2);
	    UART_UartPutString(buffer); NewLine();
		buffer[len] = '\0';
        GLCD_WRITE(buffer);

        result3 = ADCmux_GetResult16(3) / 2 ;
	    sprintf(buffer, "Ch3 mV = %d", result3);
	    UART_UartPutString(buffer); NewLine();
		buffer[len] = '\0';
        GLCD_WRITE(buffer);

        result4 = ADCmux_GetResult16(4) / 2 ;
	    sprintf(buffer, "Ch4 mV = %d", result4);
	    UART_UartPutString(buffer); NewLine();
		buffer[len] = '\0';
        GLCD_WRITE(buffer);

        result5 = ADCmux_GetResult16(5) / 2 ;
	    sprintf(buffer, "Ch5 mV = %d", result5);
	    UART_UartPutString(buffer);  NewLine(); NewLine() ;
		buffer[len] = '\0';
        GLCD_WRITE(buffer);

        // glcd_test_tiny_text() ;
        CyDelay(5000) ;

    }
}

Hi Ray,
That is great to find your post. I was just trying to tie the same hardware together (PSOC4 board and 2.2" SPI TFT).
Tonight and unsuccessfully!

If you would not mind, could you post or send me your PSOC project , so that I could look through how you got it working?
Thanks,
Bill

for comparison, Arduing 1.0.5 is around 8.6K of files and 660MB

Really? My windows 1.5.6 install is less than 400MB, and about 7500 files. That includes both both AVR and ARM toolsets...

one of these "serious" development boards is a real eye-opener if you've been playing with arduinos for a while. TI published a very nice tutorial on using the Stellaris Launchpad, and "remove the board from the box" was step 25 or so, after you had downloaded and installed (separately) IDE, drivers, libraries, and etc...

Note: not wishing to post PSoC on the Arduino board, I have added a few PSoC projects to my blog here:
http://www.hackster.io/rayburne

dreschel:
Hi Ray,
That is great to find your post. I was just trying to tie the same hardware together (PSOC4 board and 2.2" SPI TFT).
Tonight and unsuccessfully!

If you would not mind, could you post or send me your PSOC project , so that I could look through how you got it working?
Thanks,
Bill

Bill,

I gutted much of this project:
http://www.cypress.com/?app=forum&id=4749&rID=91643
You may wish to download as I removed the SD but if you have problems, PM me and I will email you what I have.

Ray

Edited to add close-up of PSoC 4200 connections to TFT. Note that the very lowest pin on the breadboard is a cut-off jumper (short yellow end at MISO) and is there only to help me align the pins - there is no connection. Only Vdd (3.3), Gnd, CS, SCK, MOSI, and DC. Reset on the TFT is tied to VDD through a 10K resistor (optional, you can directly connect if desired.) The LED current limiting resistor is around 22 Ohms but can go down to about 10 Ohms if absolutely necessary to have the brightest display.

mrburnette,

Thanks for sharing your experience with PSOC. I have started working with the boards and have found it difficult at first but, I am starting to make some progress. It does seem that the chips have a lot of potential! I am going to try the 100 projects for sure and practice will make perfect, I hope!

Mark

cyclegadget:
mrburnette,

Thanks for sharing your experience with PSOC. I have started working with the boards and have found it difficult at first but, I am starting to make some progress. It does seem that the chips have a lot of potential! I am going to try the 100 projects for sure and practice will make perfect, I hope!

Mark

Mark,
The "100 Projects..." is now a year old, so the newest version of Creator 3.0SP1 will want you to upgrade the components as you import them into the environment. So far, I have done a few of these and upgraded without issue. I think the one project that is problematic is the Color GLCD + SD... there is a new SD component in the PSoC 4 forum that you will need to download and import.

There ARE other things you need to know:

GCC Implementation
PSoC Creator integrates the GCC ARM Embedded compiler including making the Newlib-nano and
newlib libraries. Refer to the Red Hat newlib C Library for the C library reference manual.
The newlib-nano is configured by default.
To choose newlib library, open the
• Build Settings dialog >
• ARM GCC 4.7.3 >
• Linker >
• General,
and set the “Use newlib-nano” option to False.
By default, with the GNU ARM compiler, the string formatting functions in the C run-time library return
empty strings for floating-point conversions. The newlib-nano library is a stripped-down version of the full
C newlib. It does not include support for floating point formatting and other memory-intensive features.
Startup and Linking
There are two solutions to this problem:
• enable floating-point formatting support in newlib-nano, or
• change the library to the full newlib.
To enable floating-point formatting, open the Build Settings dialog, go to the Linker page, and add the
string -u _printf_float to the command line options. This change will result in an increase in Flash
and RAM usage in your application.
Note If you also wish to use the scanf functions with floating-point numbers you should add the string
–u _scanf_float as well, with another increase in Flash and RAM usage.

INCLUDING MATH LIBRARIES FOR TRIG FUNCTIONS:
• go to "Project" / "Build Settings..."
• select the "Linker" settings
• add "m" to the "Additional libraries" line (just that one character)
• Apply / OK
This pulls in the math library for linking

There is a rewritten user supplied sprintf() component which seems to work fine for sending debugging info to the serial terminal. The component/code is in the 100 Projects project:
http://www.element14.com/community/message/78621/l/psoc-4-pioneer-kit-community-project023-tinyprintf-example#78621

	/* print variables using printf */
	printf("%d", d);
	NewLine();
	printf("%u", u);
	NewLine();
	printf("%x", u);
	NewLine();
	printf("%X", u);
	NewLine();
	printf("%c", c);
	NewLine();
	printf("%s", s);
	NewLine();
	
	/* sprintf examples */
	
	UART_UartPutString("sprintf Examples");
	NewLine();
	NewLine();
	
	sprintf(buffer, "signed decimal: %d",d);
	UART_UartPutString(buffer);
	NewLine();
	
	sprintf(buffer, "unsigned decimal: %u",u);
	UART_UartPutString(buffer);
	NewLine();
	
	sprintf(buffer, "lower case hex: %x",u);
	UART_UartPutString(buffer);
	NewLine();
	
	sprintf(buffer, "uppper case hex: %X",u);
	UART_UartPutString(buffer);
	NewLine();
	
	sprintf(buffer, "character: %c",c);
	UART_UartPutString(buffer);
	NewLine();
	
	sprintf(buffer, "string: %s",s);
	UART_UartPutString(buffer);

mrburnette,

Thank you for the heads up! I will be sure to make the fixes!

Mark

Hi...Thanks to your post, I got a couple of these "$4" 4200 prototyping kits.
(TIP: Shipping can be a bit steep via distributors outside of the USA, so just waited until we made an order large enough to qualify for 'free' shipping)

Our first project was to add support for PSOC to AnalysIR. We have just published a blog posting on the project. see ...

AnalysIR supports PSOC 4 from Cypress

Experience so far: For our initial project we were able to port existing arduino 'C' code without too much hassle and also managed to make use of some of the inbuilt PSOC features. However it would be a tie between AVR/ARM/PIC etc and the PSOC4 for this project. Currently, sketching out a follow-on Infrared project that should leverage the unique features of the PSOC.

tnx

You have my attention (vectored here from the thread on the Maple Mini). The PSoC4 only has one SAR. Not having researched it, because it has programmable logic, is there a MUX to allow for more than one analog input?
It also seems a little small on SRAM/program memory or did I miss something?

I noticed at the bottom of the Mouser page, the Nucleo dev boards for ARM processors $10. Haven't checked it further but they referenced MBed. Not sure if they were implying that that's what you use to program it. I'm tired of the AVR limitations and need to find a cost effective 32bit alternative.

So interested in the PSoC4 that I'm still up :astonished: The SAR does have a MUX and WOW...1uSec/conversion! It's still a little small on program space.

I'm looking at the NUCLEO-F411RE board. The mbed solution looks pretty nice. $10.33 100Mhz w/FPU etc.

Ray

Did you have any issues programming your PSoC® 4 CY8CKIT-049 ?

I watched the drivers install successfully, but when I plug the board into the USB I can only see the serial port in the device manager, and neither PSoC creator or PSoC programmer seem to think the PSoC 4 is connected.

I've double checked that in my project I selected the exact device type, (as this is supposed to be one reason it wont connect and program), but it didnt make any difference

Do you see multiple devices appear in the device manager when you insert the board

Is there anything I need to do, to enable programming? On one thread I read, it said that the button needed to be pressed as the board was connected to USB, but the button on my board is done the far end and I suspect its just there for user test programs, like the LED is

To be honest, I've not had a huge amount of time to get the PSoC running, but I totally understand the hardware / software side of things, as my first job (and degree) was in electronics and programing, I've used devices ages ago where they were full of EEPROM programmable logic.
These things just take it a stage further with analog as well as digital devices that can be configured, as well as also containing a microprocessor.

Thanks

Roger

Hi @Mark_Grass

I'm looking at the NUCLEO-F411RE board. The mbed solution looks pretty nice. $10.33 100Mhz w/FPU etc.

Several of us are hoping to port the current STM32F103 Arduino code to STM32F4xx

I have a 407VGT (168Mhz) Discovery board and Alexey (@hiddenPilot) also has some from of STM32F4 Discovery board.

If you are interested in helping get F4 to work, join us on the thread in the micro controllers section. The More the merrier :wink:

rogerClark:
Did you have any issues programming your PSoC® 4 CY8CKIT-049 ?
...
Is there anything I need to do, to enable programming?

Hi Roger,
I feel your pain! The key to the PSoC 4 -049 is to understand that all projects must be bootloadable and you must use the bootloader host to download them. And do remember to press and hold the button as you insert the -049 into the USB port. If your button is broken you'll need to short the corresponding input (P0.7) to get the board 'in the mood.'

There are some new videos that Cypress has produced for this board including one that details how to return to the bootloader from a user programmer without having to pull the device out of the USB port. There is a link to these from the start page on PSoC Creator http://www.cypress.com/?id=3629