If you ever want to label a front panel for a project, the example below may be a way to give you a more professional look.
Use Sketchup (from Google) to draw the exact size of your panel and all your components.
For each element on the panel, make a full sized component for each unique switch, LCD display, LED bezel,
connector, etc. Include things like: mounting hole size, nuts, exterior lips etc.
Draw the exact outline of your panel. Place your components on this outline. Arrange each as needed.
Make sure you take into consideration the placement of internal items like PCBs, transformers etc.
Print a 1:1 image of your finished page on a full sheet of 8 1/2” X 11” gummed label (AVERY 5165).
Laminate the page you just printed.
Cut the panel perimeter image out using a utility knife and a straight edge.
Peel the back protector sheet with laminate off the cutout.
Carefully install the cutout on the plastic/aluminum panel. You may want to drill and cut the holes in the panel first.
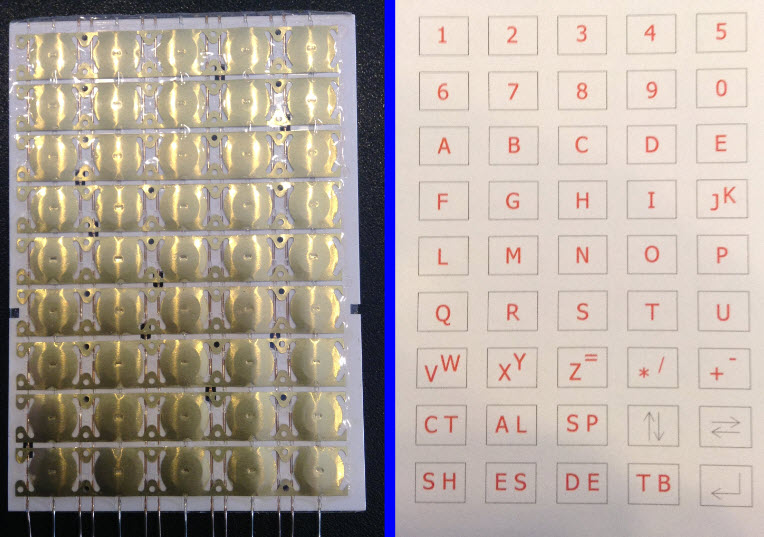
I have effectively used the above method for making membrane keypad overlays.
EDIT:
If you what a background color to your overlay you can always print on a coloured piece of paper.
I find CorelDraw a powerful program to do things like this. I save a lot of money on it by staying a version or two behind. I used v8 for quite a long time, now I have X3.
What is nice about Sketchup is you can model each component in 3D then place you panel image on a 3D image that represents the enclosure your project is going to be mounted in. This allows you to see if there will be any encroachment of components.
I like CorelDraw also.
Edit:
Added 2nd image.
This item was made 1995 prior to Sketchup debut.