This isn't the most interesting Arduino based project in the world, but its useful to me ![]()
Here is the long story.
I have a Black and Decker cordless drill which is around 10 years old.
Some time ago, the charger packed up, and when I looked inside both the analog electronics control board and the transformer had completely failed.
I suspect something happened to the control board, which had overloaded the transformer and caused it to overheat and burn out.
Anyway.
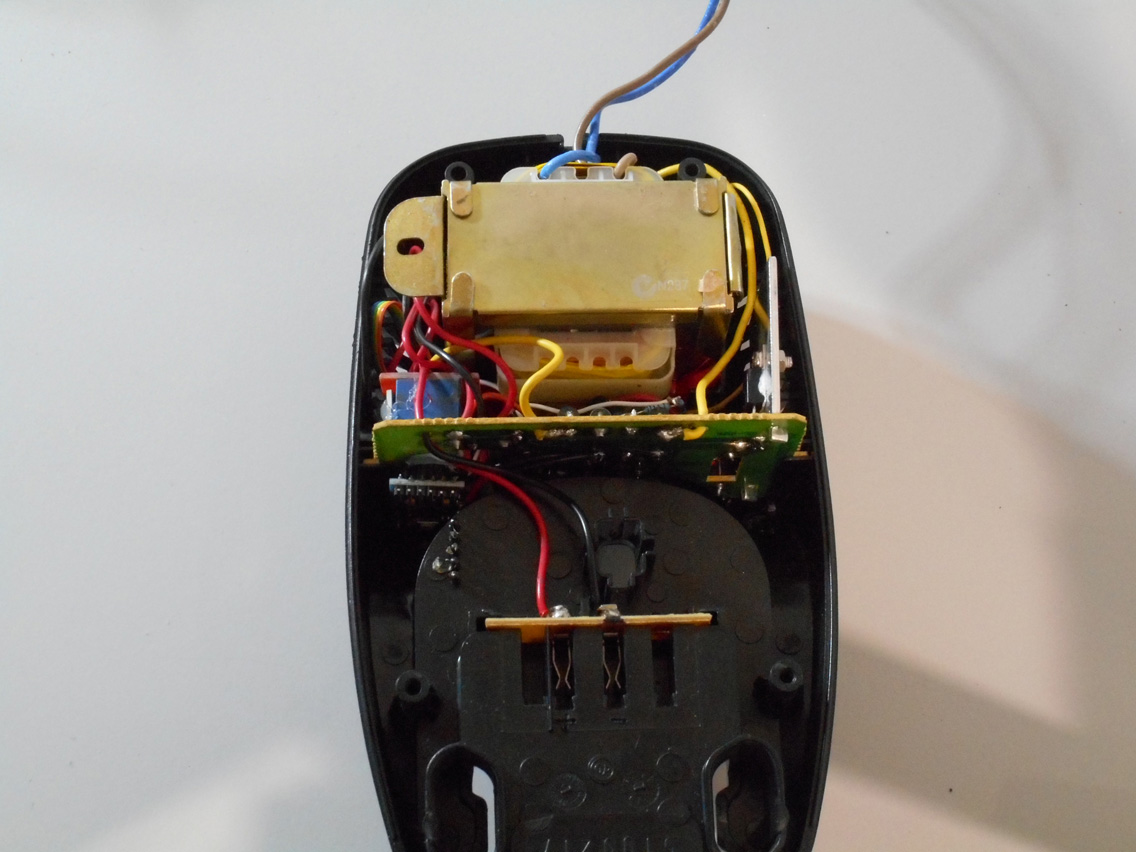
Looking for solutions, I I finally settled on getting a replacement transformer from a local supplier (Jaycar.com.au) which was virtually the same physical size as the original transformer, but was 5VA more powerful and also had lots of output voltage taps (where as the original transformer just seemed to output 24V).
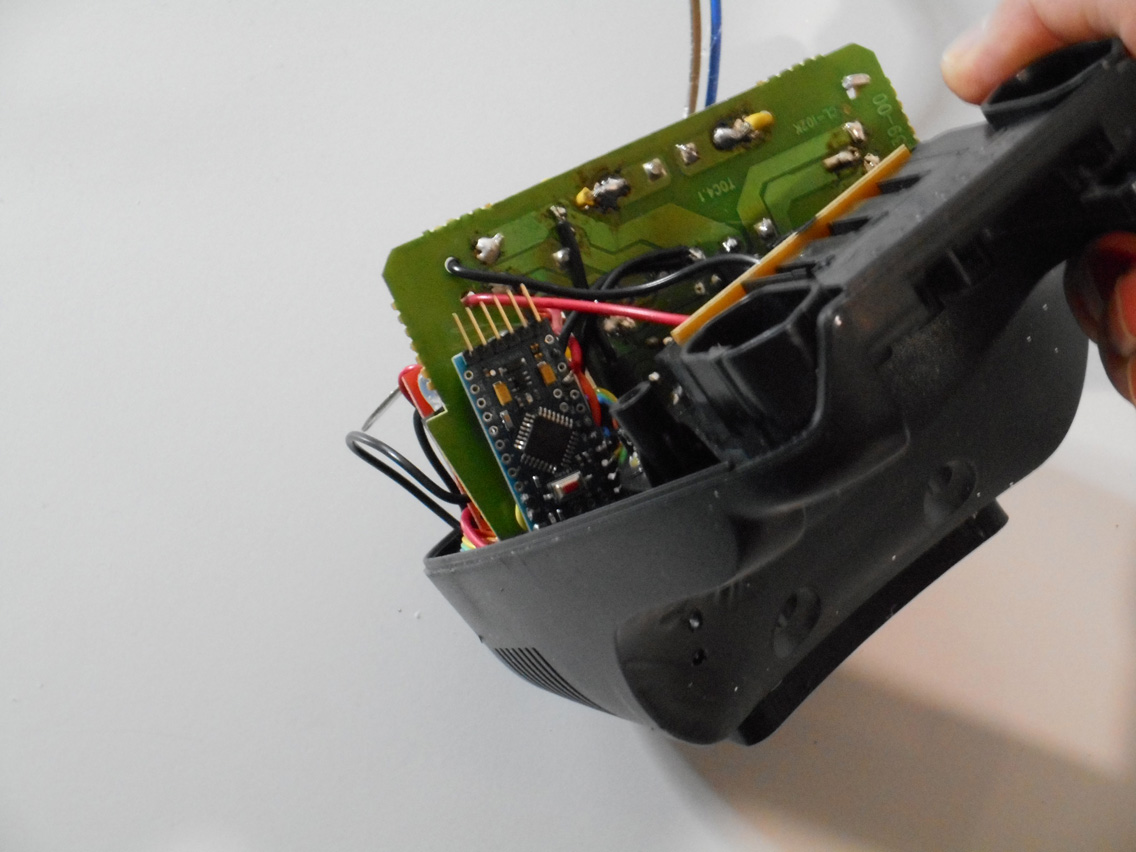
The control board however was also broken, so by solution was to remove most of the analogue components from the control board, and just leave the main rectifier diodes, one of which I had to replace because it was blown.
Then build a constant current charger from a LM315 and a resistor, and control the charging using an Arduino Pro Mini connected to a relay, to connect the constant current system to the battery.
I also built a resistor divider so that the Arduino could measure the voltage on the battery as top of charge voltage is around 22V.
Finally I coded up the control logic with a number of states.
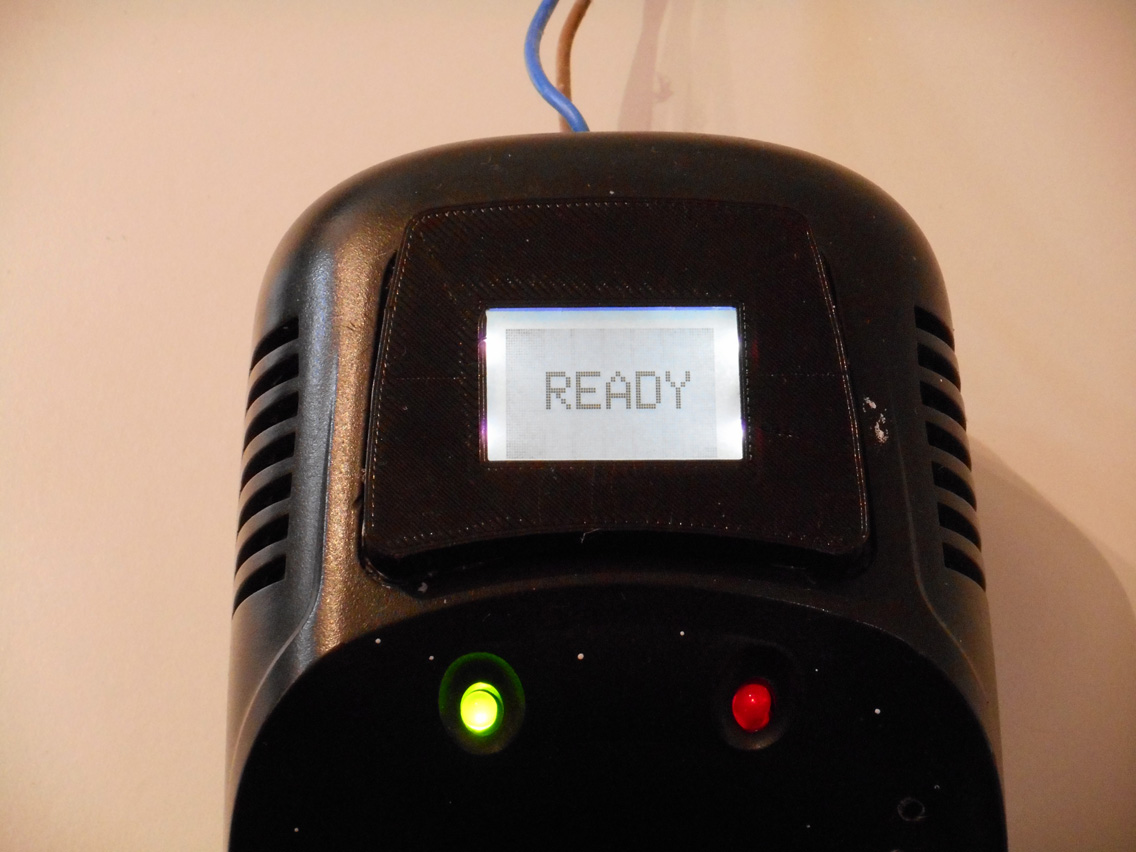
READY (waiting for battery to be inserted)
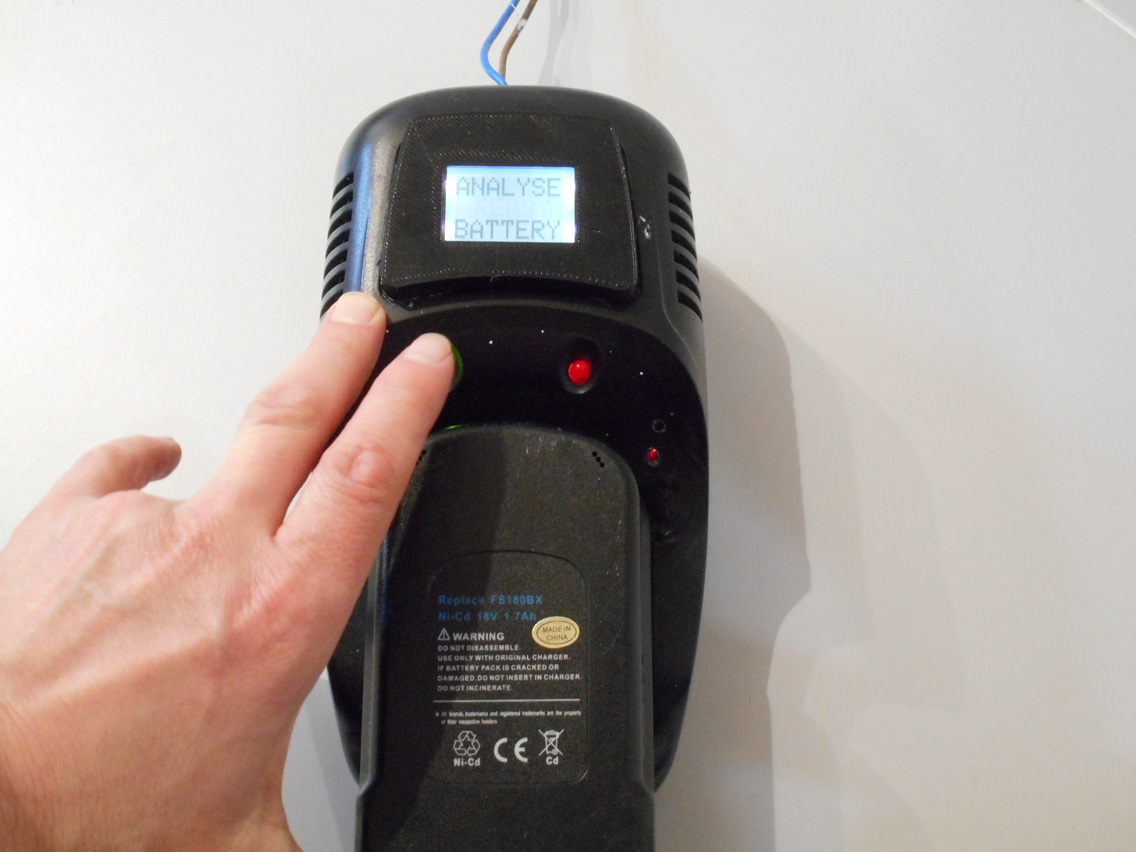
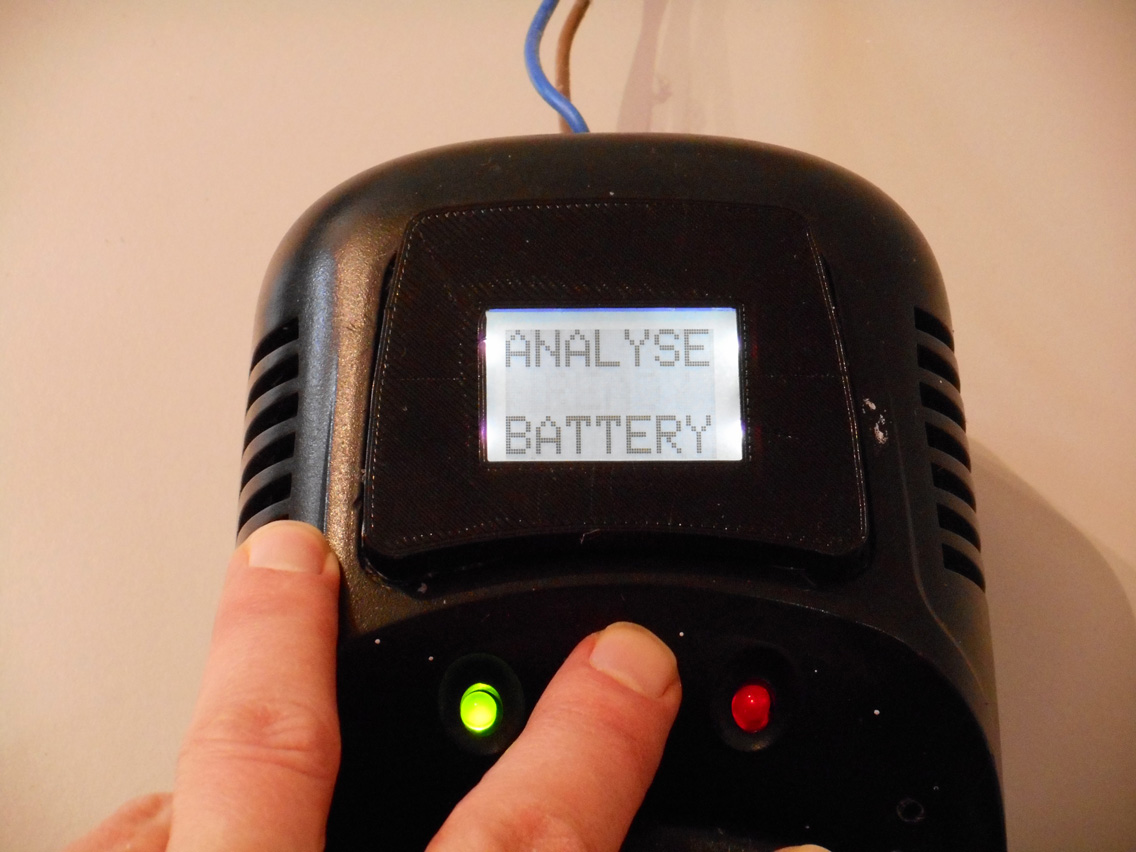
ANALYSE BATTERY (measures voltage on the battery after the insertion has been detected by the ADC)
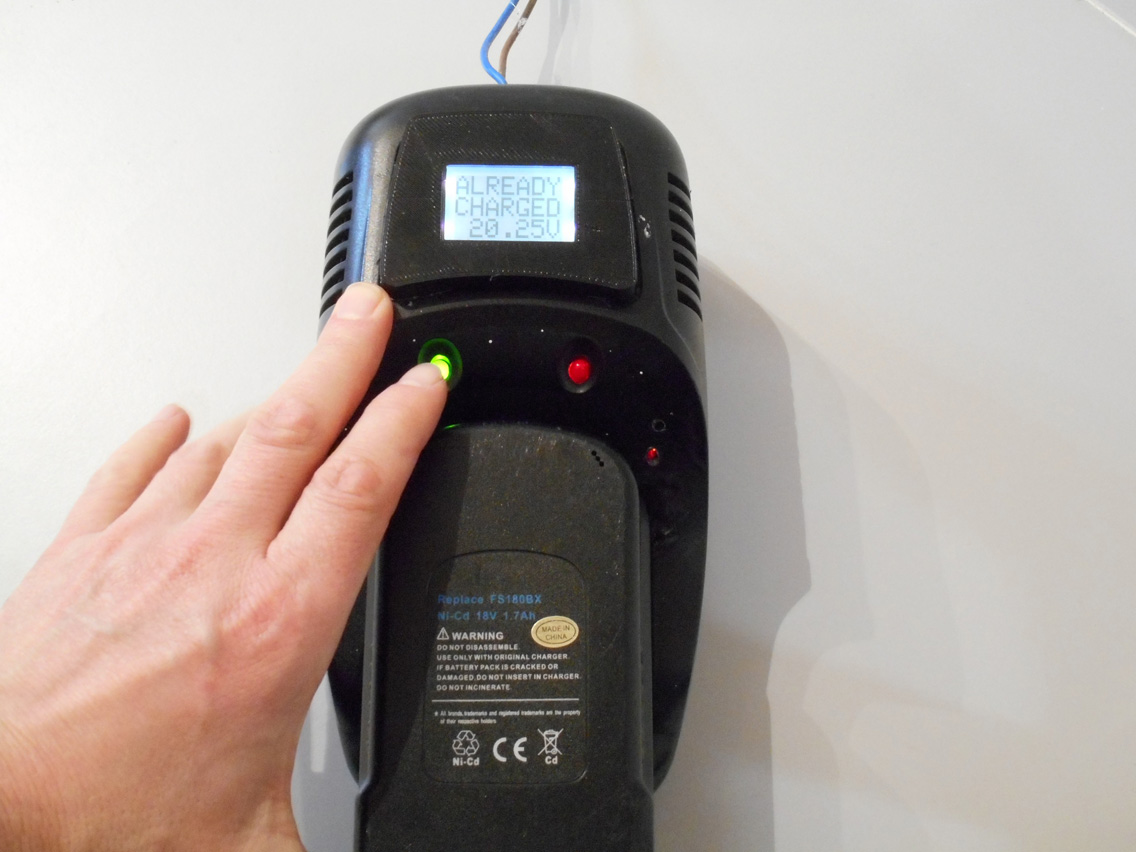
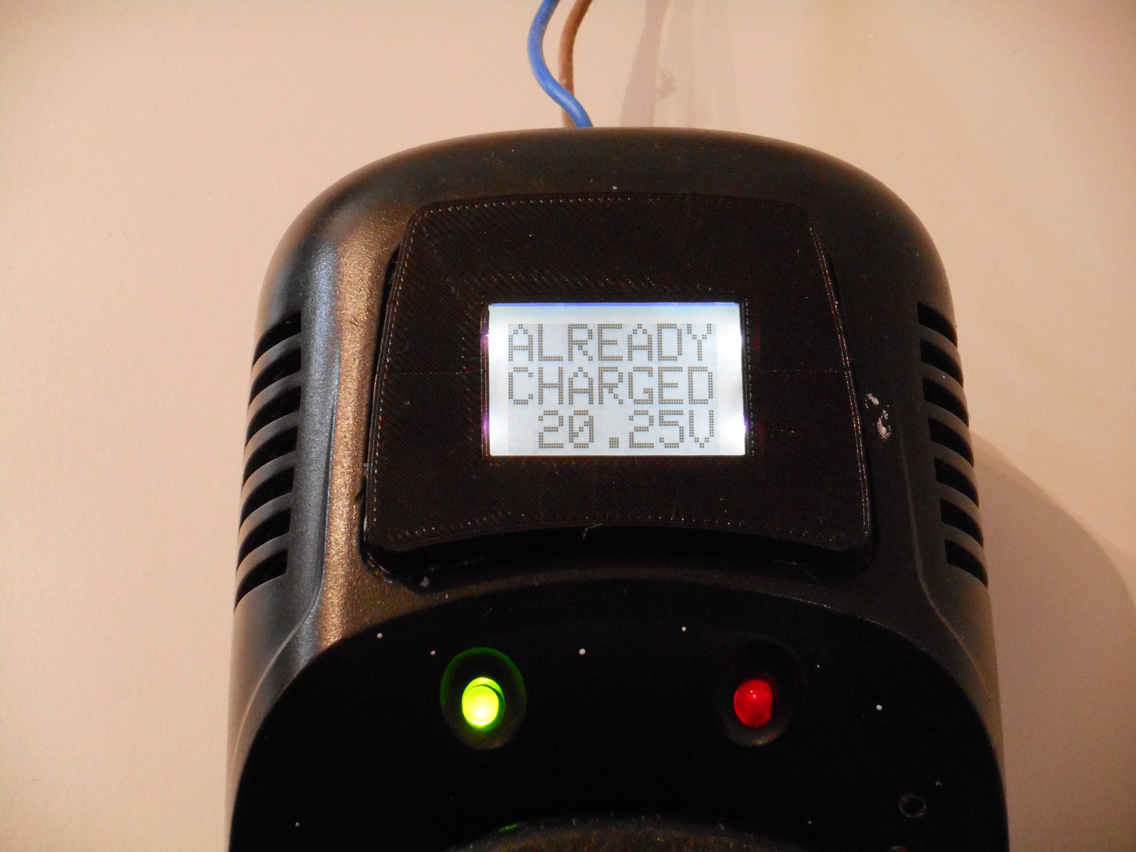
ALREADY CHARGED (if voltage on the battery is above 19.5V, I assume its already fully charged, as its an 18V battery, so anything above 18V usually indicates is just been removed from the charger and re-inserted)
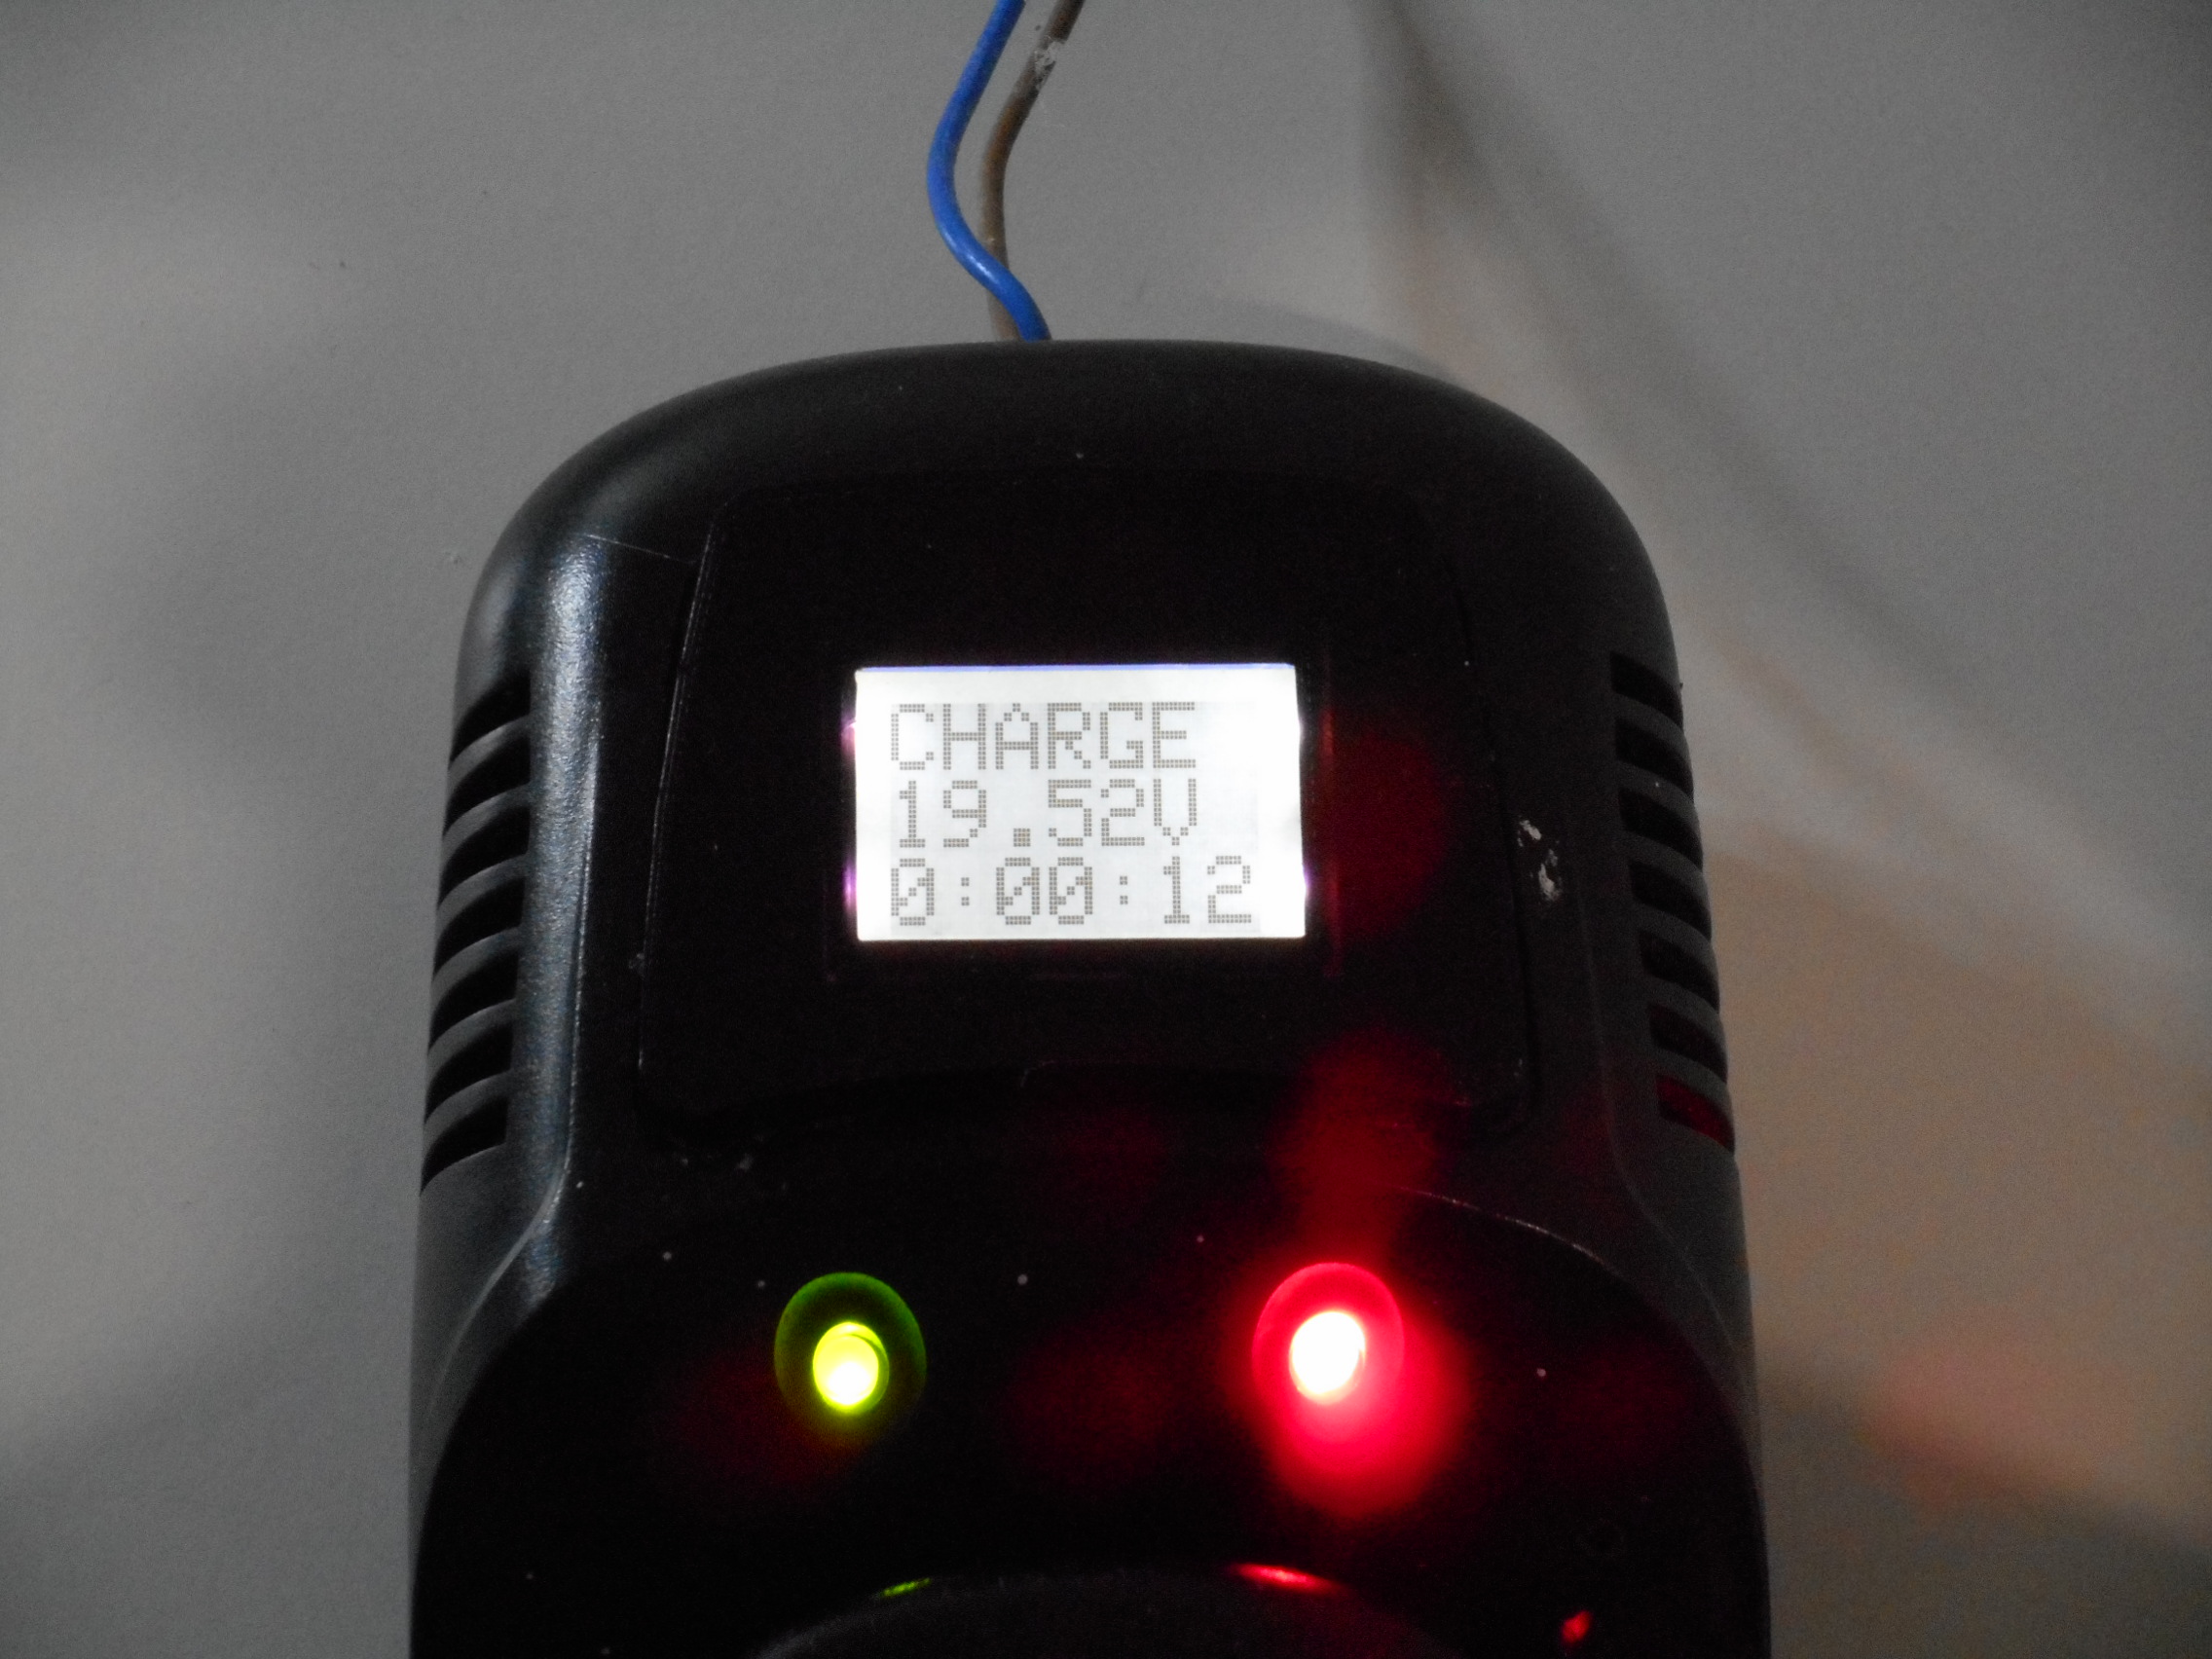
CHARGE (turn on the relay and charge the battery using the constant current - analog circuit at around 750mA)
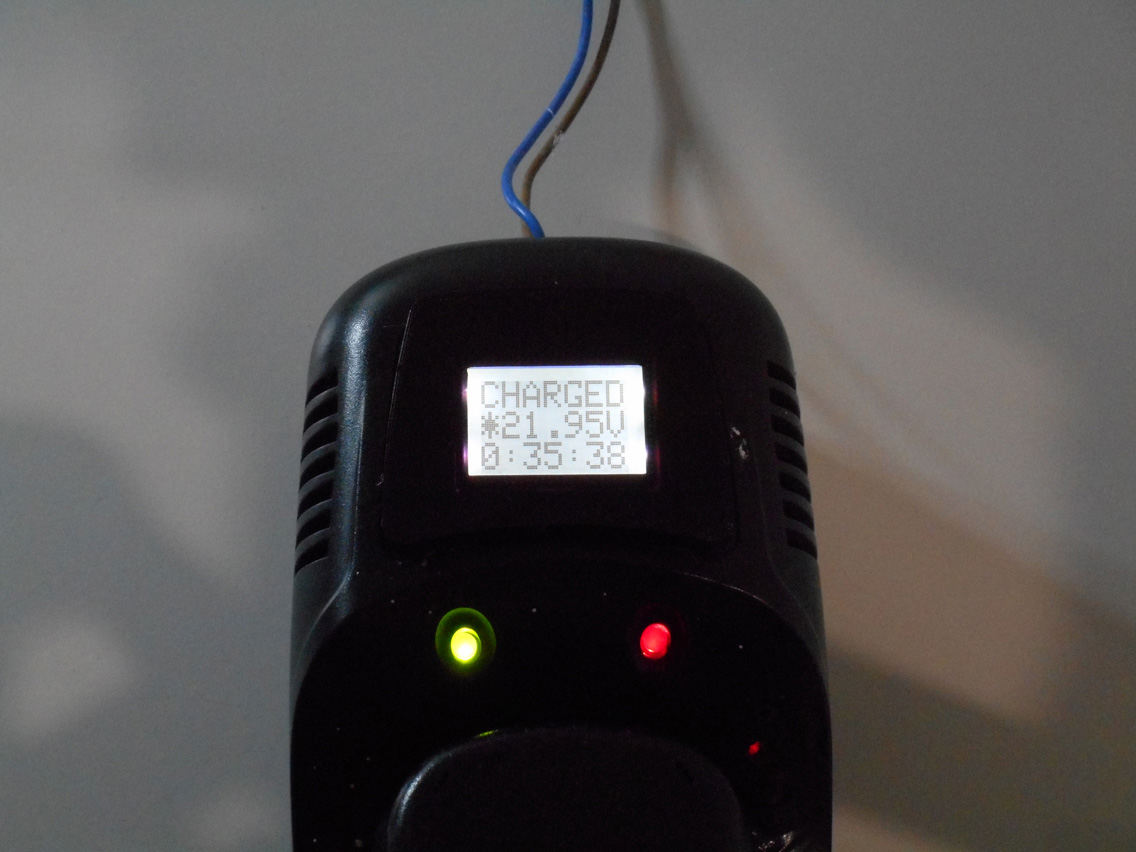
CHARGED (The code detects 2 different things to determine if the battery is charged. (a) is the voltage above 22.2V (b) has the voltage on the battery dropped since 1 minute ago - even though its being charged at 750mA, - this condition occurs when the battery reaches saturation - but I can't recall the technical / chemistry details)
TIMEOUT - if the battery has been charged for more than 2.5 Hours, at 750mA, it should be charged, so if the voltage is still not above 22.2V etc, there must be some problem, so stop it charging.
Initially, I just controlled the 2 existing LEDS (green and red), using by the Arduino, to indicate what the charger was doing.
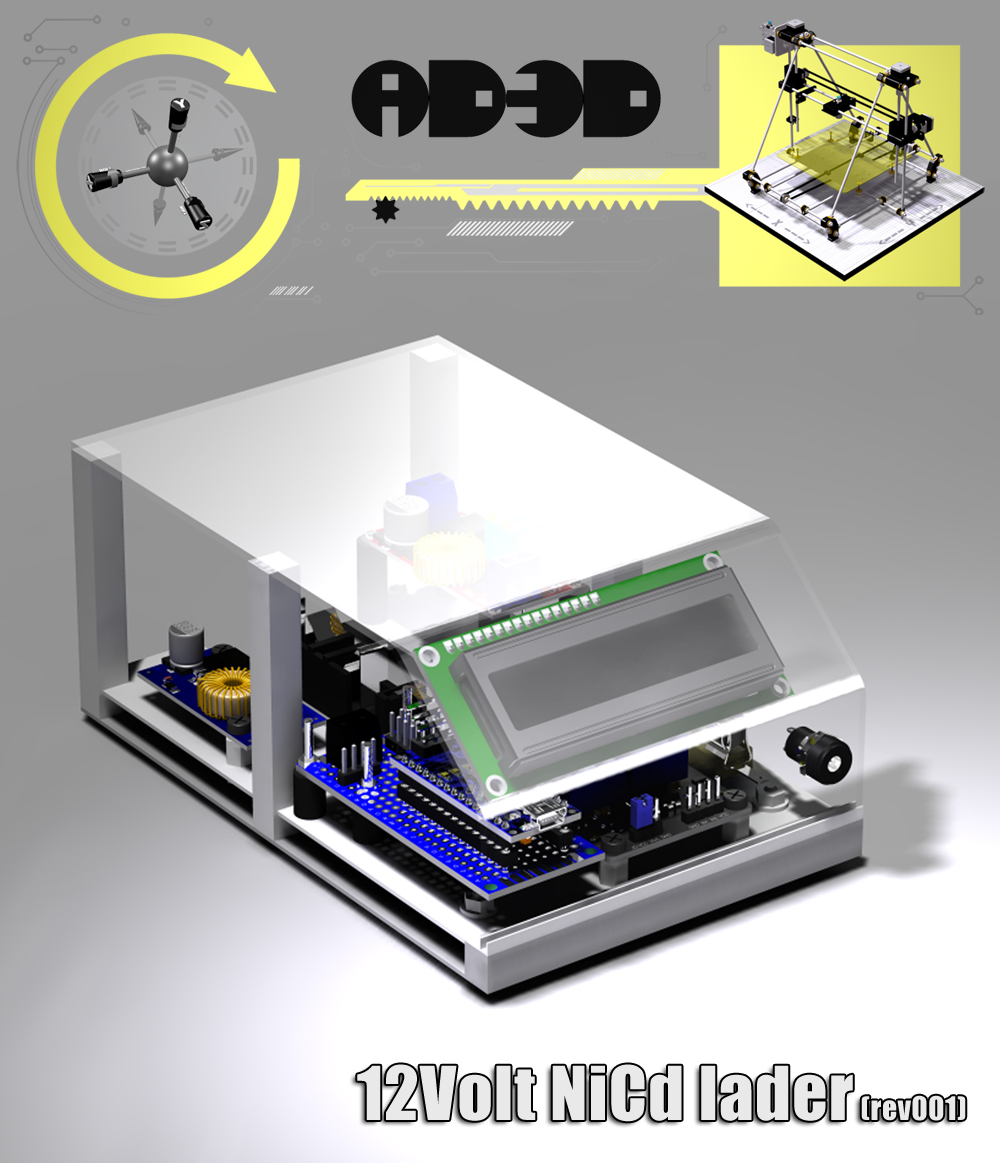
However this week I fitted a Nokia 5110 LCD to the top of the charger in a housing I designed and printed in3D (PLA plastic).
This is a big improvement as I can see exactly what the charger is doing,
I will post the code in a day or two, and I guess I should also draw up a schematic
But, at the moment the code is a bit messy, and could do with the formatting / tabbing being tidied up and unused variables removed.
And I don't have a schematic, as I designed each section, eg the constant current section, individually, so there wasn't a need to draw a schematic
As I can only post 4 photos per posting, I've had to do multiple followup posts.