Hello , I have a problem with the simple LED .
The dashboard doesn't seem to control the LED. Here's my code
/*
  Sketch generated by the Arduino IoT Cloud Thing "Untitled"
  https://create.arduino.cc/cloud/things/7f4a3800-ba37-4b11-8e77-9e3aed3c1a00

  Arduino IoT Cloud Variables description

  The following variables are automatically generated and updated when changes are made to the Thing

  CloudLight ledcontrol;

  Variables which are marked as READ/WRITE in the Cloud Thing will also have functions
  which are called when their values are changed from the Dashboard.
  These functions are generated with the Thing and added at the end of this sketch.
*/

#include "thingProperties.h"
int ledpin =4;
void setup() {
  // Initialize serial and wait for port to open:
  Serial.begin(9600);
  // This delay gives the chance to wait for a Serial Monitor without blocking if none is found
  delay(1500);
  ledcontrol = false;
pinMode(ledpin, OUTPUT);
  pinMode(2, OUTPUT);
  // Defined in thingProperties.h
  initProperties();

  // Connect to Arduino IoT Cloud
  ArduinoCloud.begin(ArduinoIoTPreferredConnection);

  /*
     The following function allows you to obtain more information
     related to the state of network and IoT Cloud connection and errors
     the higher number the more granular information you’ll get.
     The default is 0 (only errors).
     Maximum is 4
 */
  setDebugMessageLevel(2);
  ArduinoCloud.printDebugInfo();
}

void loop() {
  ArduinoCloud.update();
  // Your code here
 digitalWrite(ledpin, HIGH);
delay(1000);

 digitalWrite(ledpin, LOW);
 delay(1000);

}

/*
  Since Ledcontrol is READ_WRITE variable, onLedcontrolChange() is
  executed every time a new value is received from IoT Cloud.
*/
void onLedcontrolChange()  {
  // Add your code here to act upon Ledcontrol change
 if (ledcontrol == 1) {
//   digitalWrite(ledpin, HIGH);
//       Serial.println("ON");
// delay(1000);
	 if (ledcontrol == 1) {

  digitalWrite(2, HIGH);
	  digitalWrite(2, HIGH);
delay(1000);
//  digitalWrite(ledpin, LOW);
//  delay(1000);
//   digitalWrite(2, LOW);
// delay(1000);
	delay(1000);

}
	}
  else {
 //    digitalWrite(ledpin, LOW);
 // delay(1000);
	  else {

    Serial.println("OFF");
  digitalWrite(2, LOW);
delay(1000);
  }
}
These lines in the loop function cause the LED to blink on and off regardless of the value of the ledcontrol IoT Variable. Your code in the onLedcontrolChange function does control the LED, but this effect will only last for a second or two before the loop code will change the state of the LED again.
So if you want to control the LED exclusively from the dashboard, simply remove the LED controlling code from the loop function.
After that, you can also remove the delay calls from the onLedcontrolChange function. We should avoid adding delays of any significant length to Arduino Cloud IoT Thing sketches because you want the sketch to call ArduinoCloud.update() as frequently as possible. The ArduinoCloud.update() function is what handles communication with the Arduino Cloud IoT dashboard, so if your sketch code causes long delays between each ArduinoCloud.update() call then you will find that the Device is not very reactive to changes to changes made in the dashboard.
Hello @ptillisch i removed the LED in the loop and just controlling it on the onLedcontrolChange function but it still doesn't work and also my serial monitor doesn't connect
/*
  Sketch generated by the Arduino IoT Cloud Thing "Untitled"
  https://create.arduino.cc/cloud/things/7f4a3800-ba37-4b11-8e77-9e3aed3c1a00

  Arduino IoT Cloud Variables description

  The following variables are automatically generated and updated when changes are made to the Thing

  CloudLight ledcontrol;

  Variables which are marked as READ/WRITE in the Cloud Thing will also have functions
  which are called when their values are changed from the Dashboard.
  These functions are generated with the Thing and added at the end of this sketch.
*/
//CloudLight ledcontrol;
#include "thingProperties.h"
int ledpin =4;
//int led2 =2;
void setup() {
  // Initialize serial and wait for port to open:
  Serial.begin(9600);
  // This delay gives the chance to wait for a Serial Monitor without blocking if none is found
  delay(1500);
  //ledcontrol = false;
pinMode(ledpin, OUTPUT);
  pinMode(2, OUTPUT);
  // Defined in thingProperties.h
  initProperties();

  // Connect to Arduino IoT Cloud
  ArduinoCloud.begin(ArduinoIoTPreferredConnection);

  /*
     The following function allows you to obtain more information
     related to the state of network and IoT Cloud connection and errors
     the higher number the more granular information you’ll get.
     The default is 0 (only errors).
     Maximum is 4
 */
  setDebugMessageLevel(2);
  ArduinoCloud.printDebugInfo();
}

void loop() {
  ArduinoCloud.update();


}

/*
  Since Ledcontrol is READ_WRITE variable, onLedcontrolChange() is
  executed every time a new value is received from IoT Cloud.
*/
void onLedcontrolChange()  {
  // Add your code here to act upon Ledcontrol change
 if (ledcontrol == 1) {
//   digitalWrite(ledpin, HIGH);
//       Serial.println("ON");
// delay(1000);
  digitalWrite(2, HIGH);
//delay(1000);
//  digitalWrite(ledpin, LOW);
//  delay(1000);
//   digitalWrite(2, LOW);
// delay(1000);
}
  else {
 //    digitalWrite(ledpin, LOW);
 // delay(1000);
    Serial.println("OFF");
  digitalWrite(2, LOW);
//delay(1000);
  }
}
I'm not sure I understood correctly what you mean by this. Please provide a more detailed description of what you mean by this in a reply on this forum thread to help us to understand it, including the following information:
What did you do?
What were the results you expected from doing that thing?
What were the results you observed that did not match your expectations?
Make sure to include the full and exact text of any error or warning messages you might have encountered.
I apologize for the problem with the Arduino Cloud Editor Serial Monitor. The developers are aware of this bug and a fix is in progress. I'll post an update here if I receive any news about a resolution.
Workaround
As a workaround for now, you can use any desktop serial terminal application. Arduino IDE has an easy to use Serial Monitor. You can download Arduino IDE from the links on Arduino's official "Software" page here:
You can also use any of the many nice 3rd party terminal applications that are available if for some reason you don't want to use Arduino IDE. I can recommend the free open source PuTTY:
If you use a serial terminal application, make sure to close it before uploading a sketch to your board with Cloud Editor the reason is that Cloud Editor needs to use the serial port to upload the sketch and only one application can have the port open at a time. The Cloud Editor Serial Monitor is smart enough to automatically close the port during the upload, but such automatic coordination with Cloud Editor is not possible when using an independent terminal.
From what i did: I wrote a simple code to turn on an LED on the ESP32 using a switch button on the Arduino cloud Dashboard. I did the setup, created a thing and a cloud variable to turn on the LED.
Result expected: I was expecting the LED switch on the dashboard to control LED on the board.
Result observed: The code runs perfectly well when uploaded but the switch on the dashboard doesn't control anytime it's toggled ON/OFF . I tried just turning it ON/OFF without the switch and it works well, but with the switch it doesn't.
I just gave it a try with my ESP32 board and it works exactly as expected for me.
I created a dashboard and added a switch widget attached to the Thing's ledcontrol Variable.
When I put the switch widget in the "ON" position, the LED attached to pin 2 on the board turns on. When I put the switch widget in the "OFF" position, the LED turns off.
I noticed this:
You have code in your sketch for LEDs attached to two different pins: 2 and 4. The active code is controlling the LED on pin 2. The code for the LED on pin 4 is non-functional. Is your LED connected to pin 2 on the ESP32 board, or pin 4?
Just to verify, if you upload this simple sketch to your board, do you see the LED blinking?:
What i did was testing with another pin (ledpin =4) in the loop to test if the code works. The pin blinks when i upload the code it is only the switch widget that doesn't control which is where i am facing issues with.
Please run the test I requested. If the LED is connected to pin 2 then we need to make sure things are working correctly on pin 2. The results of the test you did for an LED connected to a different pin are not relevant.
OK, great. That eliminates the possibility the problem is caused by the LED circuit.
My next hypothesis is that the cause is that the Device is not connected to the Arduino Cloud servers. The LED can only be controlled by the Arduino Cloud IoT dashboard if it can communicate with the Device via the Internet.
Please check the status of the Device:
Power the ESP32 board if it is not already.
If the board is running the simple LED test sketch, upload the Thing sketch to the board.
I have noticed the status of the device is usually offline, but didn't know why it was like that and it was blinking the light.
Even when it is connected and i upload on it, it still doesn't show connected. I could only see last activity as the last time i uploaded a code
Hello again @sodiqa. I have some news about this problem you experienced:
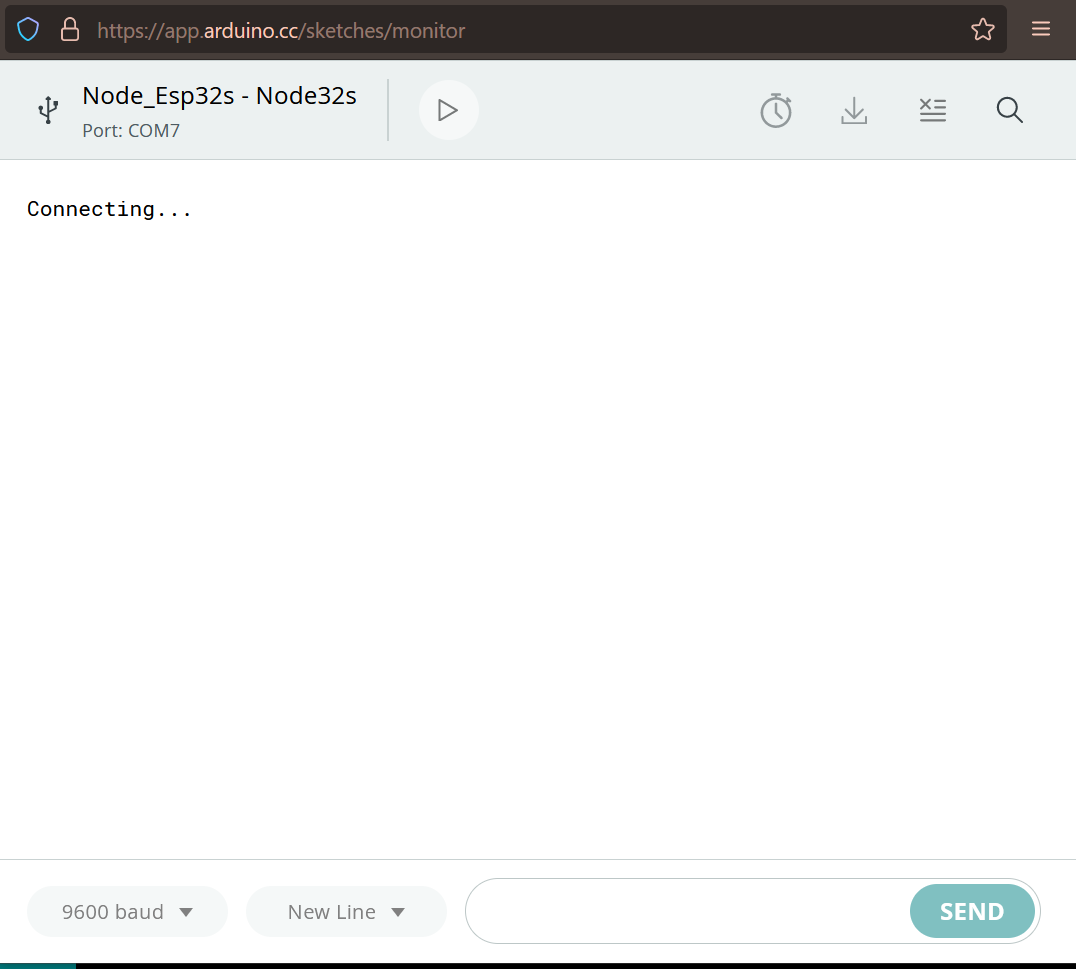
The bug that caused Cloud Editor's Serial Monitor to be stuck in the "Connecting..." state has now been fixed.
Please let us know if you still experience any problems while using it.
I apologize for any inconvenience this has caused.
Note that the problem with Serial Monitor is completely unrelated to the separate problem you are experiencing with the Device being in an "offline" state. I'll try to circle back here and help you to investigate the "offline" Device state soon, but wanted to at least inform you now that the Serial Monitor is fixed.
Click the following link to open the list of your Arduino Cloud Things in the web browser: https://app.arduino.cc/things
Click the name of the Thing.
The "Setup" page for the Thing will open.
Select the "Sketch" tab at the top of the page.
The "Sketch" page for the Thing will open.
Wait for the USB symbol icon to appear on the Cloud Editor toolbar, indicating the serial port of your board is recognized.
If the cloud shaped icon ("Over-The-Air") is selected on the Cloud Editor toolbar, click the USB symbol icon. ⓘ This configures Cloud Editor to communicate with the Arduino board via the serial port instead of the OTA port.
Click on "Serial Monitor" in the Cloud Editor toolbar.
A Serial Monitor window will open.
Make sure the correct port is shown on the toolbar in the window.
Select "9600" from the menu at the bottom of the window.
Press and release the reset button on the Arduino board.
You should now see information about the progress of the Thing initialization printed in the window.
If the board is able to connect to your Wi-Fi access point, you should see a message like this:
Connected to "some-ssid"
After that, if the board is able to connect through the Internet to the Arduino Cloud servers, you should see this message:
Connected to Arduino IoT Cloud
Was the Thing initialization successful as I described?
Please let me know if you have any questions or problems while following those instructions.