Today i got my first arduino ( uno R3 ) anyways i was following this tutorial to make a sonar radar heres the video https://www.youtube.com/watch?v=lbFKDNOYW3w . But when I plug in the ground and 5 volts together it just turns off the whole board

Please read the pinned post re 'How to get the most from the forum'
It is not a good idea to connect ground and 5V together.
Your topic does not indicate a problem with IDE 2.x and therefore has been moved to a more suitable location on the forum.
my guess: short or some device connected in wrong way.
please post a better picture.
and a schematic as well as your code.
without all that, we cannot help…
…and I am not willing to watch YouTube… …maybe someone else does…
1 Like
i am not sure how i should do it without that because i did the same exact layout in the video

as for code - / Includes the Servo library
#include <Servo.h>.
// Defines Tirg and Echo pins of the Ultrasonic Sensor
const int trigPin = 10;
const int echoPin = 11;
// Variables for the duration and the distance
long duration;
int distance;
Servo myServo; // Creates a servo object for controlling the servo motor
void setup() {
pinMode(trigPin, OUTPUT); // Sets the trigPin as an Output
pinMode(echoPin, INPUT); // Sets the echoPin as an Input
Serial.begin(9600);
myServo.attach(12); // Defines on which pin is the servo motor attached
}
void loop() {
// rotates the servo motor from 15 to 165 degrees
for(int i=15;i<=165;i++){
myServo.write(i);
delay(30);
distance = calculateDistance();// Calls a function for calculating the distance measured by the Ultrasonic sensor for each degree
Serial.print(i); // Sends the current degree into the Serial Port
Serial.print(","); // Sends addition character right next to the previous value needed later in the Processing IDE for indexing
Serial.print(distance); // Sends the distance value into the Serial Port
Serial.print("."); // Sends addition character right next to the previous value needed later in the Processing IDE for indexing
}
// Repeats the previous lines from 165 to 15 degrees
for(int i=165;i>15;i--){
myServo.write(i);
delay(30);
distance = calculateDistance();
Serial.print(i);
Serial.print(",");
Serial.print(distance);
Serial.print(".");
}
}
// Function for calculating the distance measured by the Ultrasonic sensor
int calculateDistance(){
digitalWrite(trigPin, LOW);
delayMicroseconds(2);
// Sets the trigPin on HIGH state for 10 micro seconds
digitalWrite(trigPin, HIGH);
delayMicroseconds(10);
digitalWrite(trigPin, LOW);
duration = pulseIn(echoPin, HIGH); // Reads the echoPin, returns the sound wave travel time in microseconds
distance= duration*0.034/2;
return distance;
}
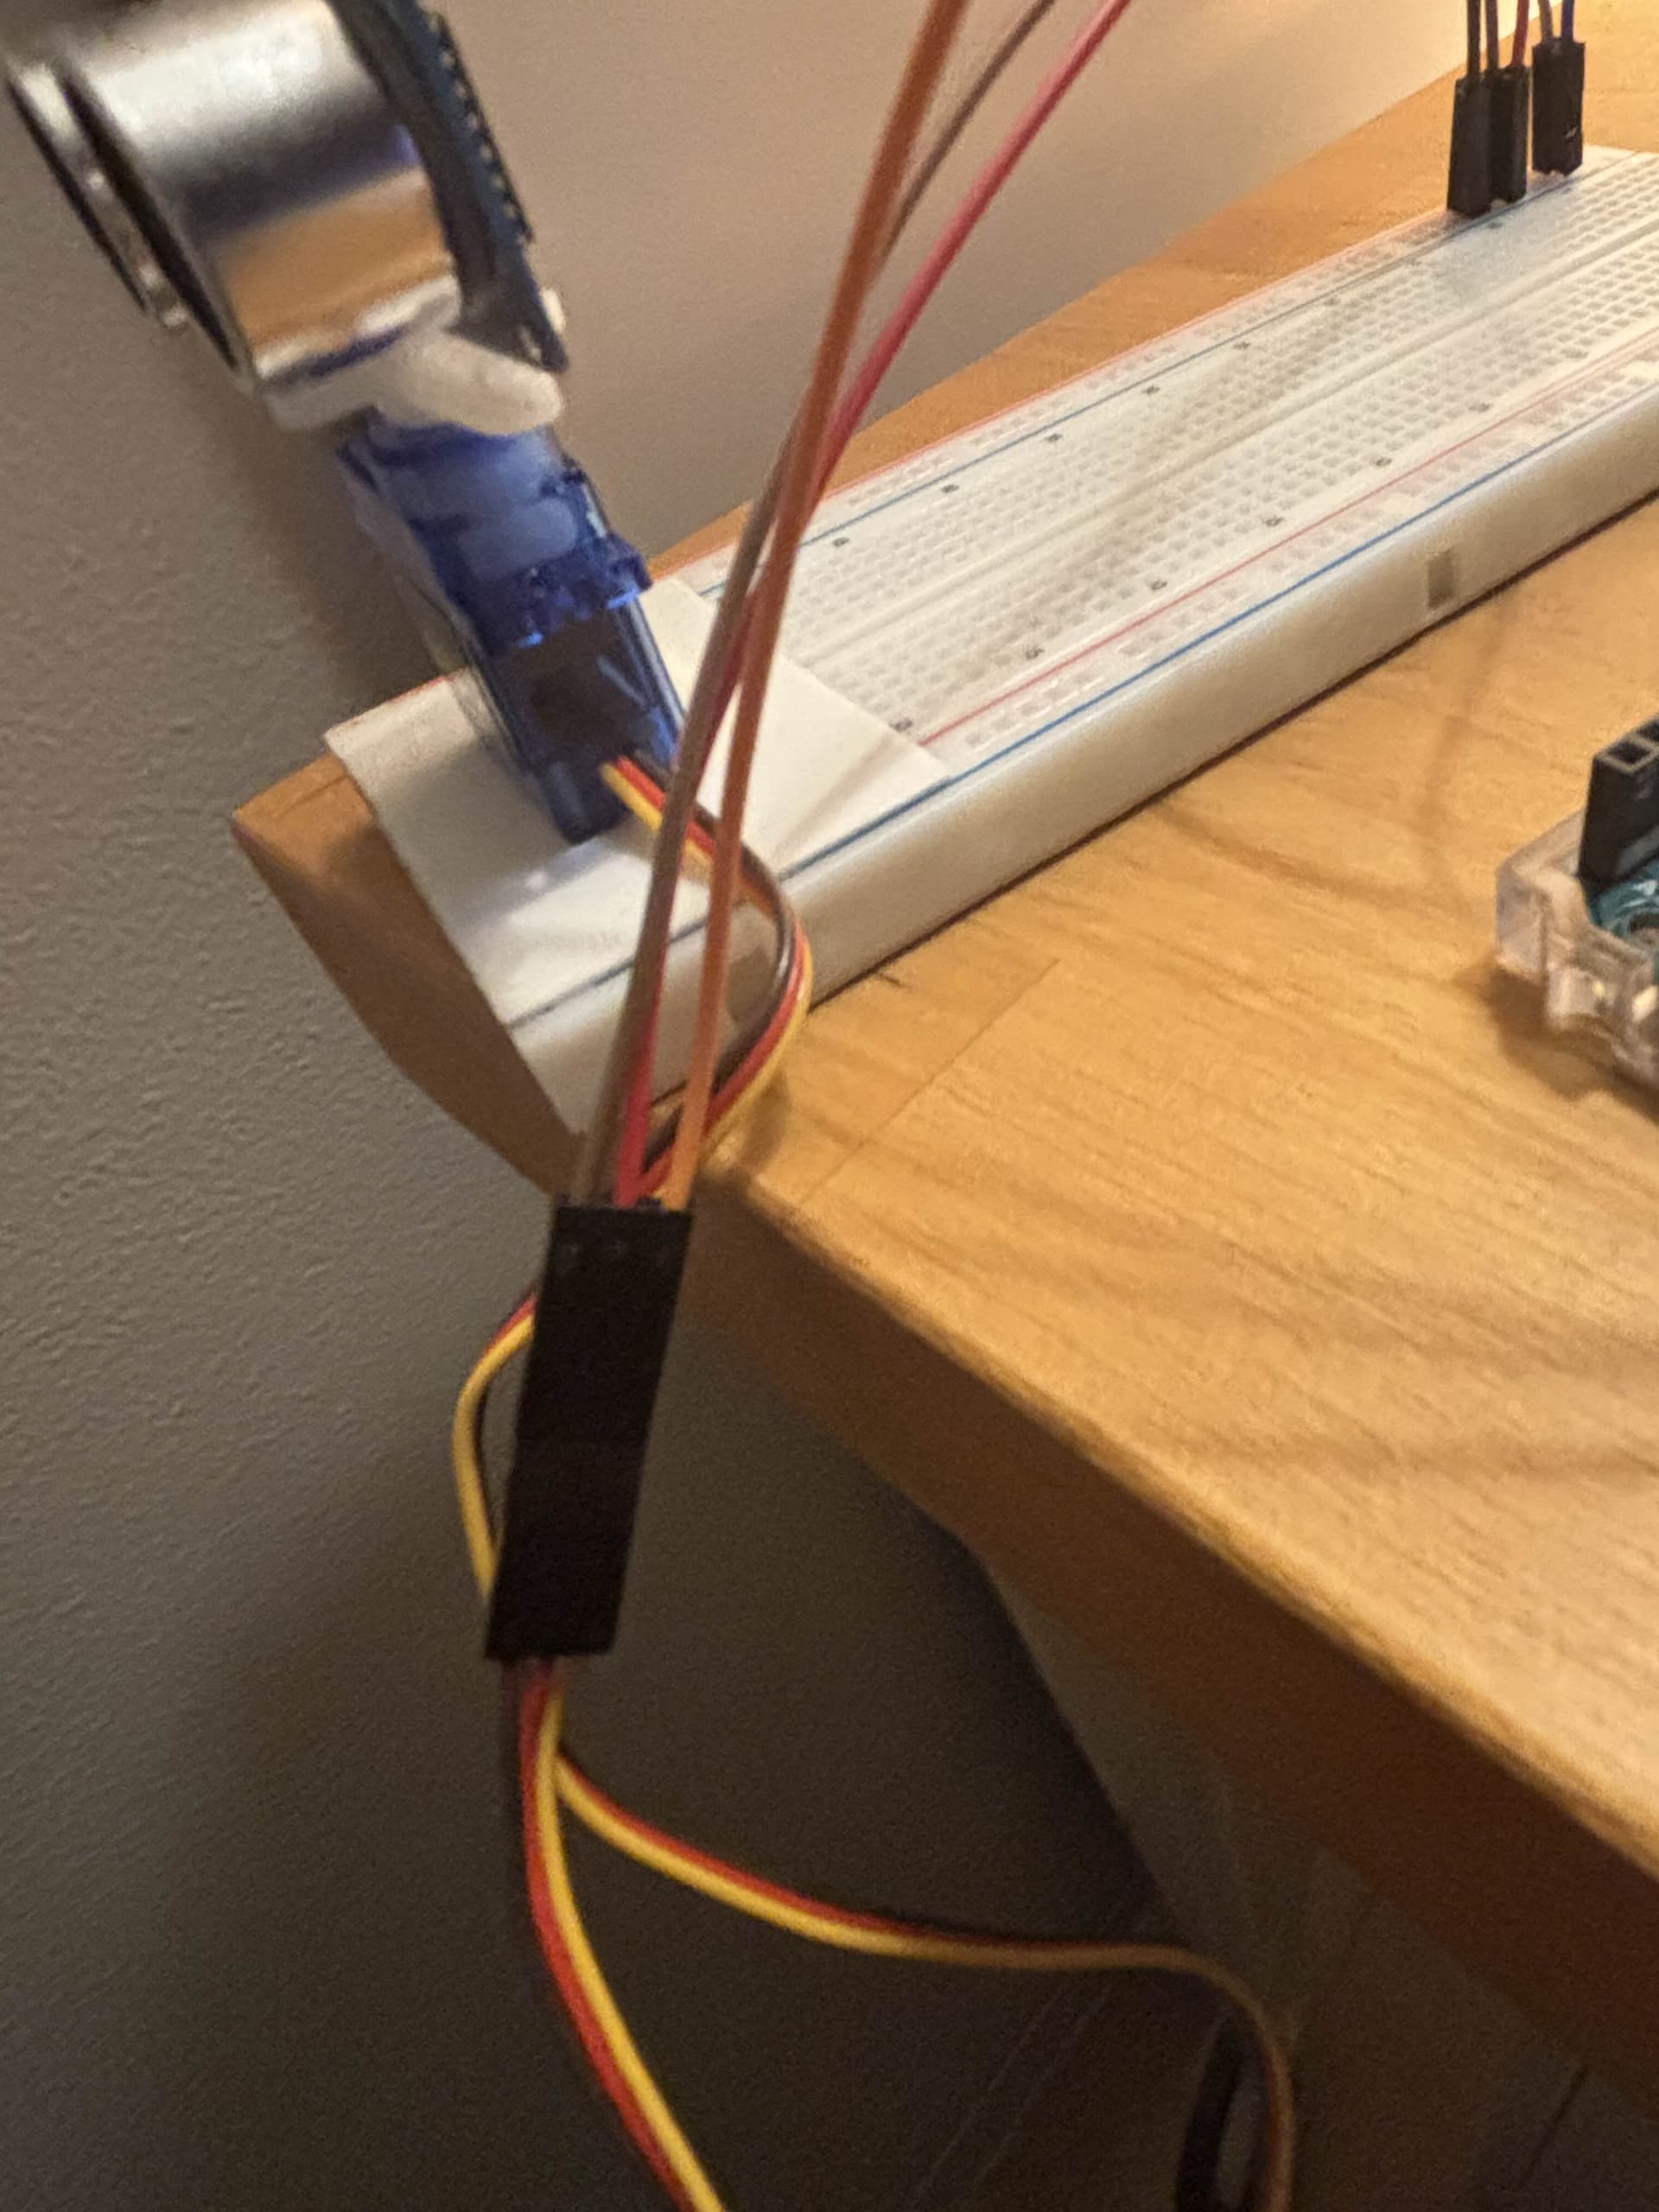
usually brown is - and red is +…
it seems your servo is powered the wrong way…
simply remove the power wires and see if the controller works. if so, I might be right… then swap the wires…
I am not sure about this servo library, but it might need a pwm pin… 3, 5, 6, 10 or 11…
how do you power your arduino?
a servo might take too much current…
with your current setup, I think you should be ok…
No, it can use any pin, they don’t have to be PWM pins.
1 Like
Edit your code and add code tags.
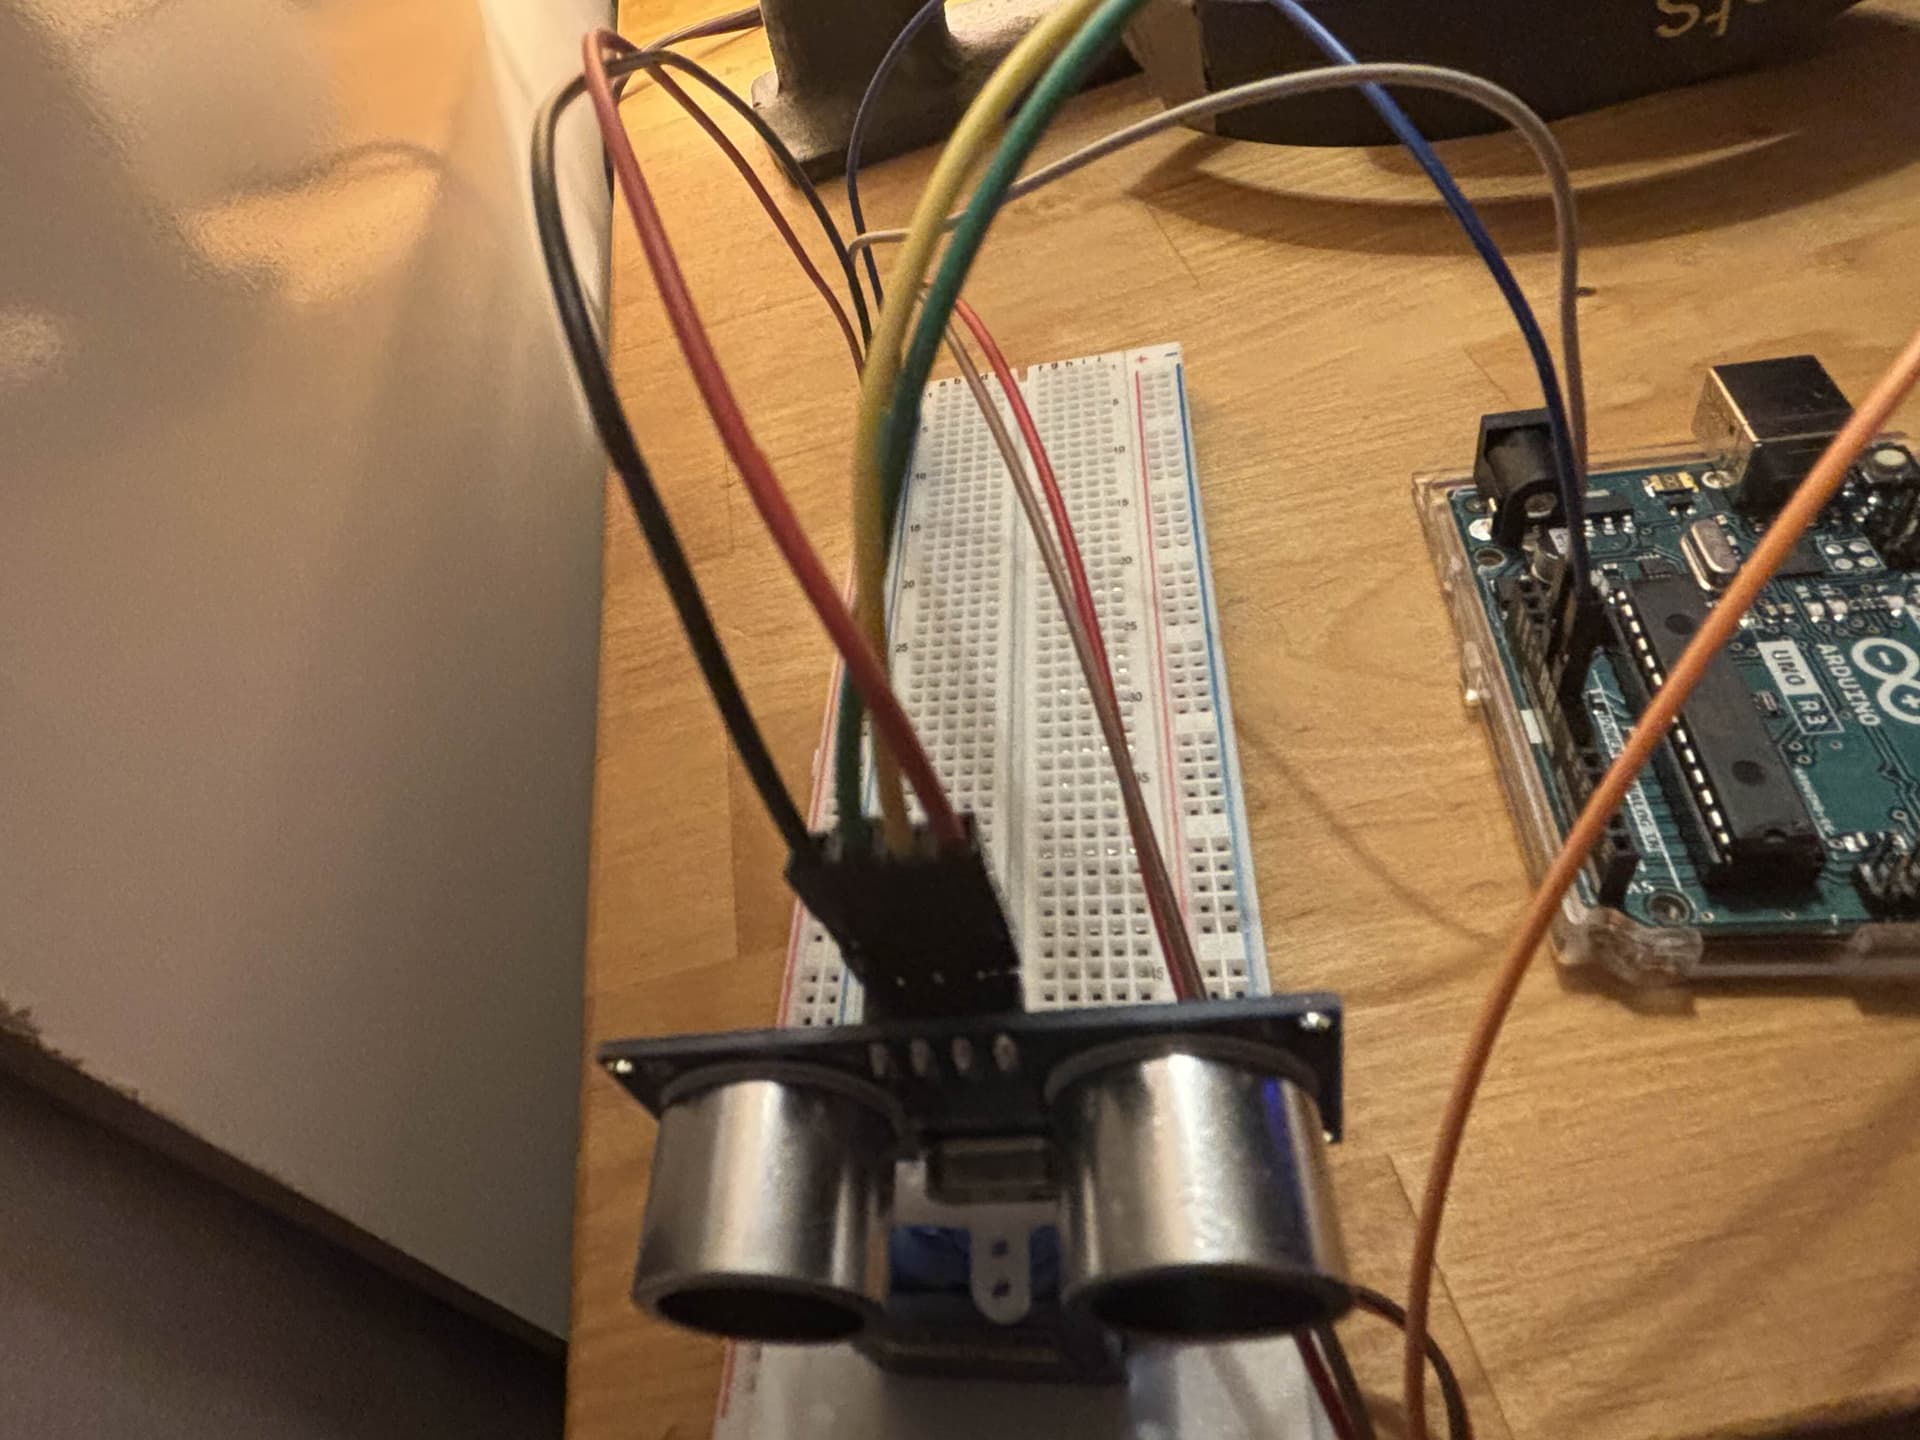
Draw by hand the wiring diagram. Now take a photo. These pics do not help.

Does the board still work on it's own, powered through the USB connector?
If it does, you're lucky. Don't reconnect other stuff until you check all the breadboard connections.
Agree with sterretje.
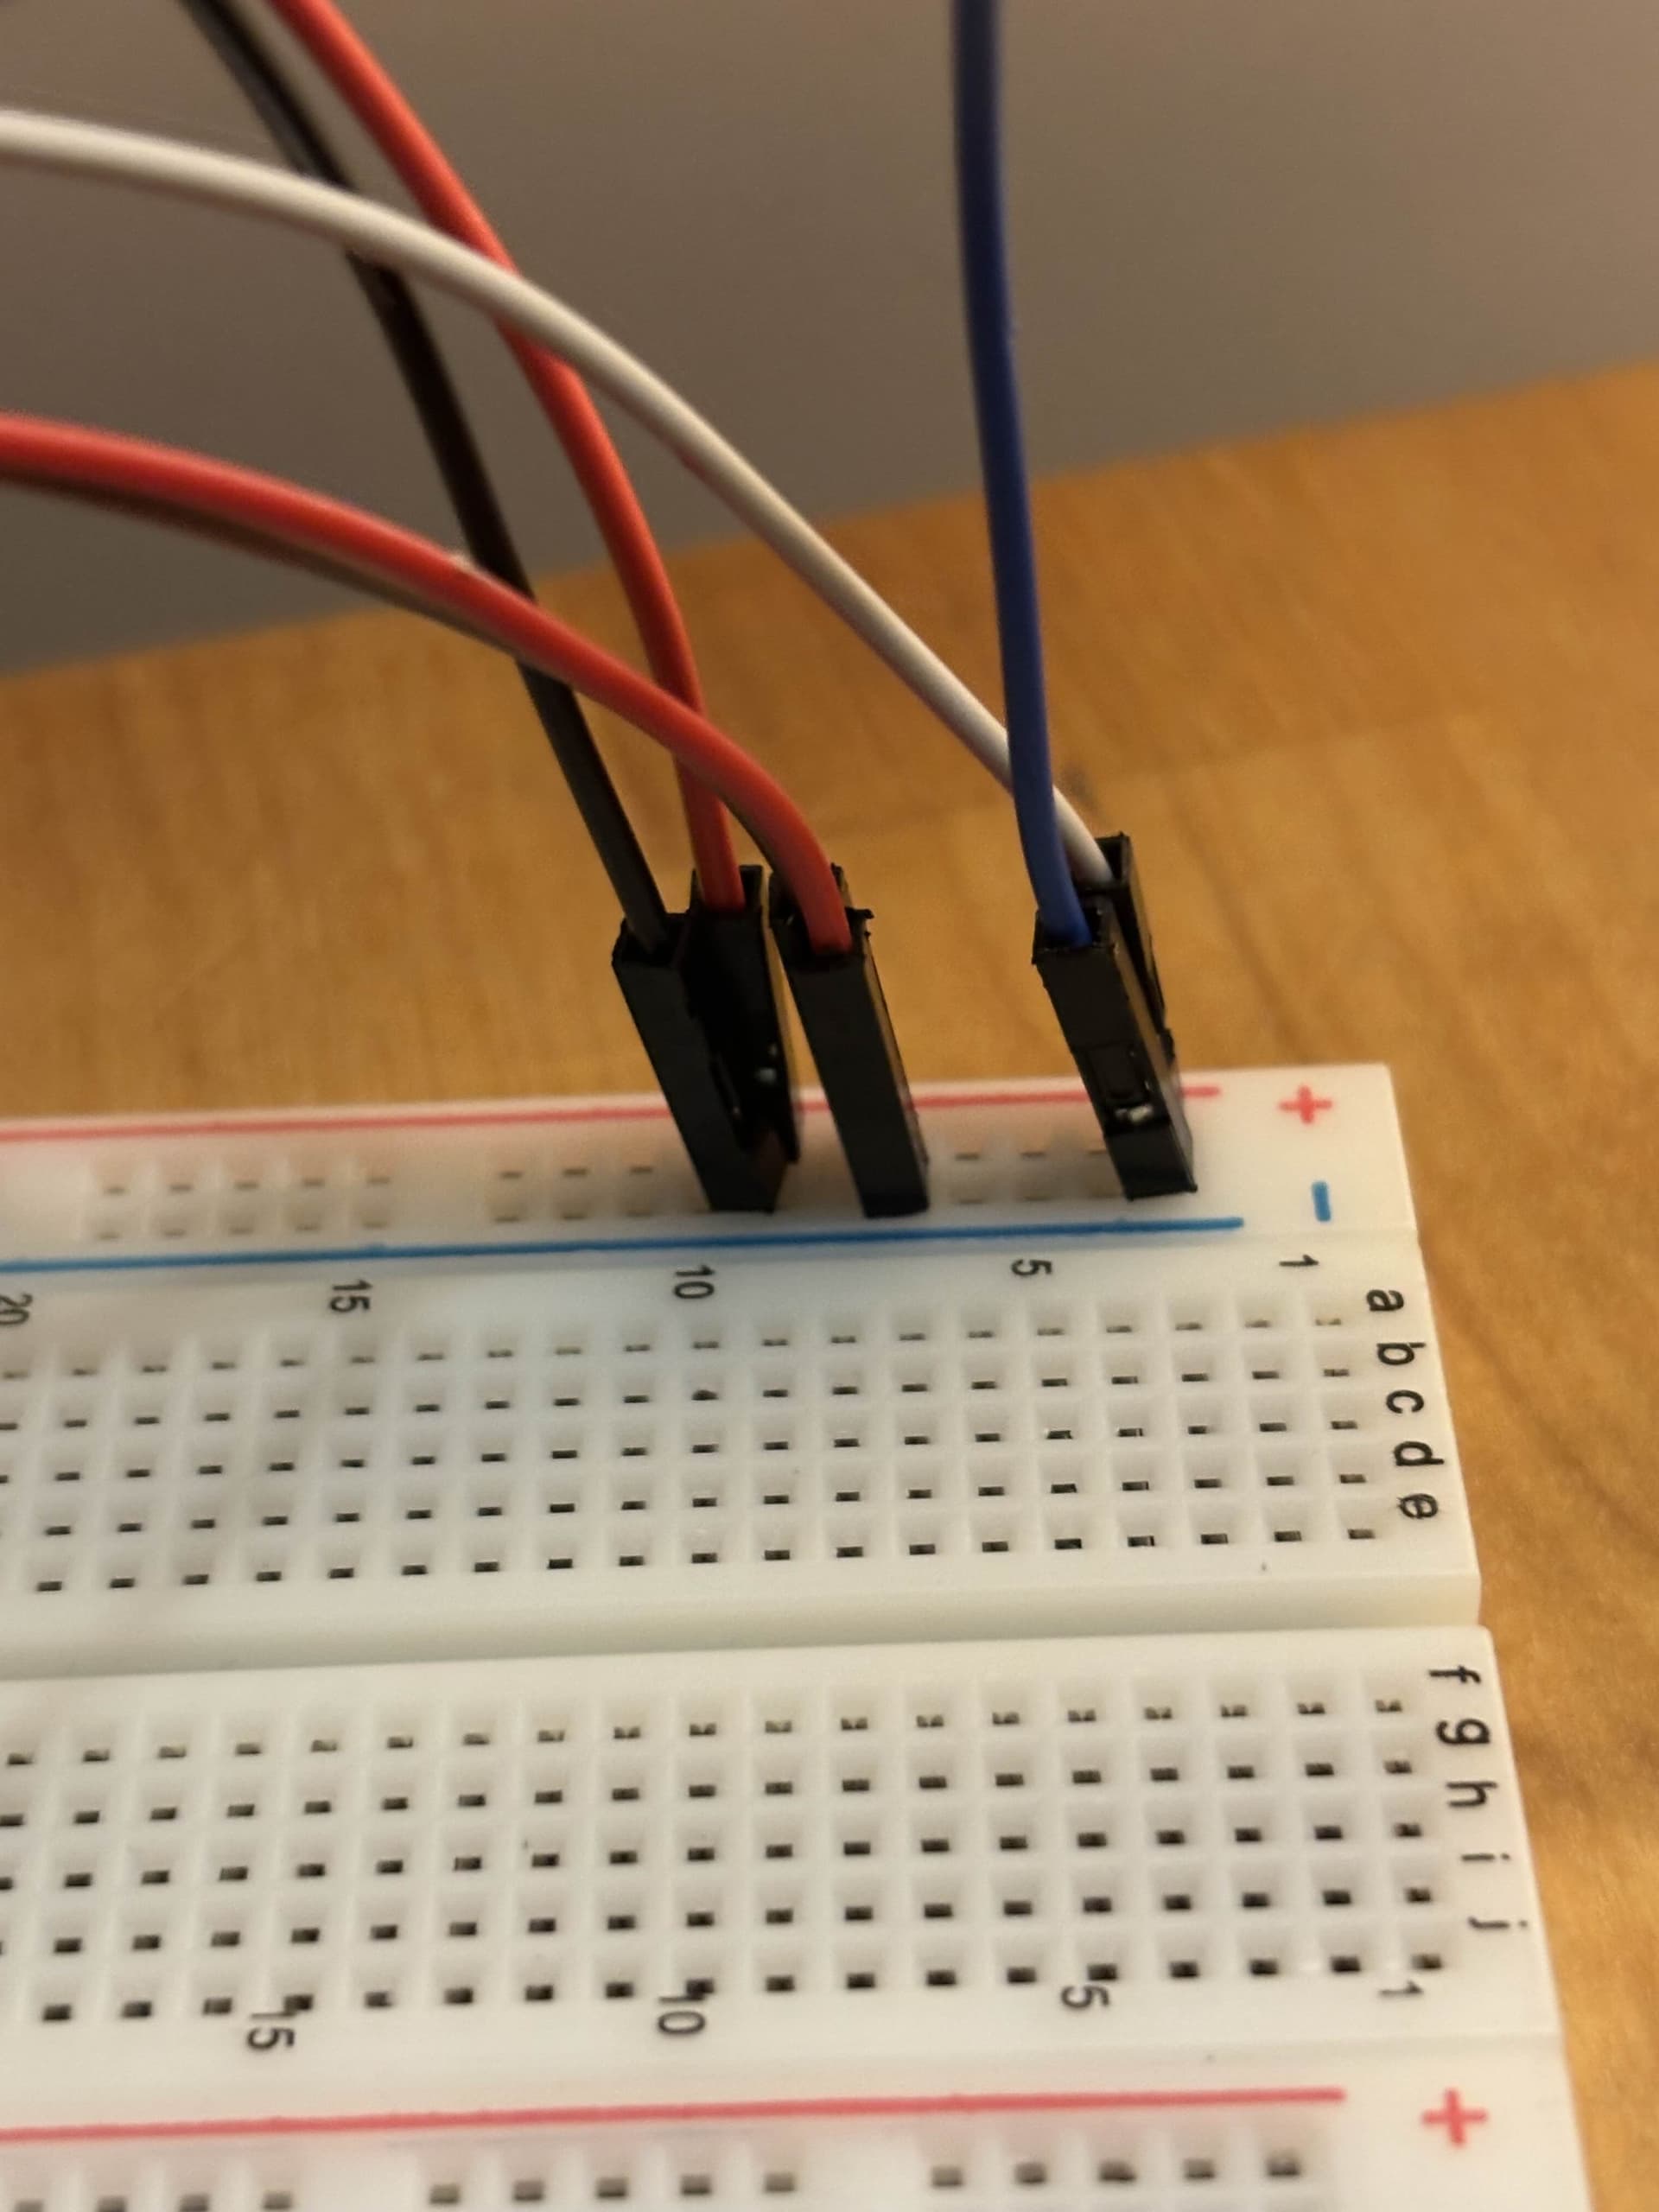
My colour vision is poor, but it sure looks like a red on the negative rail.
@char0 While electricity doesn’t care about the colour of wire, in order to make sure you haven’t made a mistake it is vital that you always use Red wire for positive voltages, and Black wire for negative voltages, because otherwise it causes alarm bells to ring in the heads of people trying to understand your wiring.
When you get a bit more experienced you can use Red like wires for positive, which to me are Orange, and Black like (or rather ground like) colours for negative. This is a wider range because I will use Green or Blue. But for now stick to Red and Black.
2 Likes