1.) i don't need the led she is using, so that i can remove from the code.
2.) i don't know why she is using a shield - it was not mentioned in the parts list...
3.) i want to save the the dollar amt say if the power goes out.. or i unplug the unit or batteries die - not sure how i want to power this thing yet..
4.) i want to make this a stand-alone, meaning i don't want to have my arduino attached to it
what will i need or how do i go about accomplishing steps 3 & 4?
basically i would like to make an enclosure as she did.. but to sit on top of say a large collecting container like:
i want to make this a stand-alone, meaning i don't want to have my arduino attached to it
How are you going to run the program that counts and stores the amount put into the piggybank.
What do you think the UNO does?
The shield with the blue terminal strip is to make connections to the UNO in a neat and reliable way.
The shield on top has the display.
@PaulS
there is no problem with #1 - i'll just remove the led code section
as for # 2.. any LCD could be used - i'll just change the lcd
as for #3.. the EEPROM is on the arduino which brings me to #4...
as for #4.. yes, i would like to put it all together say on a perfboard.. no actual arduino attached.. i know you have to have some sort of basic thing on the board to run it (like maybe a boarduino or something even more simple and cheaper like the minimum BARE BONE requirements).. i just don't want to tie up my arduino mega to it - so yes a standalone
it's ready to go.. just plug it into a wall - (or in some cases a battery pack)
say i had 30 finished projects.. i wouldn't want 30 arduinos.. they are meant to be standalones.like when you open a flat tv or dvd/vcr.. there's no actual arduino.. what's on the circuit board is another thing - (which is what i'm getting at).. but they're ready to go.. just plug it into the wall.
You'll need a regulator. You can not rely on that power supply outputting exactly 5V. That will require resistors and capacitors.
There are plenty of schematics and how-to guides on line for building a standalone Arduino. Though, by the time you get done, you probably won't have saved any money.
i liked the first one the most i think.. although it does talk about the voltage regulator, they skipped a part by not putting in the power jack on there as well.. we can skip the usb because there is absolutely no need for that part.. it's strictly wall jack powered
i don't think there is OR is going to be an exact tutorial of what i'm looking for.. i think i might have to find and hire someone to build exactly what i want to MY specifications.. after that i can reproduce it if i so choose to
First of all, Becky used a float for the amount of money deposited. Don't do this, especially if you want to store the amount in the EEPROM.
I suggest using two byte variables, one for the dollars and one for the cents. You can perform the carries manually, just as with traditional pen-and-paper arithmetic. Something like this:
// when a quarter is inserted
cents += 25;

if (cents >= 100) {
  // 100 cents make a dollar
  cents -= 100;
  dollars++;
}
It is also easy to store byte variables in the EEPROM. (The EEPROM is what you will be using to "save" the dollar amount.)
Second, as for a power supply, you will probably want to use 5V (five volts). Depending on the kind of power supply, you might need to do a bit of soldering to wire it up correctly. (I found this out the hard way, with much aggravation.) That is because you will not be using a "proper" Arduino, which brings me to...
Third, there exists an Adafruit-branded thing called a "Boarduino". I have successfully used Boarduinos in clock projects I have built. I strongly suggest you cough up the dough for the USB version of the Boarduino (your sanity is worth the extra $7.50). Actually, if you use USB power, you don't need to worry about the extra soldering for the power supply or the related aggravation, but then you need a proper USB power supply and not just any old 5V power supply.
i might have to use 12v because the lcd may be 5v, but the coin acceptor is 12v..
it cannot be usb powered.. it MUST be wall jack powered.. basically everything i want to make is wall jack powered... (maybe a couple of little things battery powered later on...). there is absolutely no use for anything usb on any of my projects EXCEPT for 1.. and this is not the one.. (that's another topic i have going on in the forum).
insignia:
say i had 30 finished projects.. i wouldn't want 30 arduinos..
How many finished projects do you have now?
If the answer is "zero", I suggest that you take things slowly and work on one project at a time. This way, what you learn from one project will make things much easier (I said "easier", not "easy", there is a big difference) when you work on other projects.
you could as well read "7-12VDC" next to the 7805 Input (VIN) and use a 12V wallwart.
If you do not power too much from the 5V, besides the atmega328p.
Depending on the electrical noise your coin checker might produce on the 12V supply, an additional 100nF ceramic capacitor might help.
odometer:
How many finished projects do you have now?
If the answer is "zero", I suggest that you take things slowly and work on one project at a time. This way, what you learn from one project will make things much easier (I said "easier", not "easy", there is a big difference) when you work on other projects.
"finished" none.. just about finished.. 3 - working on 3 more.. so i have 6 projects going on.. i work on each here and there when i have time.. i alternate between them.. i'm in no absolute rush to complete any of them..but this one i would like to see done sooner than any other... well, this one and the other multiple things topic i have posted on the forum
One reason I suggested you finish one project first is to give you an idea of what is realistic and what is not.
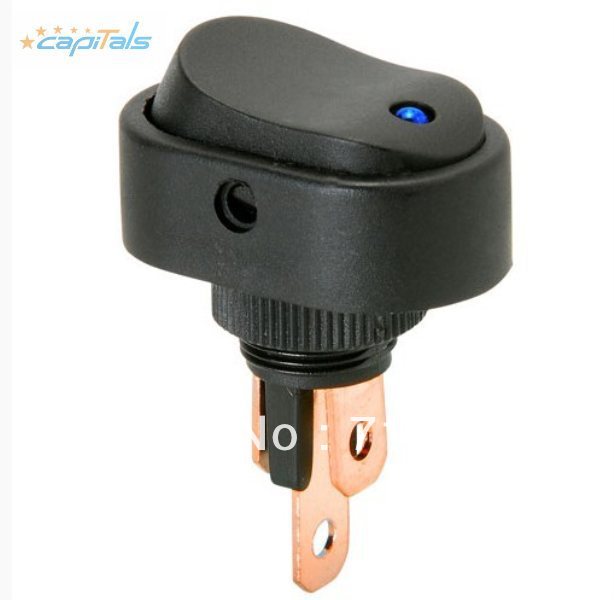
The switch you linked to probably would not make sense as an on/off switch for your project. This is because the switch is "on" only as long as your finger is on the button: as soon as you let go of the button, it turns "off".
Perhaps, though, you only want the switch to control power to the lights, display, and coin mechanism. In that case, you could have the Arduino detect when the button is pressed, and send a signal to a relay of some sort to turn on power to the rest of the electronics. However, the Arduino itself would need to already be on in order to detect that you have pressed the button; in other words, you cannot use the button to turn on the Arduino. (Or maybe you can, but setting things up to work that way might prove very impractical.)
just because someone plugs it into the wall doesn't mean it should be "on".. you plug it into the wall and turn it on by button.. (that's considering if you have an on/off button). otherwise yes, it will be on the minute you plug it in the wall.. always on until power goes out or it's unpluged.
but i was just basically giving out the of parts and their voltage needed - so it can be powered and regulated properly..


")