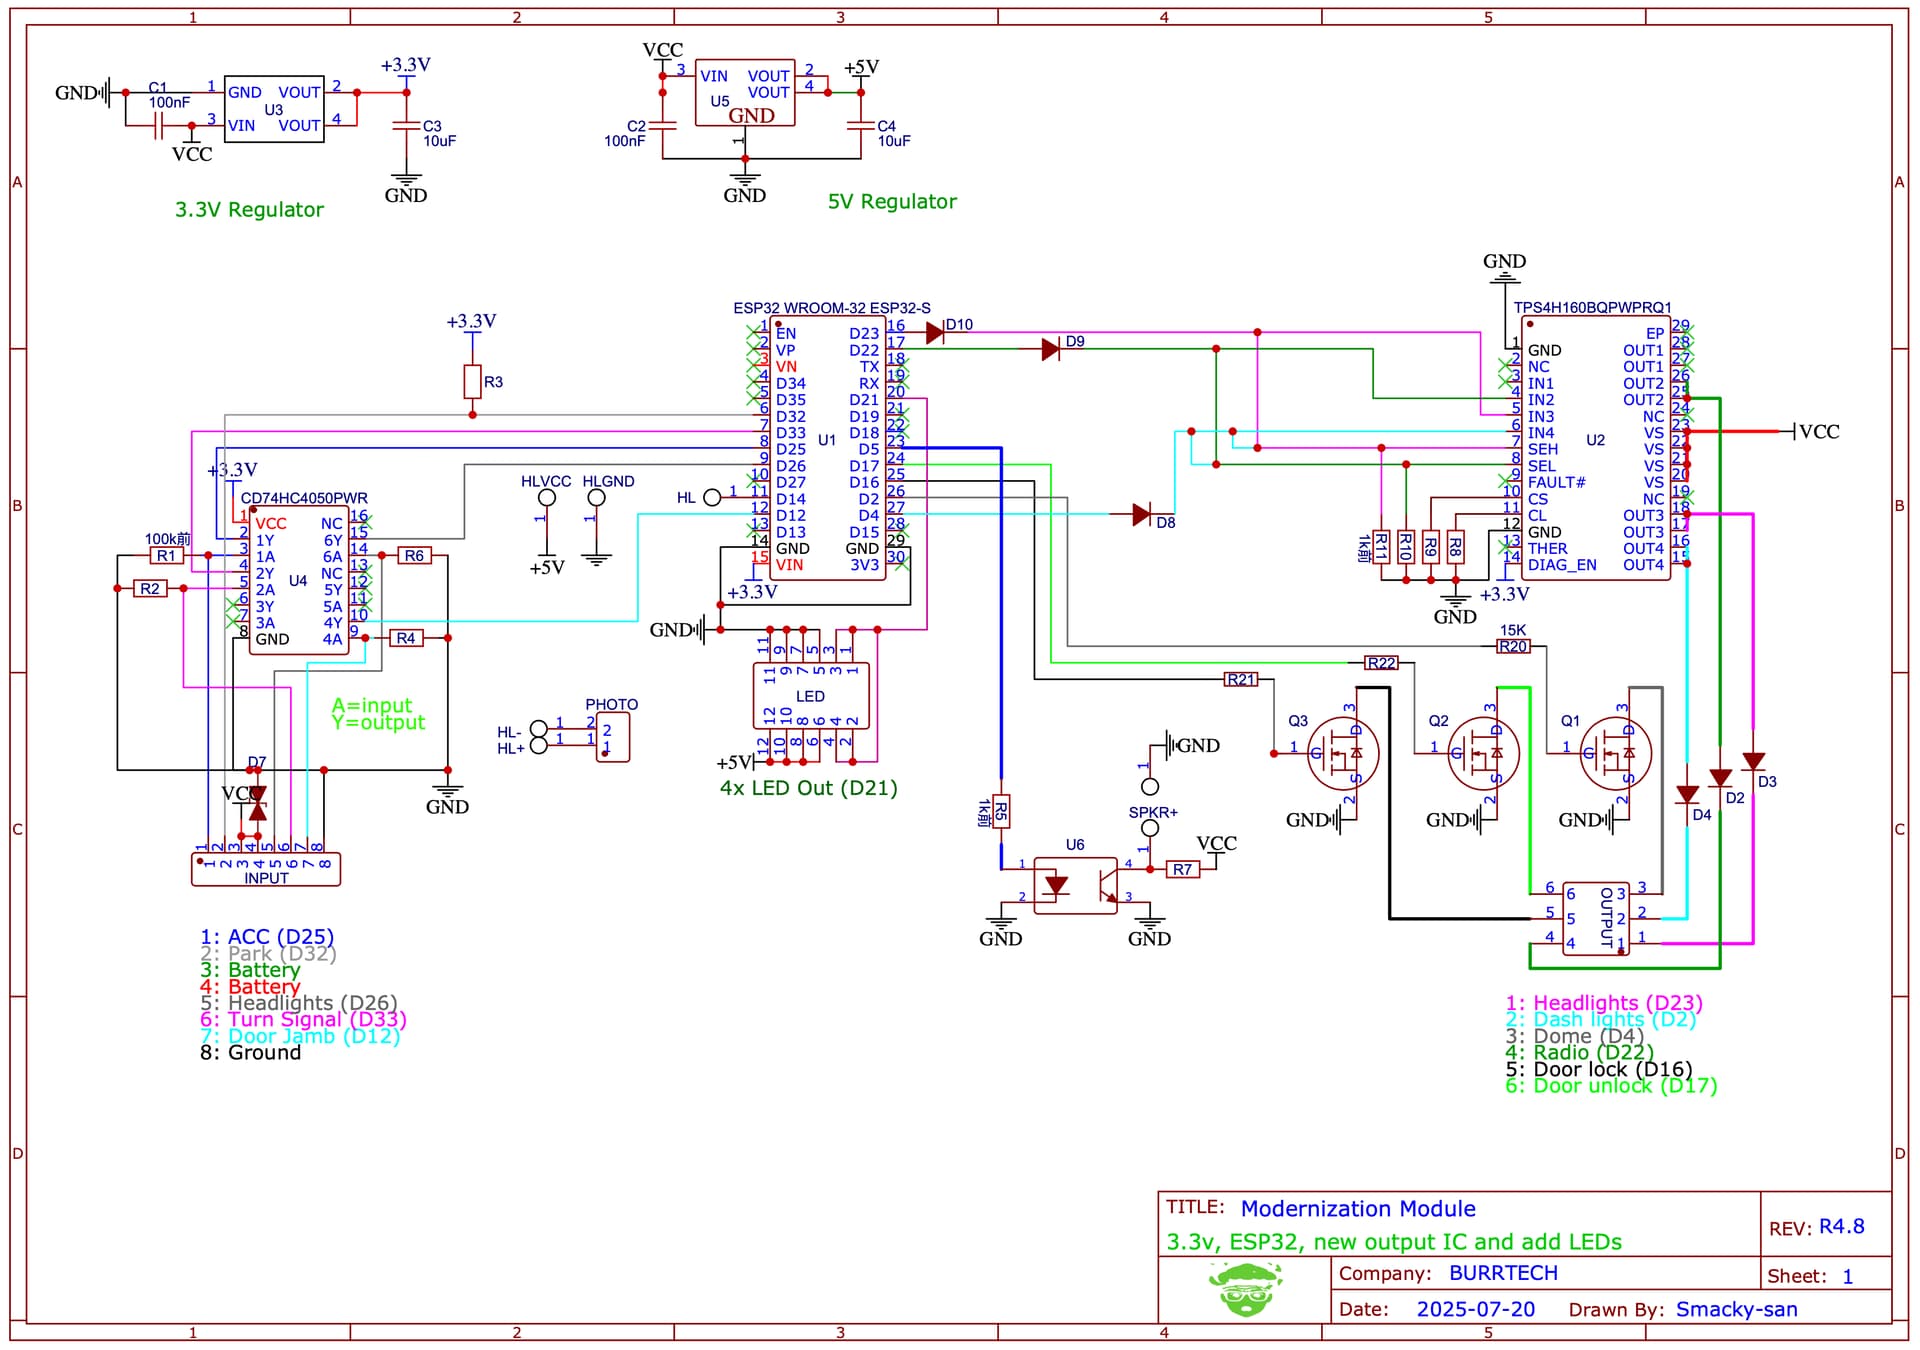
I did, but the code has changed significantly. That's a problem with using WOKWI in a forum topic like this. You can't be sure what the code (or circuit) looked like at the moment it was posted.
I can't remember if the code was like the code I suggested in post #5.
I'm going to assume it wasn't and that the code I posted would work, and @burrism made some change that broke it.
I've found that the ESP32 can't be trusted to have the pins always as INPUT unless you set them up that way. So post 5 was missing setting the pins as INPUT and calling begin(115200) for Serial. Besides that, indeed the Macro does work as expected which was your point.
This can be tested here
On my Mac I need to hold cmd pressed when clicking on a button to make it stick so that you can go and press the other one with the mouse in wokwi (needed to simulate both button pressed) - so on windows there is likely also a modifier to press, may be Ctrl?
The ESP32 does default to INPUT after reset except some pins have internal pull-ups or pull-downs enabled by default, and certain pins are used internally by the system or bootloader with specific states (GPIO0 and GPIO2 have internal pull-ups enabled, GPIO12 has a pull-down, and GPIO15 has a pull-down IIRC) so it's always better to set them the way you actually want and not take a chance. (in OP's code for example he was using GPIO12)
Even if pins do default to INPUT, which most do, I prefer to use pinMode() anyway. If nothing else it serves as a reminder to me when reading the code later
Thanks for the top about interval pull-ups on GPIO0 & 2.
But setting the pin mode to INPUT cannot change the fact that there is an external pull-up/down resistor!
If you set mode INPUT_PULLUP or INPUT_PULLDOWN, will the internal pull-up/down be strung enough to reliably defeat the external resistor? Internal pull-up/down are usually pretty weak.
EDIT: oh, they are all internal pull-up/down? Sorry, got it now.
You guys lost me in these subsequent conversations!
The code in Post 5 did not work in the Wokwi simulator,
the code in Post 11 worked but no serial print,
the code in Post 14 worked and had serial print.
And I am using pull-up and pull-down resistors for each of the inputs.
A minor point, but your topic title refers to "IF Loops" but there is no such thing. An if statement tests the conditions that you use with it and returns true or false. Depending on the value returned by the test you can decide what code, if any, should be executed. There is no looping involved.
If you want to repeated test the conditions then it is up to you to wrap the test in a loop such as a while loop, do loop or for loop. As it happens the Arduino IDE provides another convenient way to repeatedly test the conditions by using the cunningly named loop() function which runs repeatedly
In general it is advisable to let your code run freely rather than getting it stuck in a loop which could take a significant time to execute or may never end. Using the loop() function is a good way to avoid this problem
Thank you sir. Coding verbiage is not my strong point.
I have some code that someone else wrote for me but it is not working properly on the ESP32 board or in the WOKWI emulator. So I am trying to re-learn the basics so I can make a crude code that works and then get fancy with it once I have the building blocks in place.
I understand the difference between IF statements and loops.
Now I am trying to get my IF statements to each run for a select amount of time.
It seems simple to me: check conditions, if met then execute, add 1 to the counter, repeat until conditions are not met. But the dome loop is not turning off. ???
int ACC =25;
int DOOR_JAMB = 12;
int TURN_SIGNAL = 33;
int HEADLIGHTS = 26;
int PARK = 32;
int SENSOR = 14;
int DOME = 4;
int RADIO = 22;
int HEADLIGHTS_OUT = 23;
int LOCK = 16;
int UNLOCK = 17;
int CHIME = 5;
int INTERIOR_LIGHTS = 21;
//int DOME_COUNTER = 0;
//int RADIO_COUNTER = 0;
//int TURN_COUNTER = 0;

unsigned long DOME_TIMER = millis();
unsigned long RADIO_TIMER = millis();
unsigned long TURN_TIMER = millis();

long DOME_INTERVAL = 20000;
long RADIO_INTERVAL = 300000;
long TURN_INTERVAL = 90000;


void setup() {
  pinMode(25, INPUT);
  pinMode(12, INPUT);
  pinMode(33, INPUT);
  pinMode(26, INPUT);
  pinMode(32, INPUT);
  pinMode(14, INPUT);
  pinMode(22, OUTPUT);
  pinMode(4, OUTPUT);
  pinMode(23, OUTPUT);
  pinMode(16, OUTPUT);
  pinMode(17, OUTPUT);
  pinMode(5, OUTPUT);
  pinMode(21, OUTPUT);

  Serial.begin(115200);
}

void loop() {
  //Dome light loop
  if (digitalRead(ACC) == LOW && digitalRead(DOOR_JAMB) == LOW && DOME_TIMER < DOME_INTERVAL) { // If ACC is OFF and door is closed, start 20 second dome light counter
    digitalWrite(DOME, HIGH); // Turn dome light on
    Serial.println("Dome light is on");
    DOME_TIMER++;
  } else{
    digitalWrite(DOME, LOW);
    Serial.println("Dome light is off");

  }
  //Radio loop
  //if (digitalRead(ACC) == LOW && digitalRead(DOOR_JAMB) == LOW && RADIO_COUNTER < 300000) { // If ACC is OFF and door is closed, start 5 minute radio counter
  //  digitalWrite(RADIO, HIGH); // Turn radio on
  //  Serial.println("Radio is on");
  //  RADIO_COUNTER++;
  //} else{
 //   digitalWrite(RADIO, LOW);
  //  Serial.println("Radio is off");
  //}
  //turn signal loop to check conditions and run loop until conditions change
  //if (digitalRead(TURN_SIGNAL) == HIGH && TURN_TIMER > TURN_INTERVAL) { // If turn signal has been on for more than 90 seconds, Chime will activate
  //  digitalWrite(CHIME, HIGH); // Turn Chime on
  //  Serial.println("Turn Signal has been ON for more than 90 seconds");
//}else{
  //  TURN_TIMER++;
  //}
}
    delay(500);
}
use millis() to measure time. Don't depend on a counter that will evolve at a speed proportional to the complexity of the code (and you never reset your counter as already reported). To measure a duration, you note the value of millis() when the start condition is met and then if the condition is still met, you compare the difference between the current millis() and the time you recorded to calculate the duration. that's what you compare.
It seems to me that you have not got the hang of using millis() for timing
Save the value of millis() as the start time when the start conditions become true. It is also convenient to set a boolean variable to true at the same time to indicate that timing is taking place
Later in loop(), if timing is taking place then test whether millis() minus the start time is greater than the required interval. If not then keep going round loop(). Once the required period has elapsed take any actions required and set the timing indicator to false
In your case you might also want to end timing if the switch conditions change
int ACC =25;
int DOOR_JAMB = 12;
int DOME = 4;

void setup() {
  pinMode(DOME, OUTPUT);
  pinMode(ACC, INPUT);
  pinMode(DOOR_JAMB, INPUT);
  Serial.begin(115200);
}

void loop() {
  if (digitalRead(ACC) == LOW && digitalRead(DOOR_JAMB) == LOW) { // If ACC is off and door is closed
      digitalWrite(DOME, HIGH); // Turn dome light on
One of the reasons they're called variables is that they might change. But those "magic numbers" never do. You can make that clear to everyone that reads your code -- including the compiler and yourself in six months -- by declaring them to be constant. Not only that "whatever gets assigned initially is never going to change", but that you know the values when compiling; it is not a value that depends on running the code.