Drilling Template Stick (DTS)
Normally a center punch and drill bit will suffice when holes need to be made in a mother board.
There are times, however, when accurately drilled holes need to be made.
Make a “Drilling Template Stick (DTS)”.
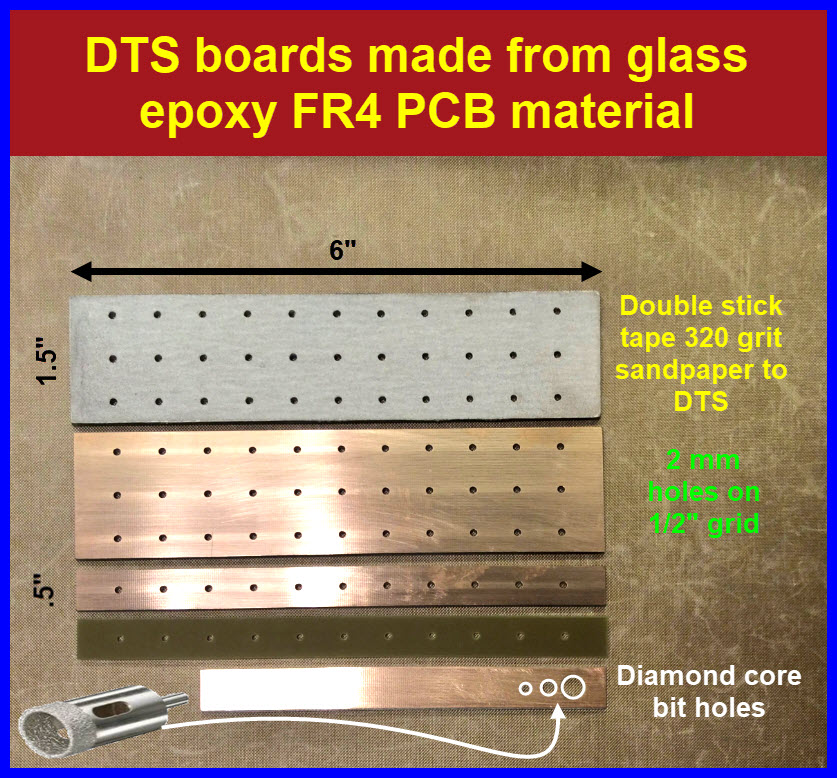
Make DTS boards from .062” FR4 glass epoxy PCB material.
Drill 2 mm holes on a 0.5” grid spacing in the board.
The boards shown below are ~6” by 1.5” and ~6” by 0.5 inch.
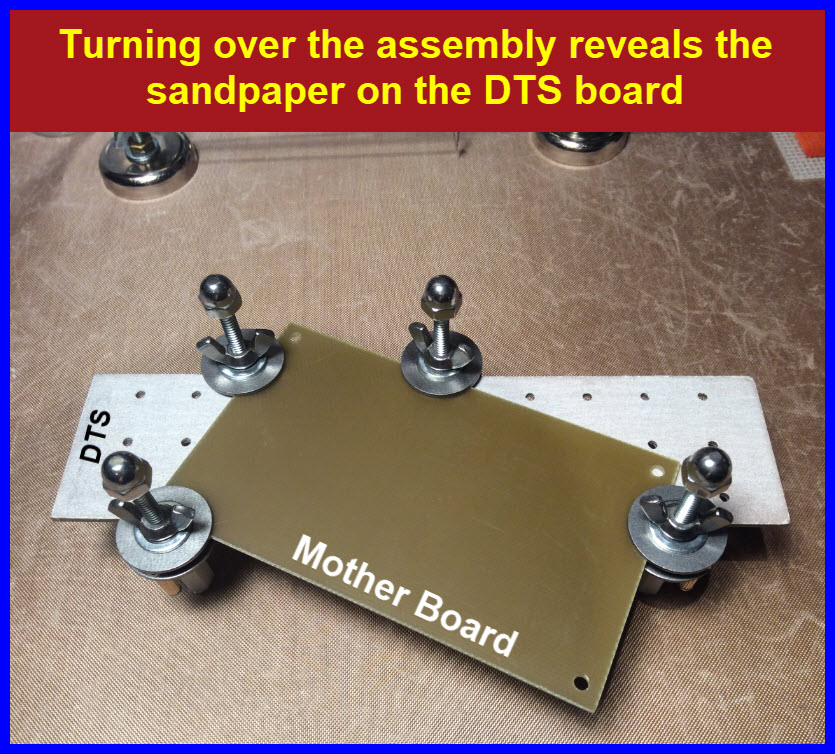
Double stick tape 320 grit sandpaper to the surface of your DTS.
Use a tapered round diamond file (from the grit side) to clear each DTS hole.
Tape your PCB paper pad template to your work piece.
Center punch all pads on your PCB paper pad template with a prick punch, remove template; put a Sharpie dot on each prick punch mark.
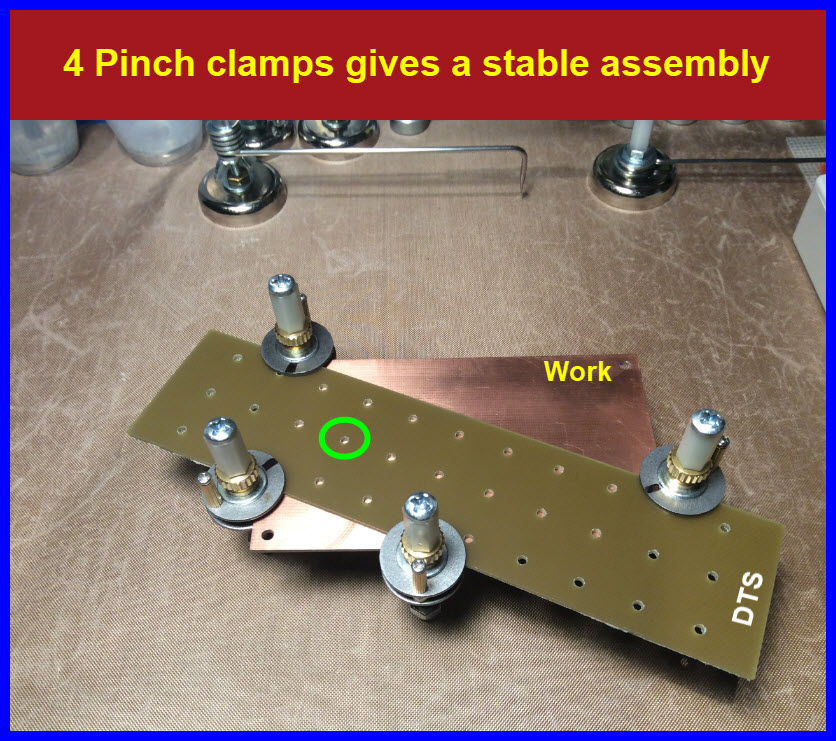
Center a DTS hole over one of the work piece Sharpie marks.
Use 3 Pinch Clamps to hold the DTS against the work piece.
Position the drill bit over a DTS hole, lower the bit into the hole without the drill power being on, turn on the drill power, drill the hole.
A drill press with a foot activated power switch is a good thing to have ;).
If needed, enlarge the holes after the DTS has been used to drill all the holes in the work piece.
In a nutshell, the DTS board prevents your drill bit from skating around when a hole is being drilled.
This is especially true with diamond core bits when you make pads in copper clad material.
A DTS board made from .062” PCB material, should be adequate for a 2 mm (~5/64”) drill bit.
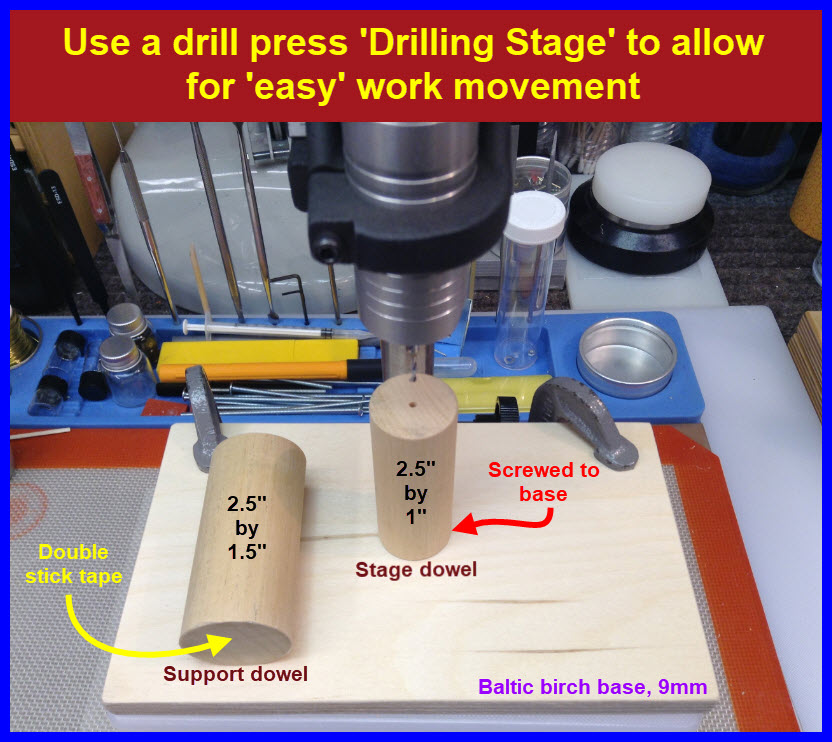
After adding the double stick tape to the support dowel, reduce stickiness by touching the tape with your palms a few times.
This makes it easier to reposition the dowel as you work.