Okay, I have a problem with activating my code. I have 1-2 sg 90's connected to an Arduino nano every (sg90(s) are/is externally powered with one 3 aa battery pack) all the wiring is right to my knowledge, so is the code. (I can supply code if needed) After uploading, the code doesn't work and there may be a buzzing or small jerking of the servo. Only when I take out or put in the GND pin that bridges the sg90 and battery pack to the Arduino will the program start for about a second, then stops. Is my power pack inadequate? One thing to note is that it does work with a sweep sketch and a slowdown servo speed sketch. I'm a little new to Arduino, and would appreciate some help!
Good idea, and together with a picture (schematic) of how it is all connected.
#include <Servo.h>

Servo servo1;

void setup() {
 servo1.attach(3); // put your setup code here, to run once:

}

void loop() {
  servo1.write(90);
  delay(1000);// put your main code here, to run repeatedly:
  servo1.write(0);
}
This is the code. Getting a picture...
Please edit your post, select all code and click te </> button; next save your post.
Although servos are outside my scope of knowledge, I think that this will set the servo to 90, wait one second, set the servo to 0 and repeat. As a result, it will go immediately from 0 to 90.
Maybe it helps to add a delay(1000); at the end of loop().
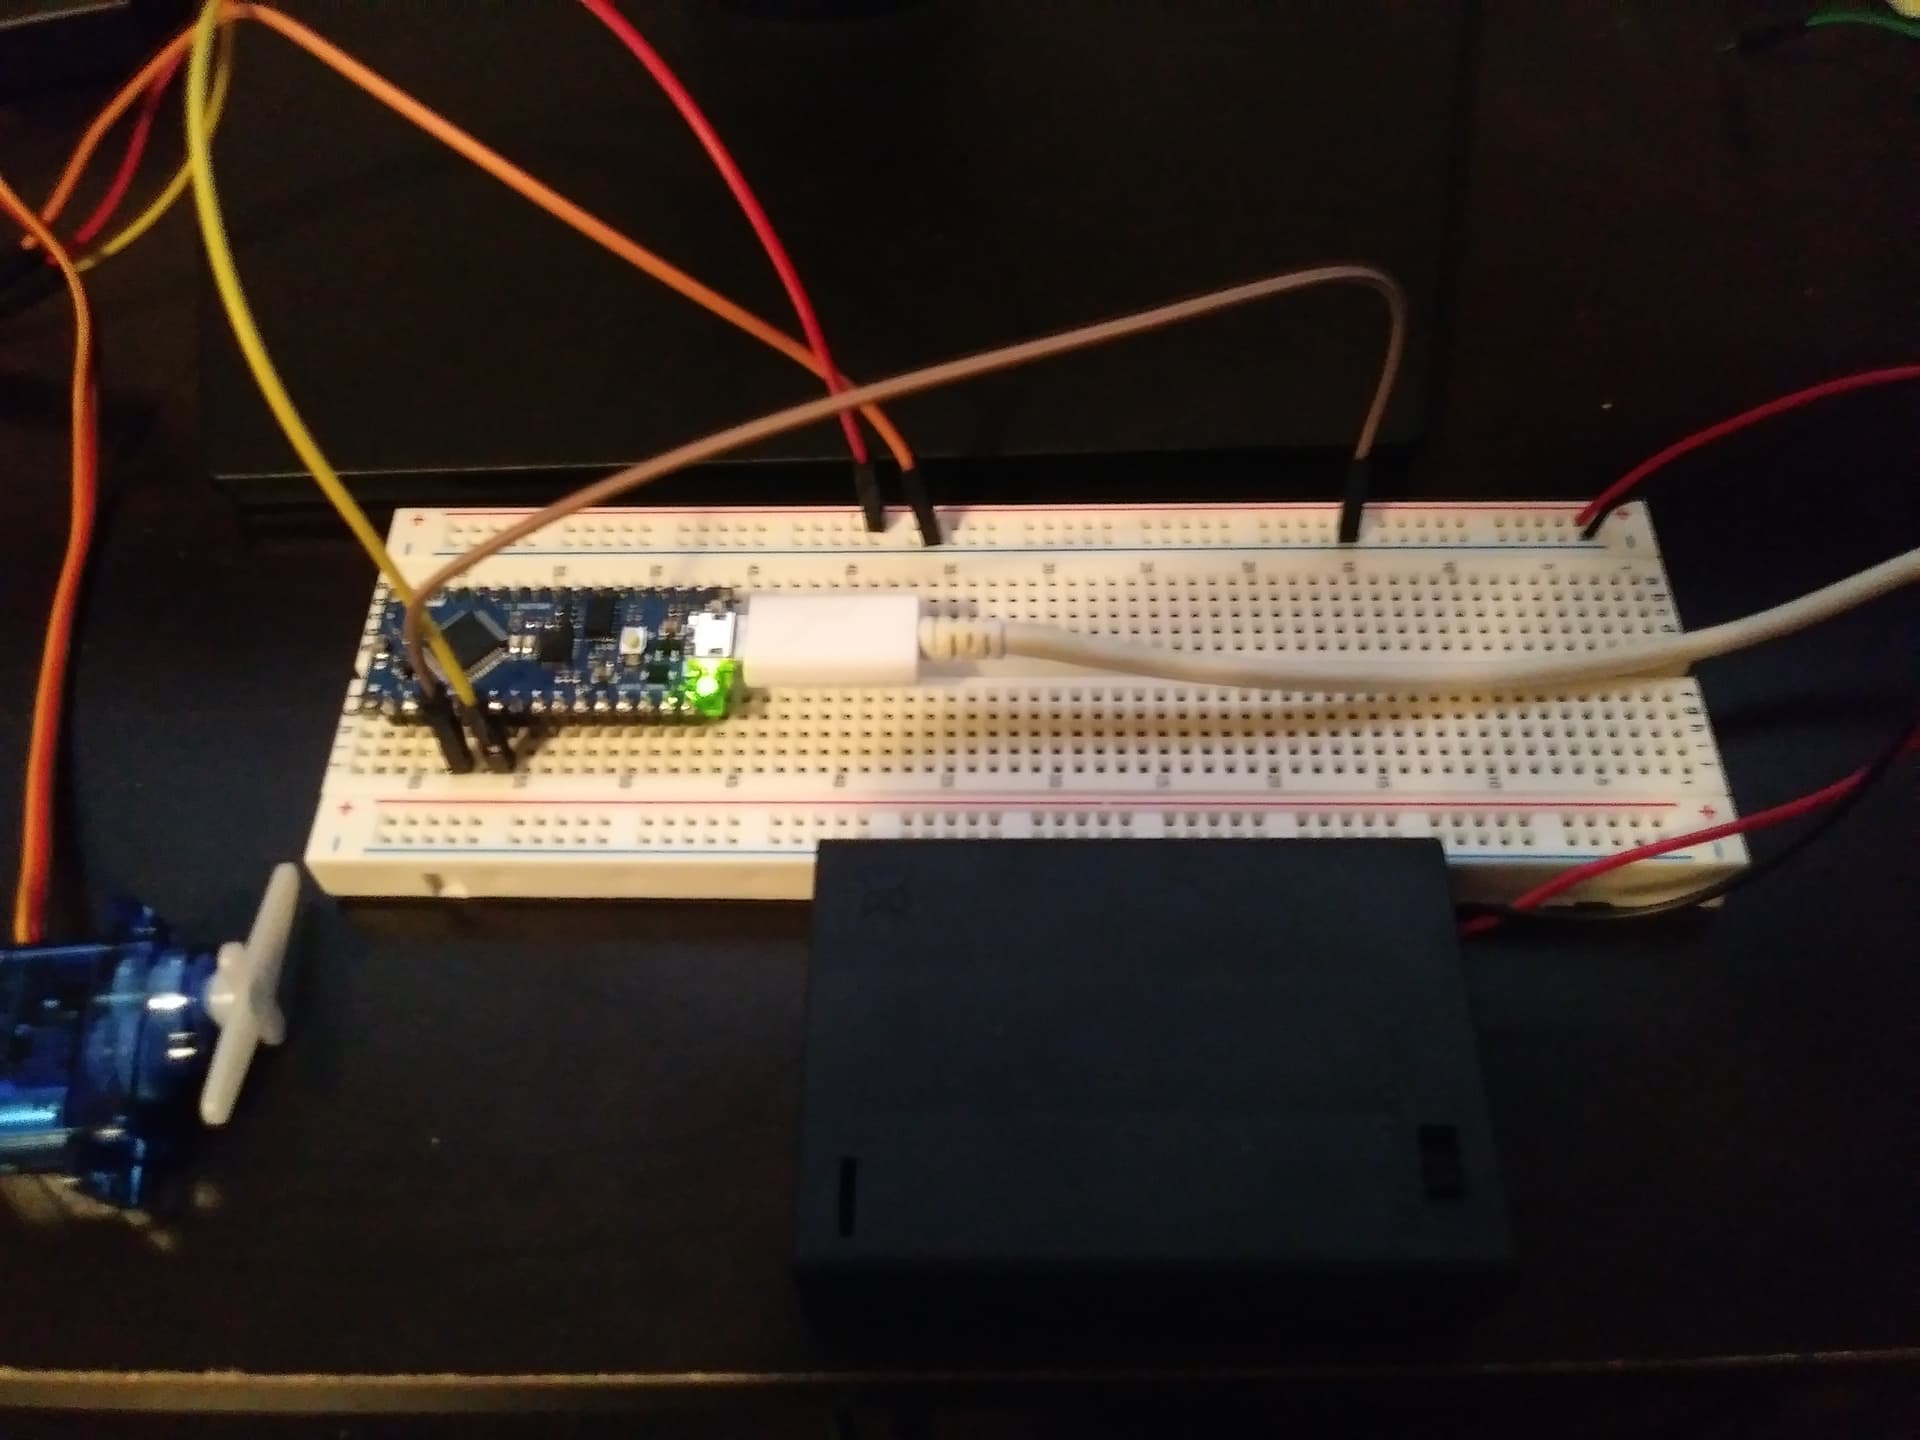
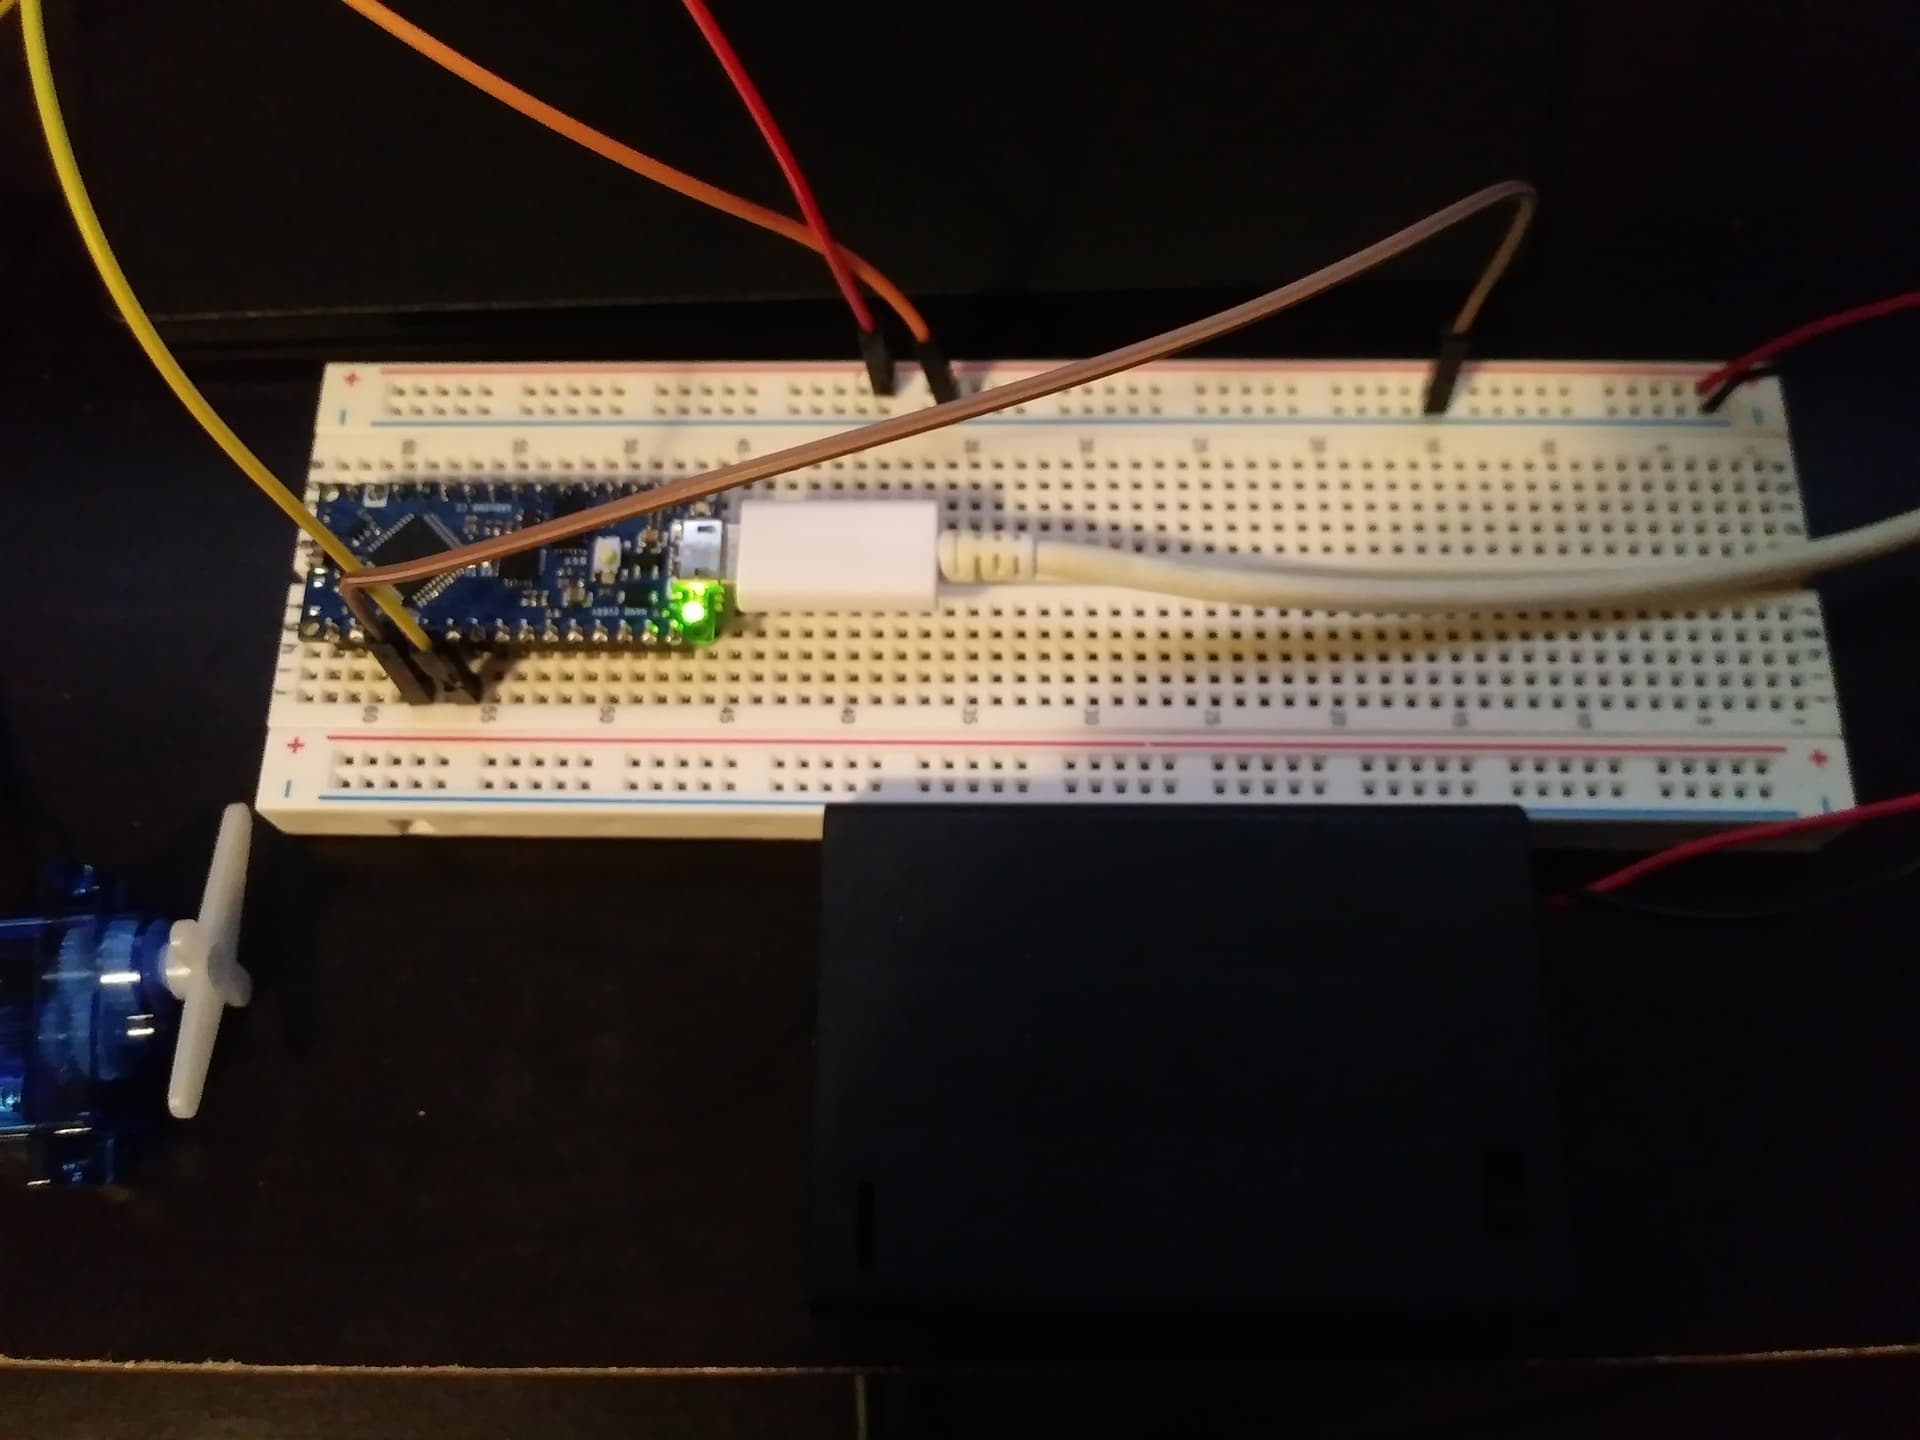
the image quality is kind of crap so I'll explain: brown is GND bridge to servo and battery pack, yellow is signal on pin 3, red and orange is power and servo GND connecting to battery pack
I've already tried adding delays at the end, to no avail. I just get a buzzing sound. I think it may be worth mentioning that as you can see, the servo is directly connected to the power with no resistor, and that it sometimes gets hot. All the servos I've tried does this. Maybe too much power being delivered?
there is no delay after last statement in the loop. when loop ends it goes right to the beginning, you set your servo to 0 and then immediately set it back to 90, what do you think would happen?
Refer to the post above, didn't work. Also, I switched out the servo for another one (Didn't change any of the other wiring though) and it works, then I took the same servo and connected it up too and added the required code, it somehow works now
so you added delay, nothing changed and you removed it again?
Initially I did add delay before your reply, to no avail, changed servo then added it back without changing other wiring, works now somehow :\
Some SG90 servos require 4.8 to 6.0V.
Also what are the 3 x AA cells...??
Dry cell or nimh etc.
That won't work if the servos are loaded. Use 4xAA for two servos at most. Also, breadboard tracks will burn if used to power motors and servos. Servo power connections need to be soldered.
These are dry cells, and strangley enough they work perfectly even while the servos are under a small load.(I'm not adding much weight to them)
I've never heard of soldering being a requirement for power connections, especially since they seem to be doing fine. No heating up of the breadboard tracks either if thats what you meant as in burning. The two sg90s are under a very light load too, so im not sure if much power is needed.
You will run into breadboard connection problems sooner or later.
So should i directly connect the batteries to the servos without a breadboard? I have no way to solder. Also as an update: I noticed that the tracks may be heating up in some areas!
You can buy handy servo power and signal distribution boards that use plug/pin contacts, and servo controllers that offload the generation of servo signals from the Arduino.
If you intend to continue in this hobby, you will need to learn to solder. It is cheap, reliable and easy to learn, especially given the excellent video tutorials from companies like Adafruit and Sparkfun.
I noticed that the tracks may be heating up in some areas!
Forum users report this sort of failure on a daily basis.
Alright, thanks
This topic was automatically closed 120 days after the last reply. New replies are no longer allowed.