ok ![]()
Those are clones. If they are flawed in any way, a very experienced user might find a solution, are you a very experienced Arduino user?
Goto Arduino.cc Software download the IDE for your OS, install it in the main menu Files/Examples/Basics/Blink see pic. Later, when you finish learning, you could add a speaker and whatever other sound gear you need to play sounds like thunder synchronized to the lighting. Look up the formula for sound and light speeds to determine the delay between them based on the distance away. It might be cool to have the storm appear to approach by adjusting that delay. Simple grade school or maybe HS physics.

Go to the link I show in post #18
im a 42 years old Family man. I dont have time to learn things like this.
Best i can do is to download the ide software that you all recomended.
Ive installed it and find the menus you mentioned.
I just need to buy an arduino. Then load the code.
I dont have any clou how or what i need to connect withthe arduino to have sound or to syncronise it.
So thats that.
Well, I am 83. If/when I have some spare time, I will whip something up that has more LEDs of different colours, random LED blinking, and thunder noise that has random time/distance delays. In the meantime, you can use the sample blink sketch for now.
thank yoou!
No problem, I can use it for the model RR club I belong to.
Lesson 1 get a copy of the Arduino Cookbook and skim it cover to cover, try any of the examples that are interesting to you. By the time you get through you will be able to understand your problem and propose several solutions.
I am in my 80's and a far way from not being able to learn something new.
This is the code that holds the connections of the schematics in wokwi.
It looks python/json like.
Hello wipeoutpilot82
Welcome to the best Arduino forum ever ![]()
Consider this lightning simulator.
If required, you can easily adjust the timing and number of flash sources to match your project.
//https://forum.arduino.cc/t/thunderstorm-lightning-circuit/1356779/1
//https://europe1.discourse-cdn.com/arduino/original/4X/7/e/0/7e0ee1e51f1df32e30893550c85f0dd33244fb0e.jpeg
#define ProjectName "Thunderstorm lightning circuit"
#define NotesOnRelease "Arduino MEGA tested"
// make names
enum TimerEvent {NotExpired, Expired};
enum TimerControl {Halt, Run};
enum MinMax {Min, Max};
enum OnOff {Off, On};
// make variables
uint32_t currentMillis = millis();
constexpr uint8_t OutputPins[] {12};
constexpr uint32_t Times4flashing[2][2]
{
  {1, 50},    // length of flash in min/max millis
  {50, 1500}, // length of pause between flashes in min/max millis
};
// make structures
//-----------------------------------------
struct TIMER
{
  uint32_t interval;
  uint8_t control;
  uint32_t now;
  uint8_t expired(uint32_t currentMillis)
  {
    uint8_t timerEvent = currentMillis - now >= interval and control;
    if (timerEvent == Expired) now = currentMillis;
    return timerEvent;
  }
};
//-----------------------------------------
struct THUNDERSTORM
{
  uint8_t pin;
  uint32_t times4flashingOff[2];
  uint32_t times4flashingOn[2];
  TIMER flash;
  void make(uint8_t pin_, uint32_t times4flashingMinOff, uint32_t times4flashingMaxOff, uint32_t times4flashingMinOn, uint32_t times4flashingMaxOn)
  {
    pin = pin_;
    Serial.print(__func__), Serial.print(" for pin @ "), Serial.println(pin);
    times4flashingOff[Min] = times4flashingMinOff;
    times4flashingOff[Max] = times4flashingMaxOff;
    times4flashingOn[Min] = times4flashingMinOn;
    times4flashingOn[Max] = times4flashingMaxOn ;
    flash.control = Run;
    pinMode (pin, OUTPUT);
    digitalWrite (pin, On);
    delay(10);
    digitalWrite (pin, Off);
    delay(10);
  }
  void run(uint32_t currentMillis)
  {
    if (flash.expired(currentMillis) == Expired)
    {
      digitalWrite (pin, digitalRead(pin) ? LOW : HIGH);
      (digitalRead(pin) == Off) ? flash.interval = random(times4flashingOn[Min], times4flashingOn[Max]) : flash.interval = random(times4flashingOff[Min], times4flashingOff[Max]);
    }
  }
};
//-----------------------------------------
// make objects
THUNDERSTORM thunderStorms[sizeof(OutputPins)];
//-----------------------------------------
// make support
void heartBeat(const uint8_t LedPin, uint32_t currentMillis)
{
  static bool setUp = false;
  if (setUp == false) pinMode (LedPin, OUTPUT), setUp = true;
  digitalWrite(LedPin, (currentMillis / 500) % 2);
}
// make application
void setup()
{
  Serial.begin(115200);
  for (uint8_t n = 0; n < 32; n++) Serial.println("");
  Serial.print("Source: "), Serial.println(__FILE__);
  Serial.print(ProjectName), Serial.print(" - "), Serial.println(NotesOnRelease);
  // initialize thunderStorm
  uint8_t index = 0;
  for (auto &thunderStorm : thunderStorms)
  {
    thunderStorm.make(OutputPins[index], Times4flashing[Off][Min], Times4flashing[Off][Max], Times4flashing[On][Min], Times4flashing[On][Max]);
    index++;
  }
  delay(2000);
  Serial.println(" =-> and off we go\n");
}
void loop()
{
  currentMillis = millis();
  heartBeat(LED_BUILTIN, currentMillis);
  // run thunderStorms
  for (auto &thunderStorm : thunderStorms) thunderStorm.run(currentMillis);
}
Have a nice day and enjoy coding in C++.
1 Like
well in your 80s i gues you have a little more time to spend on learning as
I do.
Its not the will to learn something new its the ltime I dont have
thank you ver much!
So I only have to copy/load it onto my arduino and adjust the timings?
Great and thank you very much!
Says "Arduino MEGA tested"
Tested with:
Uno R3, Uno R4 Minima, Uno R4 WiFi, Nano, Nano ESP32, MKR WiFi 1010, Teensy 4.0, Teensy 4.1.
Hey, ive received my arduino Nano.
I hooked it up to my pc.
I selected com3 and tge arduino ide is showing my nano.
I even uploaded the blink 1 scatch and also your code you gave me.
But unfortunately the nano blinks the whole time.
I mean the green led is on and thd orange led is blinking. On off on off.....
Dp i have to install a core first?
Please help me fix this!
Thank you
Hello wipeoutpilot82
Post a connection and wiring diagram of your project to see how we can help.
Hi, @wipeoutpilot82
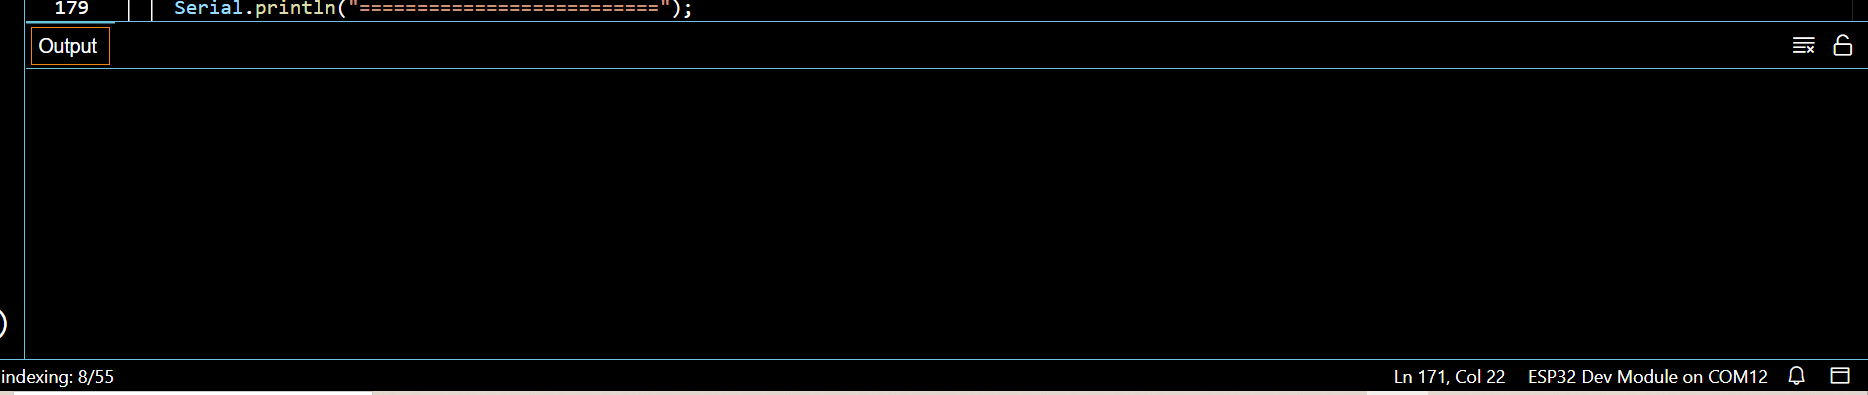
When you have uploaded @paulpaulson code, what message is printed in this window of the IDE?
Tom.... ![]()
![]()
![]()
![]()
Hello,
Circuit looks like this now:

I followed EVERY step on this video and made the same circuit:
")
Now my arduino blinks in the same frequency/rate as its showen in the video.
So I guess it worked. Right?
This is what IDE shows me:

Can I leave the circuit like it is and just copy the code of Paulpalson?
O do I have to change the led pin connection points on the breadboard?
And if Im copying the code into the scetch window, can I leave it the things in the window or do I have to erase the standard lines so the window is completly blank and then im copying the code from Paulpalson into the window?
If I just copy it into the window(where it says "void loop put your main code here to run repeatadly) i got this error message:
C:\Users\defaultuser0\AppData\Local\Temp.arduinoIDE-unsaved2025126-10812-8j6q9r.a1ewa\sketch_feb26b\sketch_feb26b.ino: In function 'void loop()':
C:\Users\defaultuser0\AppData\Local\Temp.arduinoIDE-unsaved2025126-10812-8j6q9r.a1ewa\sketch_feb26b\sketch_feb26b.ino:75:1: error: a function-definition is not allowed here before '{' token
{
^
C:\Users\defaultuser0\AppData\Local\Temp.arduinoIDE-unsaved2025126-10812-8j6q9r.a1ewa\sketch_feb26b\sketch_feb26b.ino:82:1: error: a function-definition is not allowed here before '{' token
{
^
C:\Users\defaultuser0\AppData\Local\Temp.arduinoIDE-unsaved2025126-10812-8j6q9r.a1ewa\sketch_feb26b\sketch_feb26b.ino:98:1: error: a function-definition is not allowed here before '{' token
{
^
exit status 1
Compilation error: a function-definition is not allowed here before '{' token
See this