Ok, so to have others to do the whole shebang is ok, as long as you present it? Pull someone elses leg pal. 

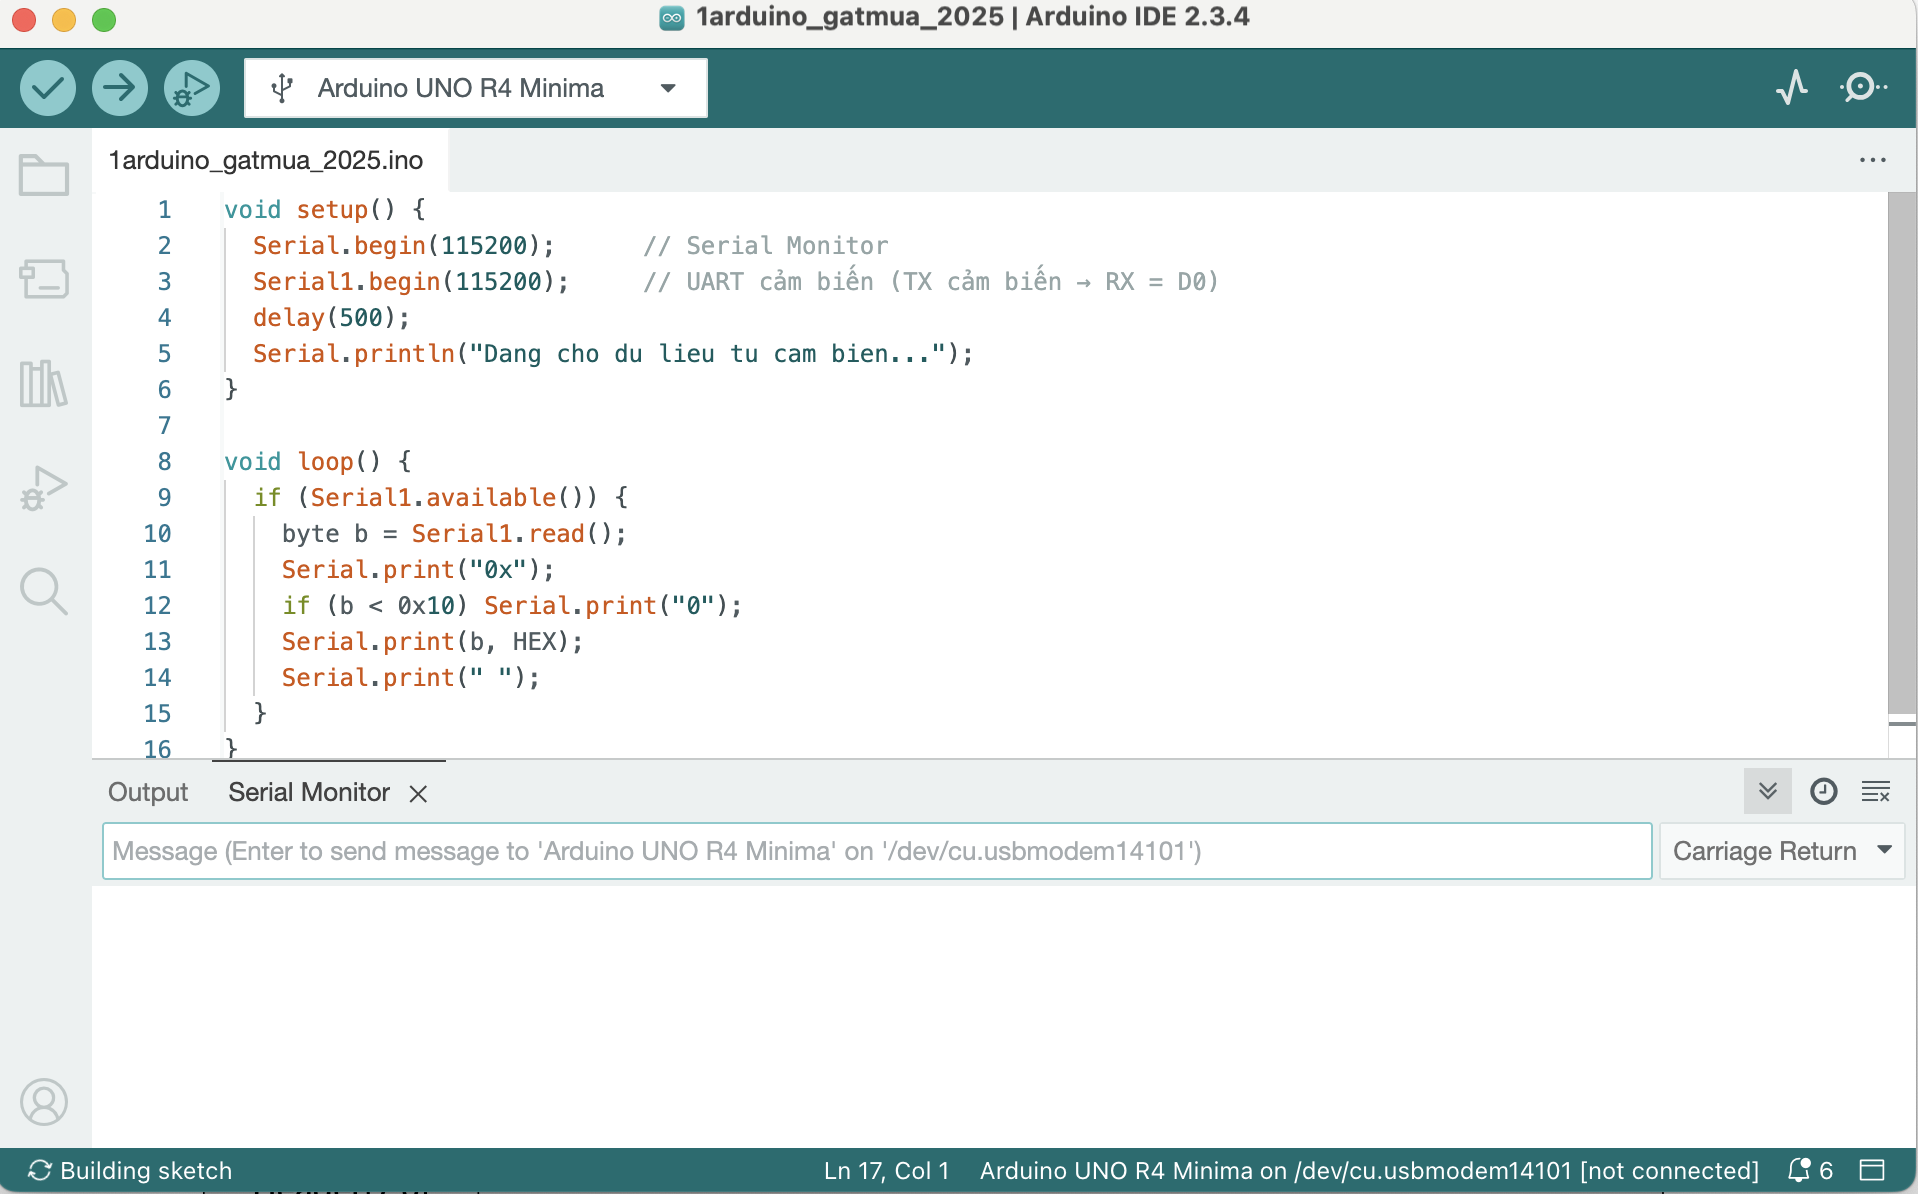
Are you certain that you have the Tx of the sensor connected to the Rx of the R4?
It looks like there is a white wire going to D0 which is indeed Rx, but this documentation says the the sensor Tx is yellow.
https://www.dfrobot.com/product-2611.html

Or am I making some mistake in this tutorial?
No screen shots please. Use codetags <CODE>to post your code.
Once your code is posted properly others will be able to copy, test and edit it.
void setup() {
  Serial.begin(115200);    // Kết nối với Serial Monitor
  delay(500);
  Serial.println("Dang cho du lieu tu cam bien...");
}

void loop() {
  if (Serial.available()) {
    byte b = Serial.read();
    Serial.print("0x");
    if (b < 0x10) Serial.print("0");
    Serial.print(b, HEX);
    Serial.print(" ");
  }
}
Here is the program I wrote, I also tried both yellow and white wires but no result is sent to UNO.
The code to read the sensor on pin0 should be using Serial1 like there was in the previous screen image.
Do you have an oscilloscope to see if indeed you are getting data from the sensor?
I don't have an oscilloscope to test, I tried with different command lines but it seems they don't work
I did some more research and they said that I should use any Serial Debugger to debug the sensor before actually connecting it to the MCU board. I don't know what that means, will the first time used sensor work when connected to the UNO R4
The user manual page 7 suggests this to check out the serial interface.
To detect whether the UART communication line
between the module and the host works normally, the host commands the module
to send rainfall status or system status, and if it receives a reply from the module, it
means that the communication works normally, otherwise there is something wrong
with communication line.
Page 8 then discusses the firmware version query.
See if this code gets you a response with the version.
void setup() {
  Serial.begin(115200);
  Serial1.begin(115200);    // Kết nối với Serial Monitor
  delay(500);
  Serial.println("Dang cho du lieu tu cam bien...");
}

void loop() {

  byte firmwareVersionQuery[] = {0x3A, 0x00, 0x00, 0x00, 0x4B};

  Serial1.write(firmwareVersionQuery, 5);

  if (Serial1.available()) {
    while (Serial1.available())
    {
      byte b = Serial1.read();
      Serial.print("0x");
      if (b < 0x10) Serial.print("0");
      Serial.print(b, HEX);
      Serial.print(" ");
    }
  }

  delay(5000);
}
Post #15 gives you a good example of how to do the calibration commands.


Papagino, can you give me the 3D box file of this project?