If you want to write programs for an arduino or other microcontroller that can be programmed with the Arduino-IDE you need to have a connection from your computer to the microcontroller-board. Mostly a USB-cable is used for this.
You upload your program and the microcontroller starts to execute the uploaded code.
If the upload has finished you can use this exact same connection to analyse what is going on inside your code.
For this analysing you add commands that "print" to the serial-monitor.
Almost any microcontroller has this serial interface. If you use the arduino-IDE this serial interface is used for flashing and can be used for communicating in both directions
microcontroller ==> computer
Computer ==> microcontroller or in short
microcontroller <=serial-interface=> computer
To send from computer to microcontroller and to receive into the computer
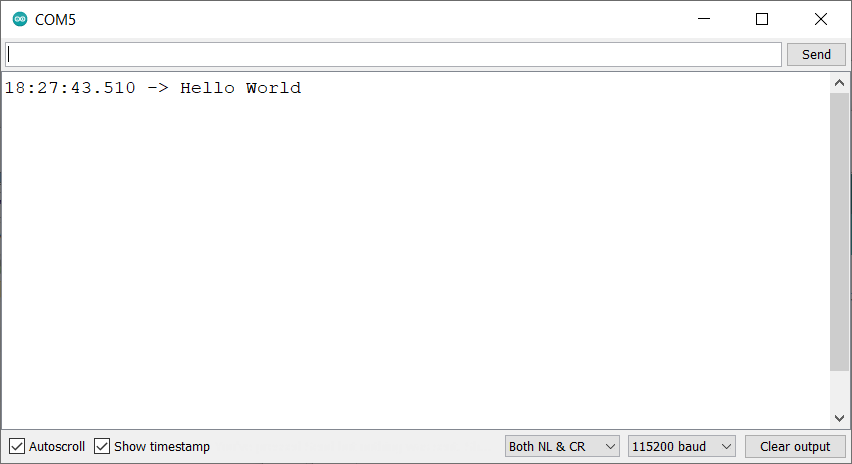
There is the tool Serial monitor

The window of the serial monito has five important options
![]()
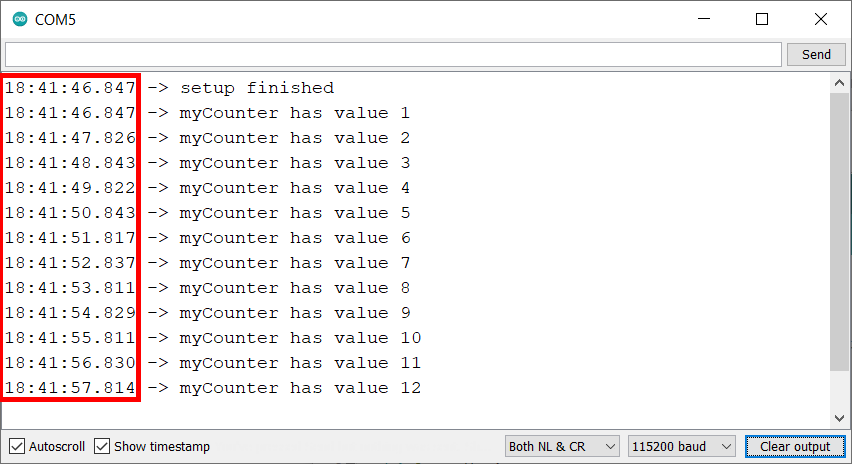
If you click on this checkbox the content shown in the serial monitor-window is always scrolled down automatically to make the last lines readable. Older lines move up out of sight.
![]()
Show timestamp enables to add a timestamp on the leftside. This is handsom if you are interested in how much time is between to receivings
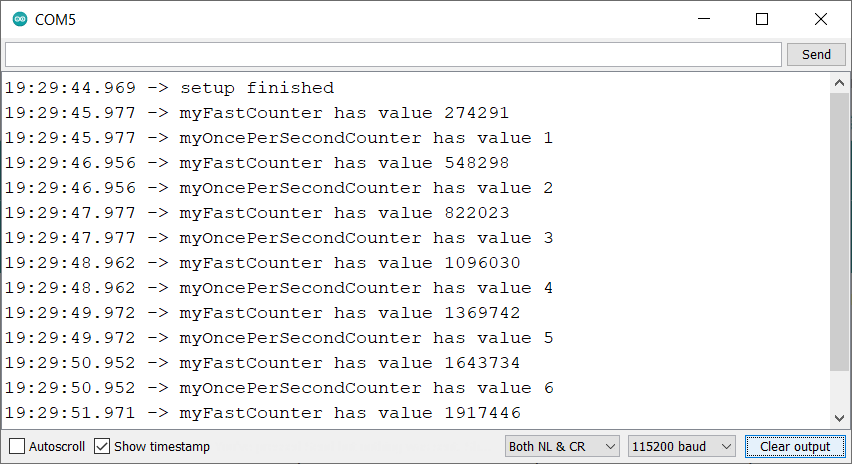
The baudrate-Option
![]()
The baudrate in the serial monitor must match the baudrate in your code
You can adjust the baudrate to any value.
The most common baudrate used today is 115200 baud

Though a lot of example-codes use 9600 baud.
The lower the number the longer it takes to send/receive a byte.
9600 baud has a substantial slow-down-effect on code that should run fast.
So adjust it to 115200 baud.
Inside your code this is done with the function-call
Serial.begin(115200);
where the number 115200 is the baudrate.
Thats how the serial monitor can be adjusted
Next post is about how to get words send from your microcontroller to the serial monitor