Look Ma, No IDE! ![]()
Quick tutorial on how to merge Arduino CLI tools and the Vim editor in Linux.
This process has taken me a little while to get figured out, so I figured I would post this here for others so they can save themselves the time to get this up and running.
So first of all, it goes without saying that if you are wanting to use Vim as part of your workflow and not the IDE then I would consider you at a minimum a intermediate skill level user of Linux. This means I will not be getting into the 'why would you want to do that?', just simply how to do it.
So you do not need to install the IDE at all, there is nothing you gain from installing it, other then to be able to use it. For me, maybe...someday...moving on..
Everyone will have a different version of Linux and they do vary slightly so you will need to be familiar with your directories, $PATH variables, chown, chmod, etc...again, its implied that if your running vim as your primary editor then you should know these basics.
//my setup
Debian 4.19.181-1 (2021-03-19) x86_64 GNU/Linux
You will need the following downloads:
GitHub - arduino/arduino-cli: Arduino command line tool //this is your main arduino program
GitHub - sudar/vim-arduino-syntax: Arduino syntax files for Vim //this provide arduino syntax highlighting in vim
GitHub - arduino/arduino-examples: Arduino IDE bundled examples //sketch examples provided in IDE (optional)
https://www.putty.org/ //Serial monitor program (optional)
So I started out by creating a Arduino directory in my home directory to keep everything in one central place.
robert@mountain-cabin:~/Arduino$ l
arduino-cli*         arduino-examples/  LICENSE.txt   tools/
ArduinoCreateAgent/  libraries/         Sketch_Book/
In my Sketch_Book directory I have all my sketch folders so they are in 1 location. In my tools directory I have my home made scripts I use to compile, upload, open serial monitor, etc...Libraries is self explanatory. The arduino-examples is the git hub folder with all the original example sketches. Finally the ArduinoCreate Agent is for if I need to access the cloud based version for whatever reason.
I would suggest you spend some time on the Arduino CLI github page and get familiar with all the commands and go through them. You going to need to get your board core installed, any libraries you need, etc. Once you have verified you can communicate with the board and get more comfortable with working with the command line utilities your ready to move on.
I found the following link helpful to print out and keep at my desk so I have a handy reference to all the commands without having to jump over to github every time.
At this point you are going to want to work on getting syntax highlighting. I found the file from sudar to be the easiest to work with, just copy the files into the appropriate syntax, indent, ftdetect folders and that is it. There are some other ones out there, this is what worked for me.
The following link was golden for me, not only did it give me the serial monitor setup the user also provides a script for compiling, uploading and opening a serial monitor. I took this basic script and broke it down into several tools.
Scripts I created:
ard-cpm_upl_ser // compiles, uploads and opens serial monitor
ard-cmp_upl // compiles and uploads sketch
ard-compile // compile sketch only
ard-upload // upload sketch only
ard-serial // open a serial monitor
In these scripts I have a partial path to my .ino's.
~/Arduino/Sketch_Book then I have to fill in the rest....
Example from within Vim,
:!ard-cpm_upl_ser /temperature_warning
The command will automatically append that to the existing directory and find the .ino file, it will exit vim briefly and do what it needs to do and then tell you to enter to return to Vim.
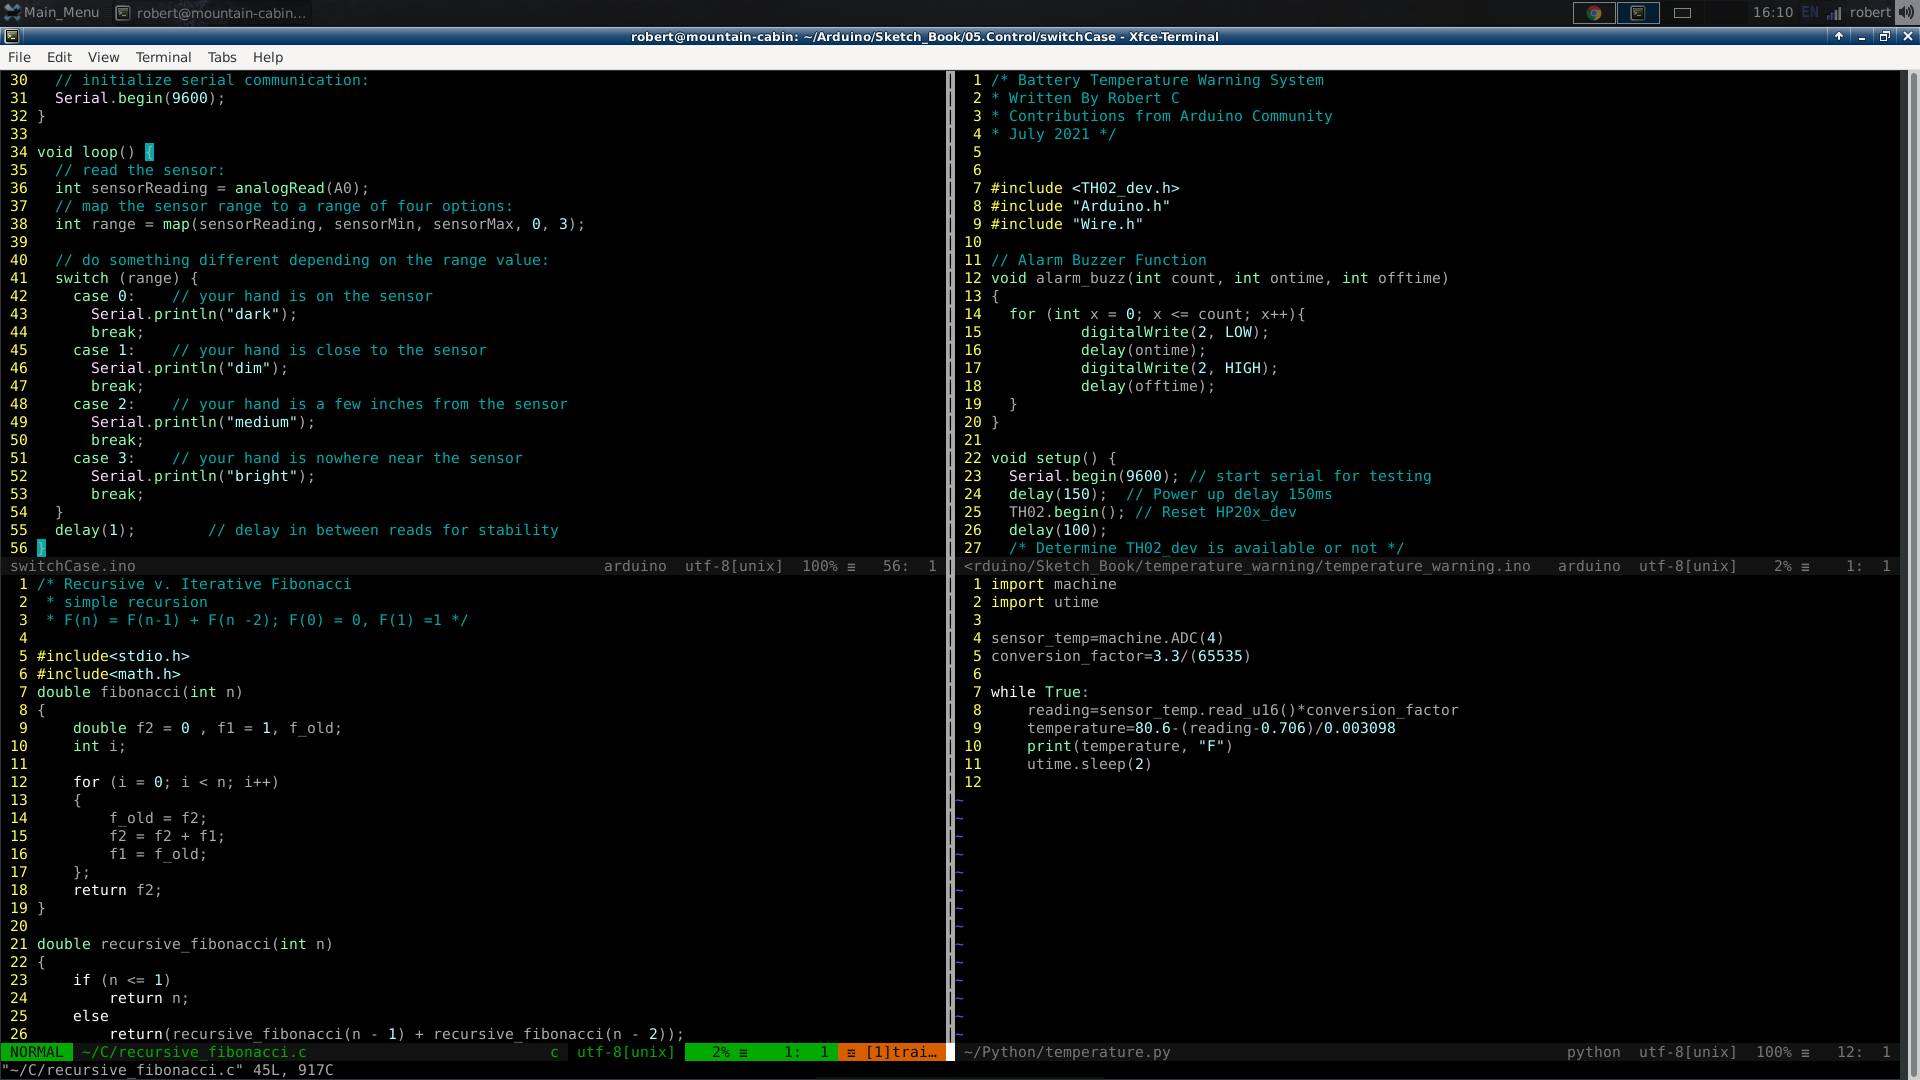
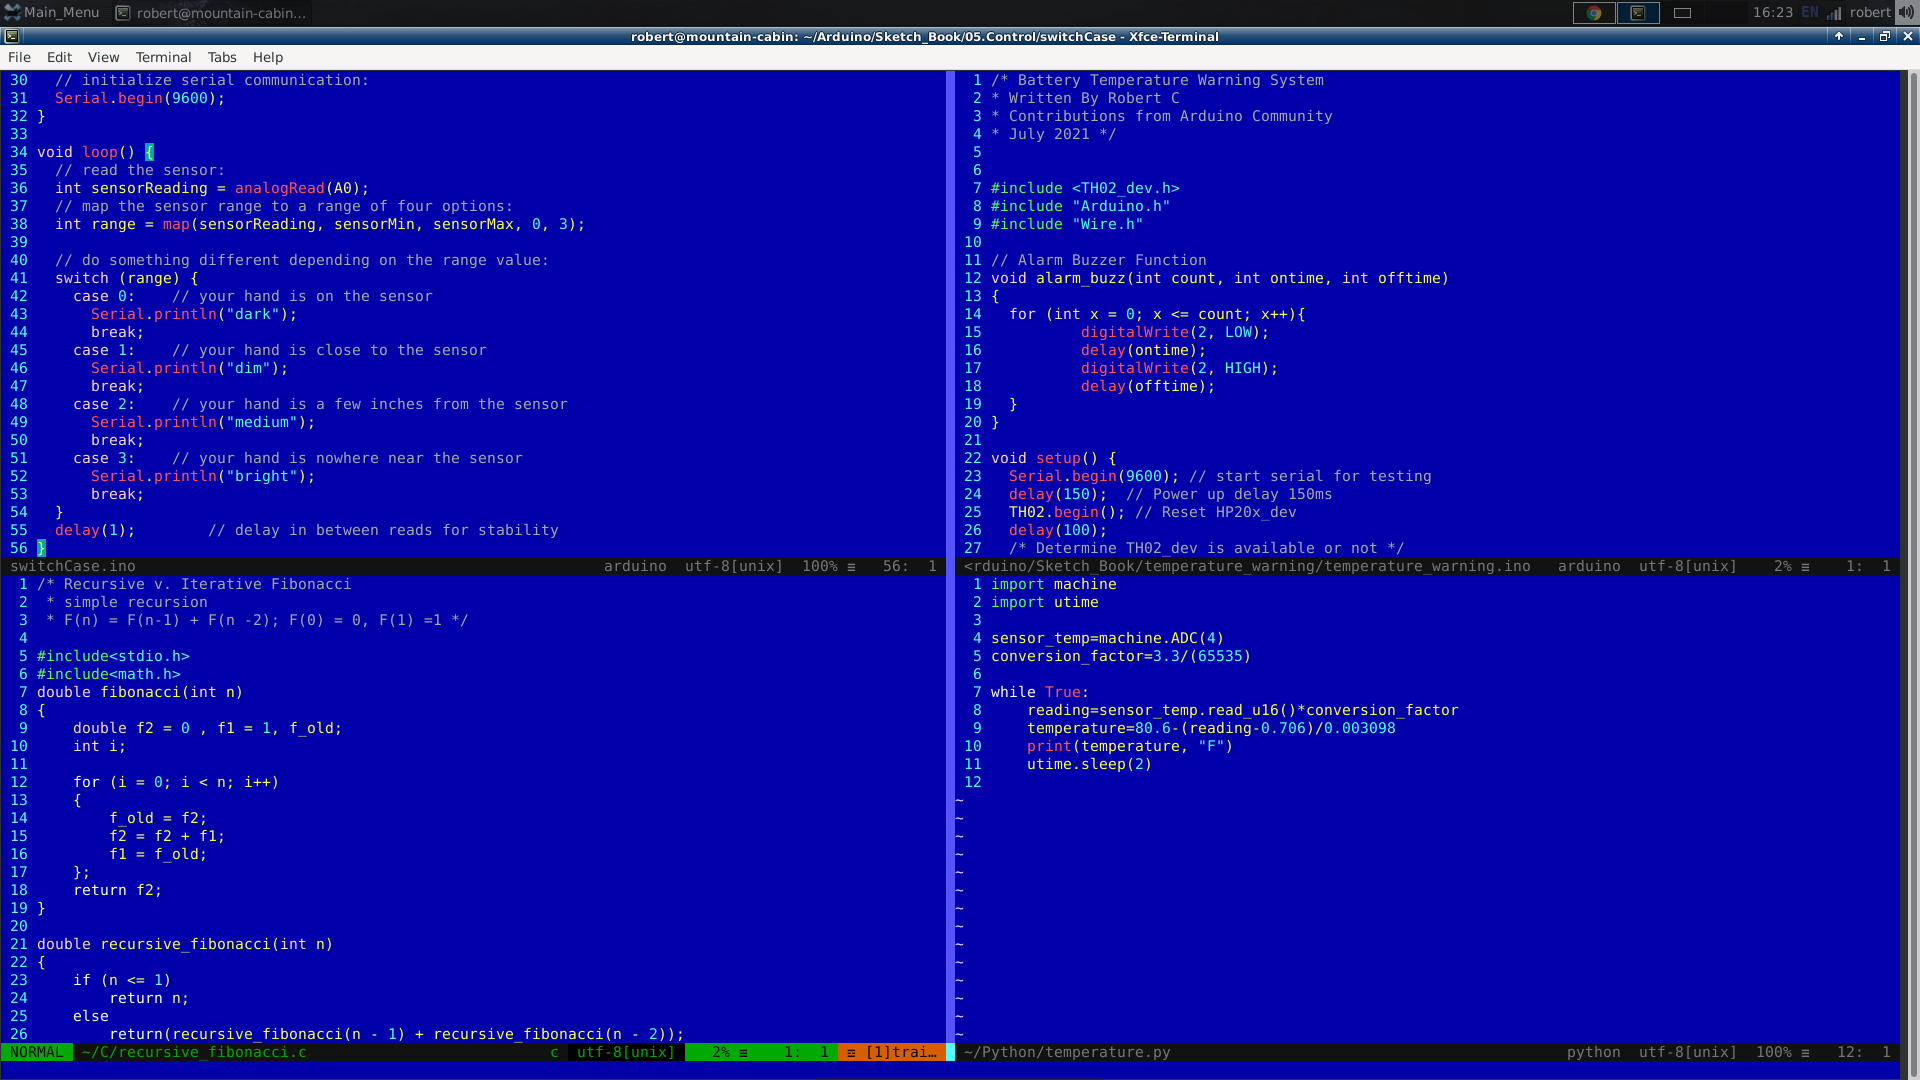
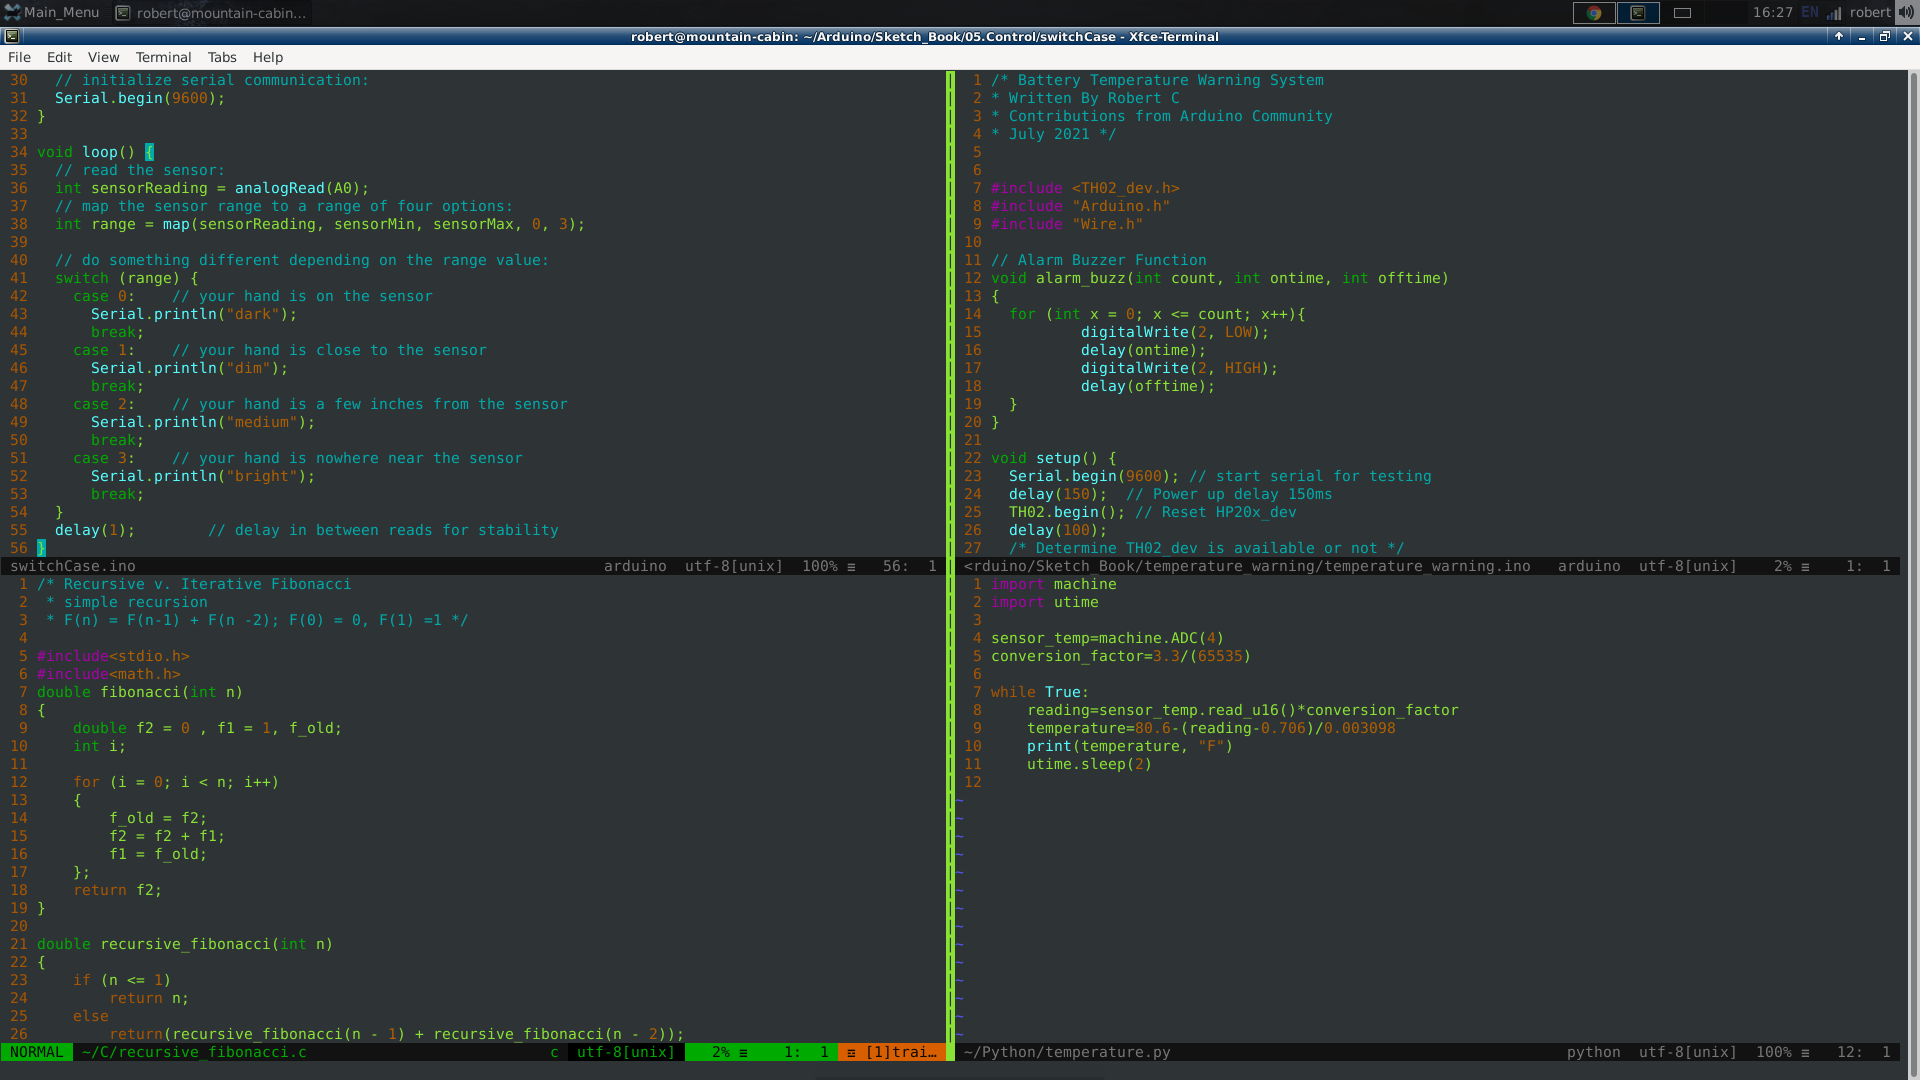
Here are a couple example pics so you can see it all in action....
Here I am using the example .ino to produce the ascii table to the serial monitor..


Hope that is useful,
Cheers! ![]()
Robert