I'm glad you like the idea and I'm happy to greet one more Arduino lightsaber developer.
As to the dual led string blade, I tried it and I found it was not worth the effort. The shadowing is indeed really an issue, but more importantly it will make the anyway very complicated design a hell to put together, not to mention maintenance. If you want to have different color on blaster hit and/or clash, maybe you can experiment with dual die LEDs (those which have 3 legs and 2 emitters, like red/orange or even red/green if you can find any. Still, I find that with a clever adjustments of LED drive and timing you can trm your lightsaber to produce superb effects with a single color string.
If you have a working prototype, please do post the pics! Good luck and MTFBWY!
racemaniac:
It's indeed not really cheating, but it just removes the challenge from making the things a bit ^^
Personally, i only feel comfortable using such all in one solution ic's once i've solved the problem myself once the hard way (or died trying XD). Maybe it's also because i'm a programmer by trade, and writing a bit more complicated software for the arduino is part of the fun/challenge for me (i'm finally starting to learn some proper C++, i'm a C# developer). If it's just some modules with some simple communication towards them... that just takes away the entire challenge XD.
On my saber, the only library i used (on a maple mini) was one that gave me a very precise delay(down to nearly individual clock cycles), allowing me to easily drive the ws2812 ledstring without needing a library ^^. there are tons of libraries out there for driving such leds, but it's just too much fun to write my own code :p. And a challenge to be driving such timing sensitive ledstrings, and at the same time be playing audio on the same microcontroller :D.
I love a bit of a programming challenge :).
That's funny because part of the reason I set out to build my own sound board was that it seemed too easy to just buy a commercial sound board. You are taking that thinking to a whole other level.
Well then, I'll think that I'll stick to a "basic" design without colored FoC.
Not to mention this is my very first lightsaber project and that I'm quite clueless in electronics.
I'm better at coding
I also thought at making a multicolor blade using multiple RGB leds and adding a MCP23017 chip to extend I/O channels. This way it would be possible to manage color changes.
But just thinking at all the work assembling the leds , it scared the crap out of me and I've no idea what kind of plug to use (it would require 19 pins)
Maybe for a future project.
I'm still waiting my orders but I will share photos of my project
neskweek:
Well then, I'll think that I'll stick to a "basic" design without colored FoC.
Not to mention this is my very first lightsaber project and that I'm quite clueless in electronics.
I'm better at coding
I also thought at making a multicolor blade using multiple RGB leds and adding a MCP23017 chip to extend I/O channels. This way it would be possible to manage color changes.
But just thinking at all the work assembling the leds , it scared the crap out of me and I've no idea what kind of plug to use (it would require 19 pins)
Maybe for a future project.
I'm still waiting my orders but I will share photos of my project
If you want more colors, give the WS2812 ledstrings a try, that's how i made my rgb lightsaber
it's 2 ledstrings of 60leds per meter back to back (they cost me 20€ for 4m of ledstring, so 10€ of ledstring for a blade :)), and some diffusing material around it. And they give awesome individual led control, making for a very nice light up sequence (and once i get around to a next version, i might do some subtle brightness variations in it to make the blade a bit more alive ).
If you're more of a coder, and less of an electronics guy, they are ideal :). They come as a string, and you can power them directly from a 3.7V lithium battery (with protection circuit ofcourse :p).
How are you doing clash detection with the 6DOF? Was going to have a crack at it when my next lot of gear arrived, but if you've already been there/done that!
I'll move the discussion to this post to keep the other one more related to their setup. Mine is a hybrid, but is using the same audio & sensors, so it seems better suited here.
My acceleration calcs are just working off raw values as well (getMotion6()) then just plays with the values a bit.
I'll grab the code I'm using later on, it's NYE here today so no time after work!
Hi, Do you Gonna upload the Code and schemtics for arduino and Mp3 Files for this Soon? Im Making a Blade and I have the 3 Modules Just I Dont Know how to make it Work together
Sweeeeet Chivotenkai !
Sorry to read that a part of your assembly got damaged
I'm personnaly in the process of assembling my green led string segments (seriallell II type) . I've done 4 segment so far (but ruined half a segment by being to hard when bending led pins :P).
I have a question regarding building the blade :
How do you fasten the segments between each other to get a quite stiff led string?
Still waiting for my arduinos components to be delivered.
chivotenkai:
Since the 15th, I had completed electronic ... but when I was to assemble all in the grip ..
the audio module .. was broken ( i dont know the reason)
so I am waiting for me to get the new module .
However since I have almost finished hilt.
neskweek , my metod is similar of this video (but if you want to make the ignition effect you must make a little change)
racemaniac, for the hilt i used a Pvc pipe 32 mm and i used a tool to cut an a pipe accesory to make the rings.... when the saber is completed, i want to make a fast tutorial
Hi all and thanks for all the valuable info this thread holds, all those videos were enough to push me to try it for myself despite having lost a lot of my electronic knowledge.
I'm currently waiting for materials, and doing some research in circuit and Arduino programming, you can check my progress here (warning: very preliminar solution):
As you can see running the circuit simulation, when turning on the saber (pushing button), there are some milliseconds where all the voltage is applied only to one or two segments of LEDs, which causes these to be displayed in a state of 'burned'.
Is there any solution to this problem?
Perhaps the time in this oversaturated state is short enought to cause any problem?
One second thing I can observe is that switching off the saber seems to have two steps, dimming leds in one first step and switching all off finally, I don't know if it can be a problem with 123d.circuits.io simulation or a Mosfet incorrect operation.
neskweek:
Sweeeeet Chivotenkai !
Sorry to read that a part of your assembly got damaged
I'm personnaly in the process of assembling my green led string segments (seriallell II type) . I've done 4 segment so far (but ruined half a segment by being to hard when bending led pins :P).
I have a question regarding building the blade :
How do you fasten the segments between each other to get a quite stiff led string?
Still waiting for my arduinos components to be delivered.
Ohh and by the way : Happy new year to everyone !
You can look here for a build log of a LED string saber:
Only thing I would change is that the shrink tube should be used only to fasten the segments at the segment boundary for an inch or so. Putting the whole blade into the shrink tube makes it impossible to maintain and that is something you have to do on a regular basis.
I've just received another shipment of parts, so I'm going to tinker with the gyro code a heap more to try and get some clash detection out of it..
Nice
And i'm also starting to receive my new part from china, my fingers are starting to itch to start working on v2 of my saber XD.
I can already start discovering my i2c DAC to see how my next iteration of doing all the sound myself rather than the mp3 module will work :p.
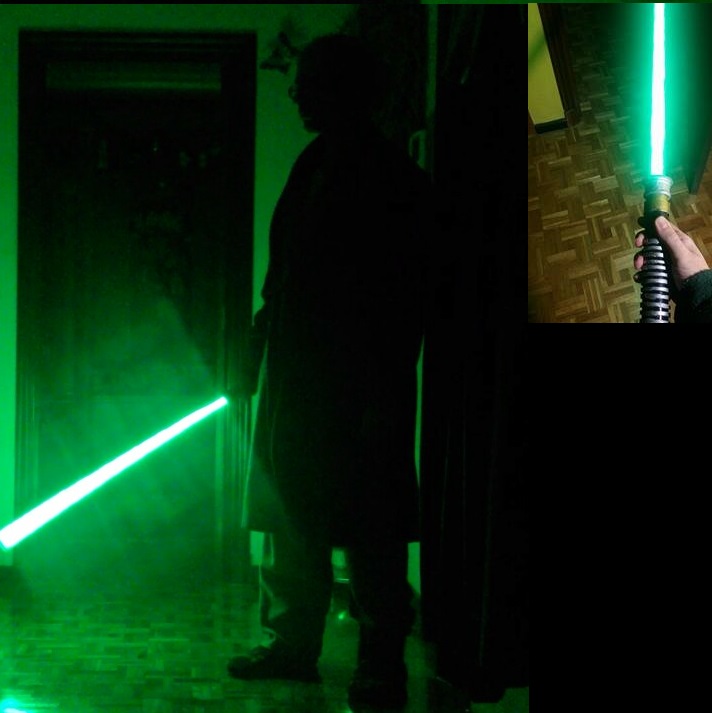
Tested with a lux meter app on my android phone around 5400 lux, last night.
The mounting and soldering are not quite academic but that do the trick and the string is quite stiff by only enterlacing wires trought the led pins.
Next steps are :
DIN soldering (still waiting for the connector)
wrap it in diffusor material (polyurethane foam made for flooring isolation)
put it in the blade and make a nice picture
Still waiting the Arduino Nano board to be delivered