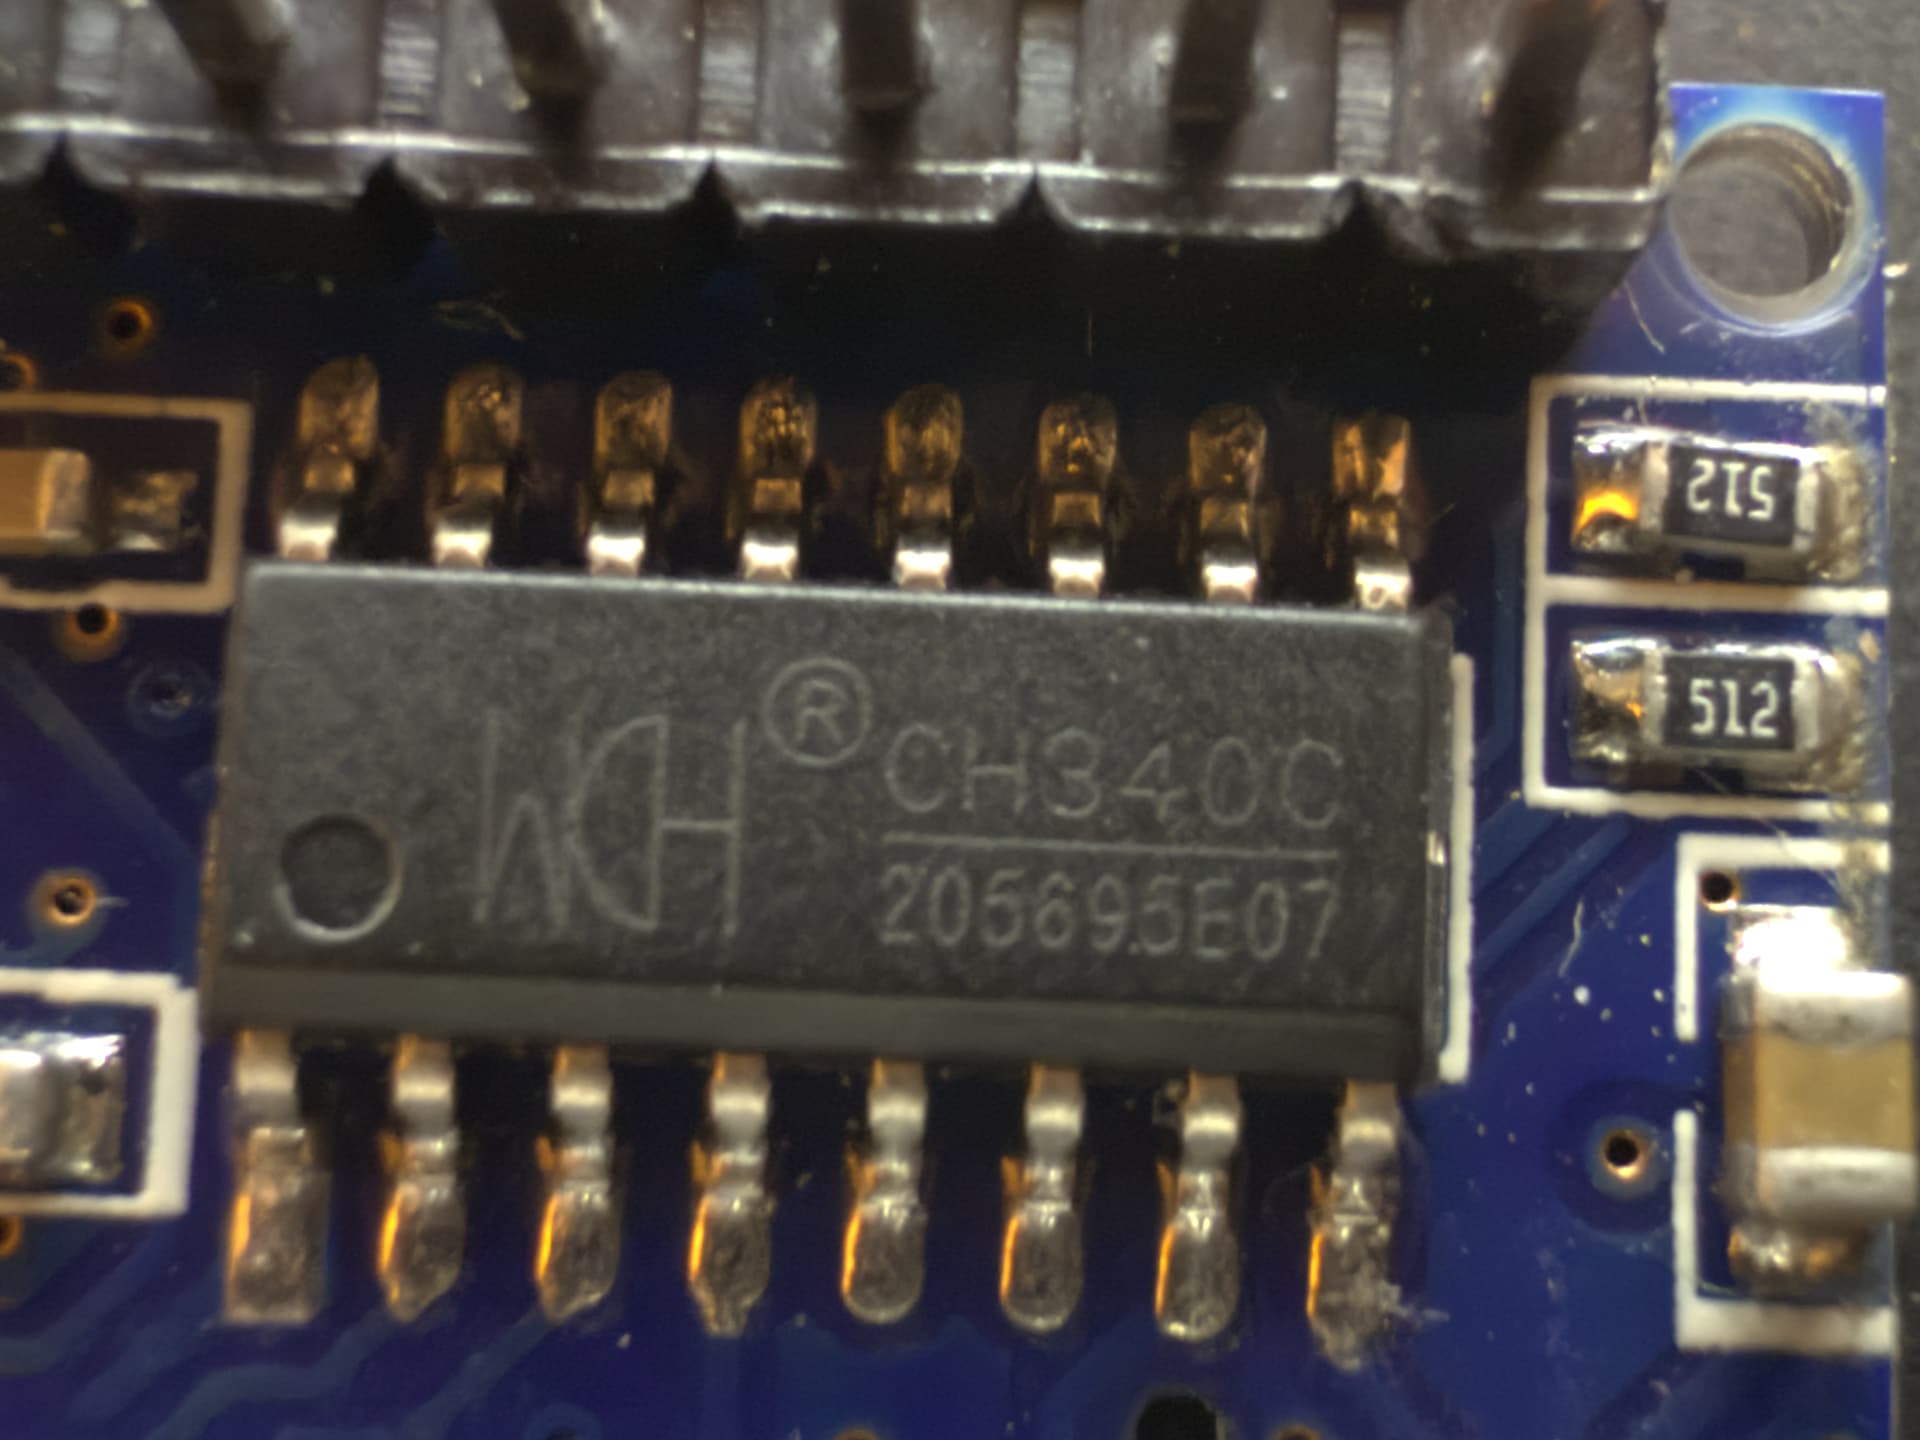
Please also post a clear picture of the IC on the bottom of your board. Is there text readable on it? Which text? Most clones use the CH340 and should look like below.
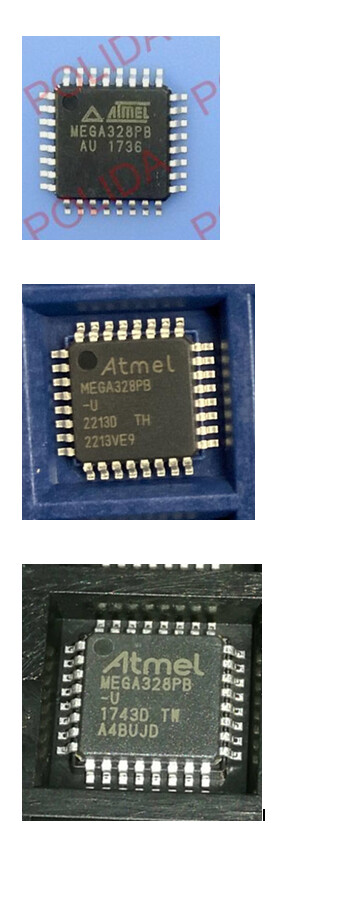
incase its not visible the first image says "atmel mega328PB"
and the other says its an ch340c.
i did the stuff in the link u gave me but still does not work.
when i asked gpt he said its either a Corrupted bootloader or fuse settings or Damaged flash memory.
i will give you an understanding of when this issue began incase u are able to know the problem.
i was playing audio from the nano using a sd card and a speaker with a mosfet to strengthen the audio and it worked for like a second and when i tried to increase the volume from the code it wouldnt work so i decreased the volume and it still wouldnt work i then kept trying to upload the code and fix stuff but no luck. i when to try the blink example and it wouldnt blink it just suddenly stopped working its the wierdest thing that happened. and im so sure that i did not short anything because i kept checking.
That may be a totally different and unrelated problem.
All I can say is that the chip is returning the signature for a 328P and not a 328PB. However, the 328PB is not a pin for pin replacement for the 328P.
It may well be possible to execute code designed for the 328P that will damage a 328PB. That may explain why it worked at first but later failed when you tried different code.
As @sterretje mentioned, that procedure is only necessary when you have an unlabeled "CH340" chip on your board. From the picture you shared, I can see that you have a labeled WCH CH340 chip, which should be compatible with the latest driver version. So I recommend you use the Windows Device Manager to update the driver back to the latest version again in order to benefit from any fixes or improvements the chip manufacturer might have made to the driver over the last few years.
It is possible that a short or external circuitry connected to the Arduino board could cause this type of problem by interfering with the upload process.
Make sure the board is not sitting on anything conductive that could short the contacts on the bottom of the board. Make sure there isn't any conductive debris (e.g., loose beads of solder, strands of wire, or component leads) on the board or on the surface the board is sitting on.
If you have another USB cable on hand, try changing the cable. Maybe a damaged or defective USB cable could be the cause. Make sure the USB cable is fully inserted into the USB socket on the board and computer.
If you have a shield or any external circuitry or components connected to your Arduino board, try this experiment:
Disconnect the USB cable of the Arduino board from your computer.
Disconnect any shields, modules, external circuitry, etc. from your board.
Connect the Arduino board to your computer with a USB cable.
Now try uploading a sketch to the board again. Does the upload succeed?
This experiment will determine whether the upload error was caused by interference from your external circuitry. If so, you can then focus your attention on identifying the specific problem with the circuit and resolving it.