Hi everyone, I am new to Arduino and could use some help.
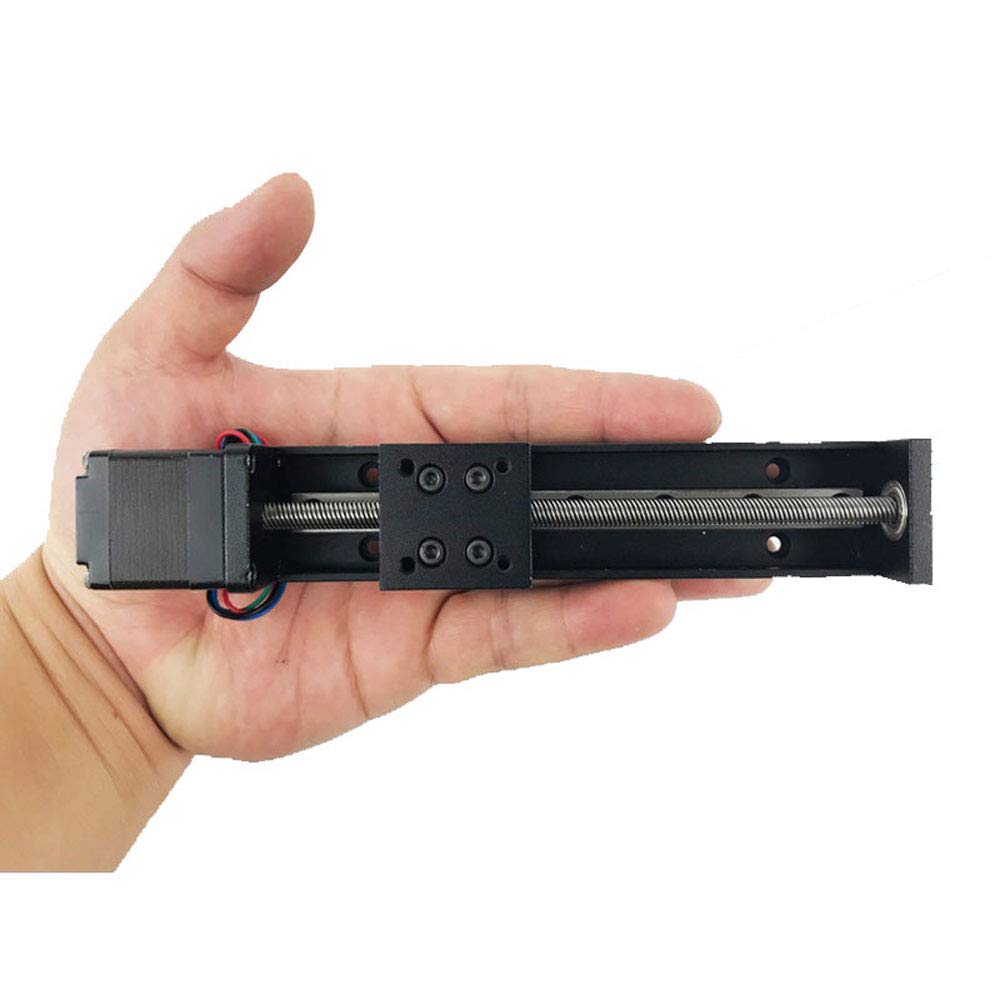
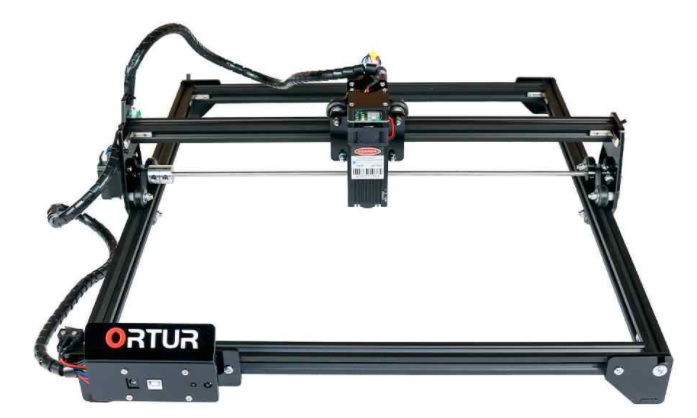
I have a laser engraver that the plan is to connect each leg to a Nema 11 stepper motor, so 4 motors total, and this would essentially make an adjustable Z-axis and lift the whole machine up and down. Each motor would have the same settings (speed and direction) and act as one. It is not heavy.
I will be controlling this with 2 momentary pushbuttons: one for up and one for down. It is only to move while holding down a button and stop when I release. This z axis will only be used to place larger/smaller items under the laser head and will not to be running while the laser is running. It's just a lift to help adjust laser height and focusing.
Being that the motors will be operating at the same speed, direction , steps, etc and using the same information, can I just splice all together and connect to the arduino uno, or will each motor still need to be connected to their own set of 3 pins on the arduino uno? Same with whatever other pins go from the easydriver to the uno, could those just be spliced and sent to same pins on the arduino?
I have an arduino uno, 2 sparkfun easydrivers, 2 stepper motor splitters and the pushbuttons.
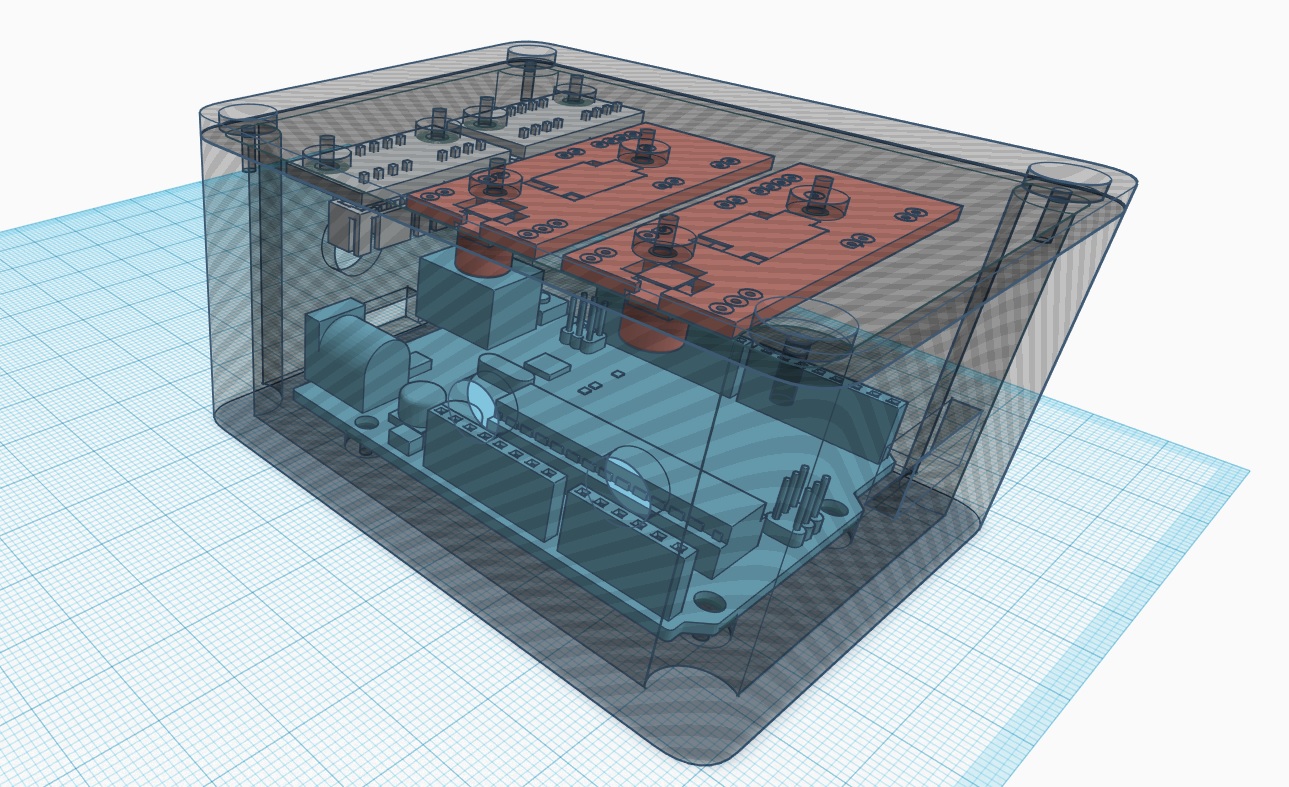
The plan is to connect 2 motors using the splitter to 1 easydriver each, and then send the two splitters to the arduino. Can I just send the 2 sets of stepper wires to the same 4 pins? (Picture attached)
Please excuse the poor mockup, but that's what I'm looking to do. Will the attached schematic work? If so, can someone help me with the code as well as the ACTUAL wiring to the arduino uno? Thank you all in advance