Good evening everyone, I have a project in which I am required to build an autonomous robotic arm. I thought about it picking up an object at point A and place it at another point which is point B. I'm not sure how I am going to program the robot to travel from between points while holding the object. The sensors that we are allowed to use are the usual cheap ones, the IR sensor and the hc-sr04 ultrasonic sensor. I was thinking of using the ultrasonic sensor to detect an object at the picking stationary position so that whenever an object would be in front of it, the arm would go to the picking position, grab it, then, travel to the placing position and place it. In the placing position, there would be the IR sensor which would detect the object in front of it and the code would only loop and repeat the same action even if there was a second, third, etc... object in front of the picking sensor (ultrasonic) after the object was removed in front of the placing sensor (IR) at the end. The arm has 5 dof (degrees of freedom) and uses 6 servo motors in total, 3 for the base, shoulder and elbow and another 3 for the wrist roller, wrist and gripper. I have the arduino uno with me and I also purchased a servo motor shield PCA9685 as I was not sure wether it would be needed. The base rotates and ideally from point A to B would be in a curved distance of either 90 degrees or 180 or possibly 360.
I would like to know your guys opinion about this and if there would be any suggestions or tips on how the program should look like and if I needed to buy any other components, it would always pick and place from the same points, thank you so much for your attention and also thank you so much in advance for your help !!!
Building an autonomous pick-and-place robot involves several key steps, including sensor integration, motion control, and path planning. Since you're using an Arduino Uno and a servo motor shield PCA9685, you're on the right track with hardware. However, you'll need to consider both the software and hardware aspects to ensure smooth operation. Here are some tips and considerations:
-
Object Detection: Use the HC-SR04 ultrasonic sensor to detect objects at the picking station. This sensor measures distance by sending out an ultrasonic wave and listening for its echo. You'll need to calibrate the sensor and set a threshold distance to trigger the robot to move towards the object.
-
Gripping: Once the object is detected, the robot needs to grasp it. This typically involves controlling a gripper mechanism using a servo motor. Ensure that the grip is strong enough to secure the object but gentle enough not to damage it.
-
Navigation: After picking up the object, the robot must navigate to the dropoff location. This requires careful planning of the robot's movements, especially since you want the base to rotate in a curved path. Consider implementing a path planning algorithm that takes into account the robot's current position, destination, and any potential obstacles.
-
Drop-Off Confirmation: At the dropoff location, use the IR sensor to confirm that the object has been successfully placed. If the IR sensor doesn't provide sufficient feedback, you might need to add additional sensors or mechanisms.
-
Looping Behavior: Your robot will need to continuously check for new objects to pick up. Implement a loop in your code that constantly monitors the picking area and triggers the pick-and-place cycle when an object is detected.
-
Calibration: Calibrate the sensors and actuators to ensure precise control over the robot's movements. This includes setting the correct range for the ultrasonic sensor and fine-tuning the servo motor positions for the gripper and robot arm.
-
Error Handling: Add error handling in your code to manage unexpected situations, such as the failure of a sensor or motor. This will make your robot more robust and reliable.
-
Testing: Before deploying your robot in a real environment, thoroughly test it in a controlled setting. This allows you to fine-tune the parameters and make any necessary adjustments.
Regarding the servo motor shield PCA9685, it is useful for controlling multiple servos simultaneously with precision timing. Make sure to connect the shield correctly to your Arduino Uno and configure the pin mappings in your code accordingly.
Here's a simplified example of how your code structure might look:
#include <Servo.h>

// Define pins for ultrasonic sensor and IR sensor
const int trigPin =  7;
const int echoPin =  6;
const int irPin = A0;

// Create Servo objects for each joint
Servo baseServo;
Servo shoulderServo;
Servo elbowServo;
Servo wristRollerServo;
Servo wristServo;
Servo gripperServo;

// Set initial positions for servos
const int basePosition =  90;
const int shoulderPosition =  45;
const int elbowPosition =  90;
const int wristRollerPosition =  90;
const int wristPosition =  90;
const int gripperOpenPosition =  0;
const int gripperClosePosition =  90;

void setup() {
  // Initialize serial communication
  Serial.begin(9600);

  // Attach servos to pins
  baseServo.attach(9);
  shoulderServo.attach(10);
  elbowServo.attach(11);
  wristRollerServo.attach(12);
  wristServo.attach(13);
  gripperServo.attach(14);

  // Set initial positions
  baseServo.write(basePosition);
  shoulderServo.write(shoulderPosition);
  elbowServo.write(elbowPosition);
  wristRollerServo.write(wristRollerPosition);
  wristServo.write(wristPosition);
  gripperServo.write(gripperOpenPosition);

  // Setup pins for ultrasonic sensor
  pinMode(trigPin, OUTPUT);
  pinMode(echoPin, INPUT);
}

void loop() {
  // Measure distance with ultrasonic sensor
  long duration, distance;
  digitalWrite(trigPin, LOW);
  delayMicroseconds(2);
  digitalWrite(trigPin, HIGH);
  delayMicroseconds(10);
  digitalWrite(trigPin, LOW);
  duration = pulseIn(echoPin, HIGH);
  distance = (duration/2) /  29.1;

  // Check if object is in range
  if (distance >  0 && distance <  20) {
    // Grip the object
    gripperServo.write(gripperClosePosition);

    // Move to dropoff location (you'll need to implement this)
    // ...

    // Release the object
    gripperServo.write(gripperOpenPosition);
  }
}
Remember to replace the // Move to dropoff location comment with your own code for navigating to the dropoff point. Also, you may need to adjust the pin numbers and servo positions according to your specific setup.
Lastly, keep in mind that building an autonomous robot is iterative. Start with simple tasks and gradually add complexity. Test each component individually before integrating them together. Good luck with your project!
Consider a standing still arm that works with circular coordinates (rotation angle, radial distance). This allows to enter usable coordinates for A and B locations. Further (linear) movement of the arm base will break the mold of your simple sensors.
A light barrier may be added to detect an object right between the claw, ready to grip.
Decide whether to pick up an object at its given coordinates, or else specify how objects around the given place should be searched.
Hi, @edunt
Welcome to the forum.
Sorry but had to space it a little to read the various points.
Thanks.. Tom.. ![]()
![]()
![]()
![]()
Does the 1/2 meter area of echo pickup matter to the accuracy of your project? Will the object always have a smooth flat surface to reflect the sound pulse?
Hi,
For object detection, I would use a IR light beam or sensor, much more reliable and precise compared to ultra-sonics.
Something like this, used in obstacle avoidance applications.
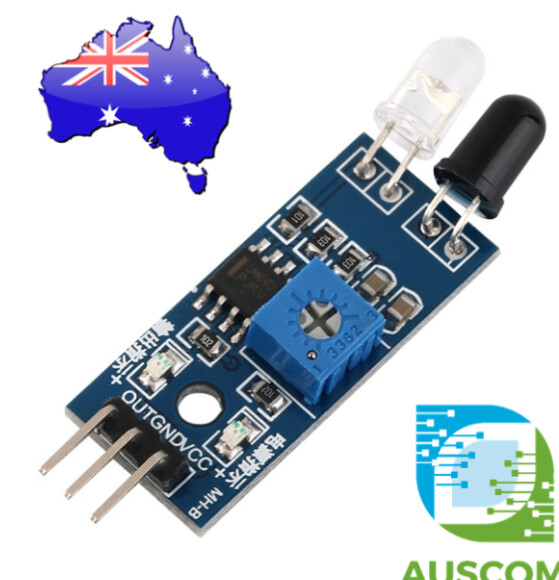
Google;
IR Infrared Obstacle Avoidance Sensor Module
Tom... ![]()
![]()
![]()
![]()
i think autonomously navigating to the pick-up point and precisely locating the object will be difficult
First Robotics Competitions start with an autonomous segment with the robot in a known position and holding the object.
robots can be programmed with dead-reckoning (no-feedback) to drop-off an object in a specified location as well as stop at a specified location
road-runner software can also be used with unpowered wheels with encoders attached to the bottom of the robot to track it's movements as well as to navigate the field along specified paths and orientations of the robot