I've done various SMD as small as 0603 resistors, LEDs, small transistors, and all but the IC had been skipped in favor of through hole version because the DIP socket is far cheaper than SOIC or QFP socket. I used ATMega328pb because it was a bit cheaper than older versions but it required minicore installed in IDE because b isn't fully supported yet. b version has 2 fully functioning A6 and A7 pins while older version are only usable as analog input. Also 2 more GPIO pins at pin 3 and 6.
I had not soldered a TQFP before so I was risking a $1.40 chip on my first try. Not too bad. My project converts Sega Genesis (or Mega Drive) controller to work on Intellivision system with standard 3x4 keypad, optional since the way I coded my chip I can use original controller in line with Sega controller for the keypad.
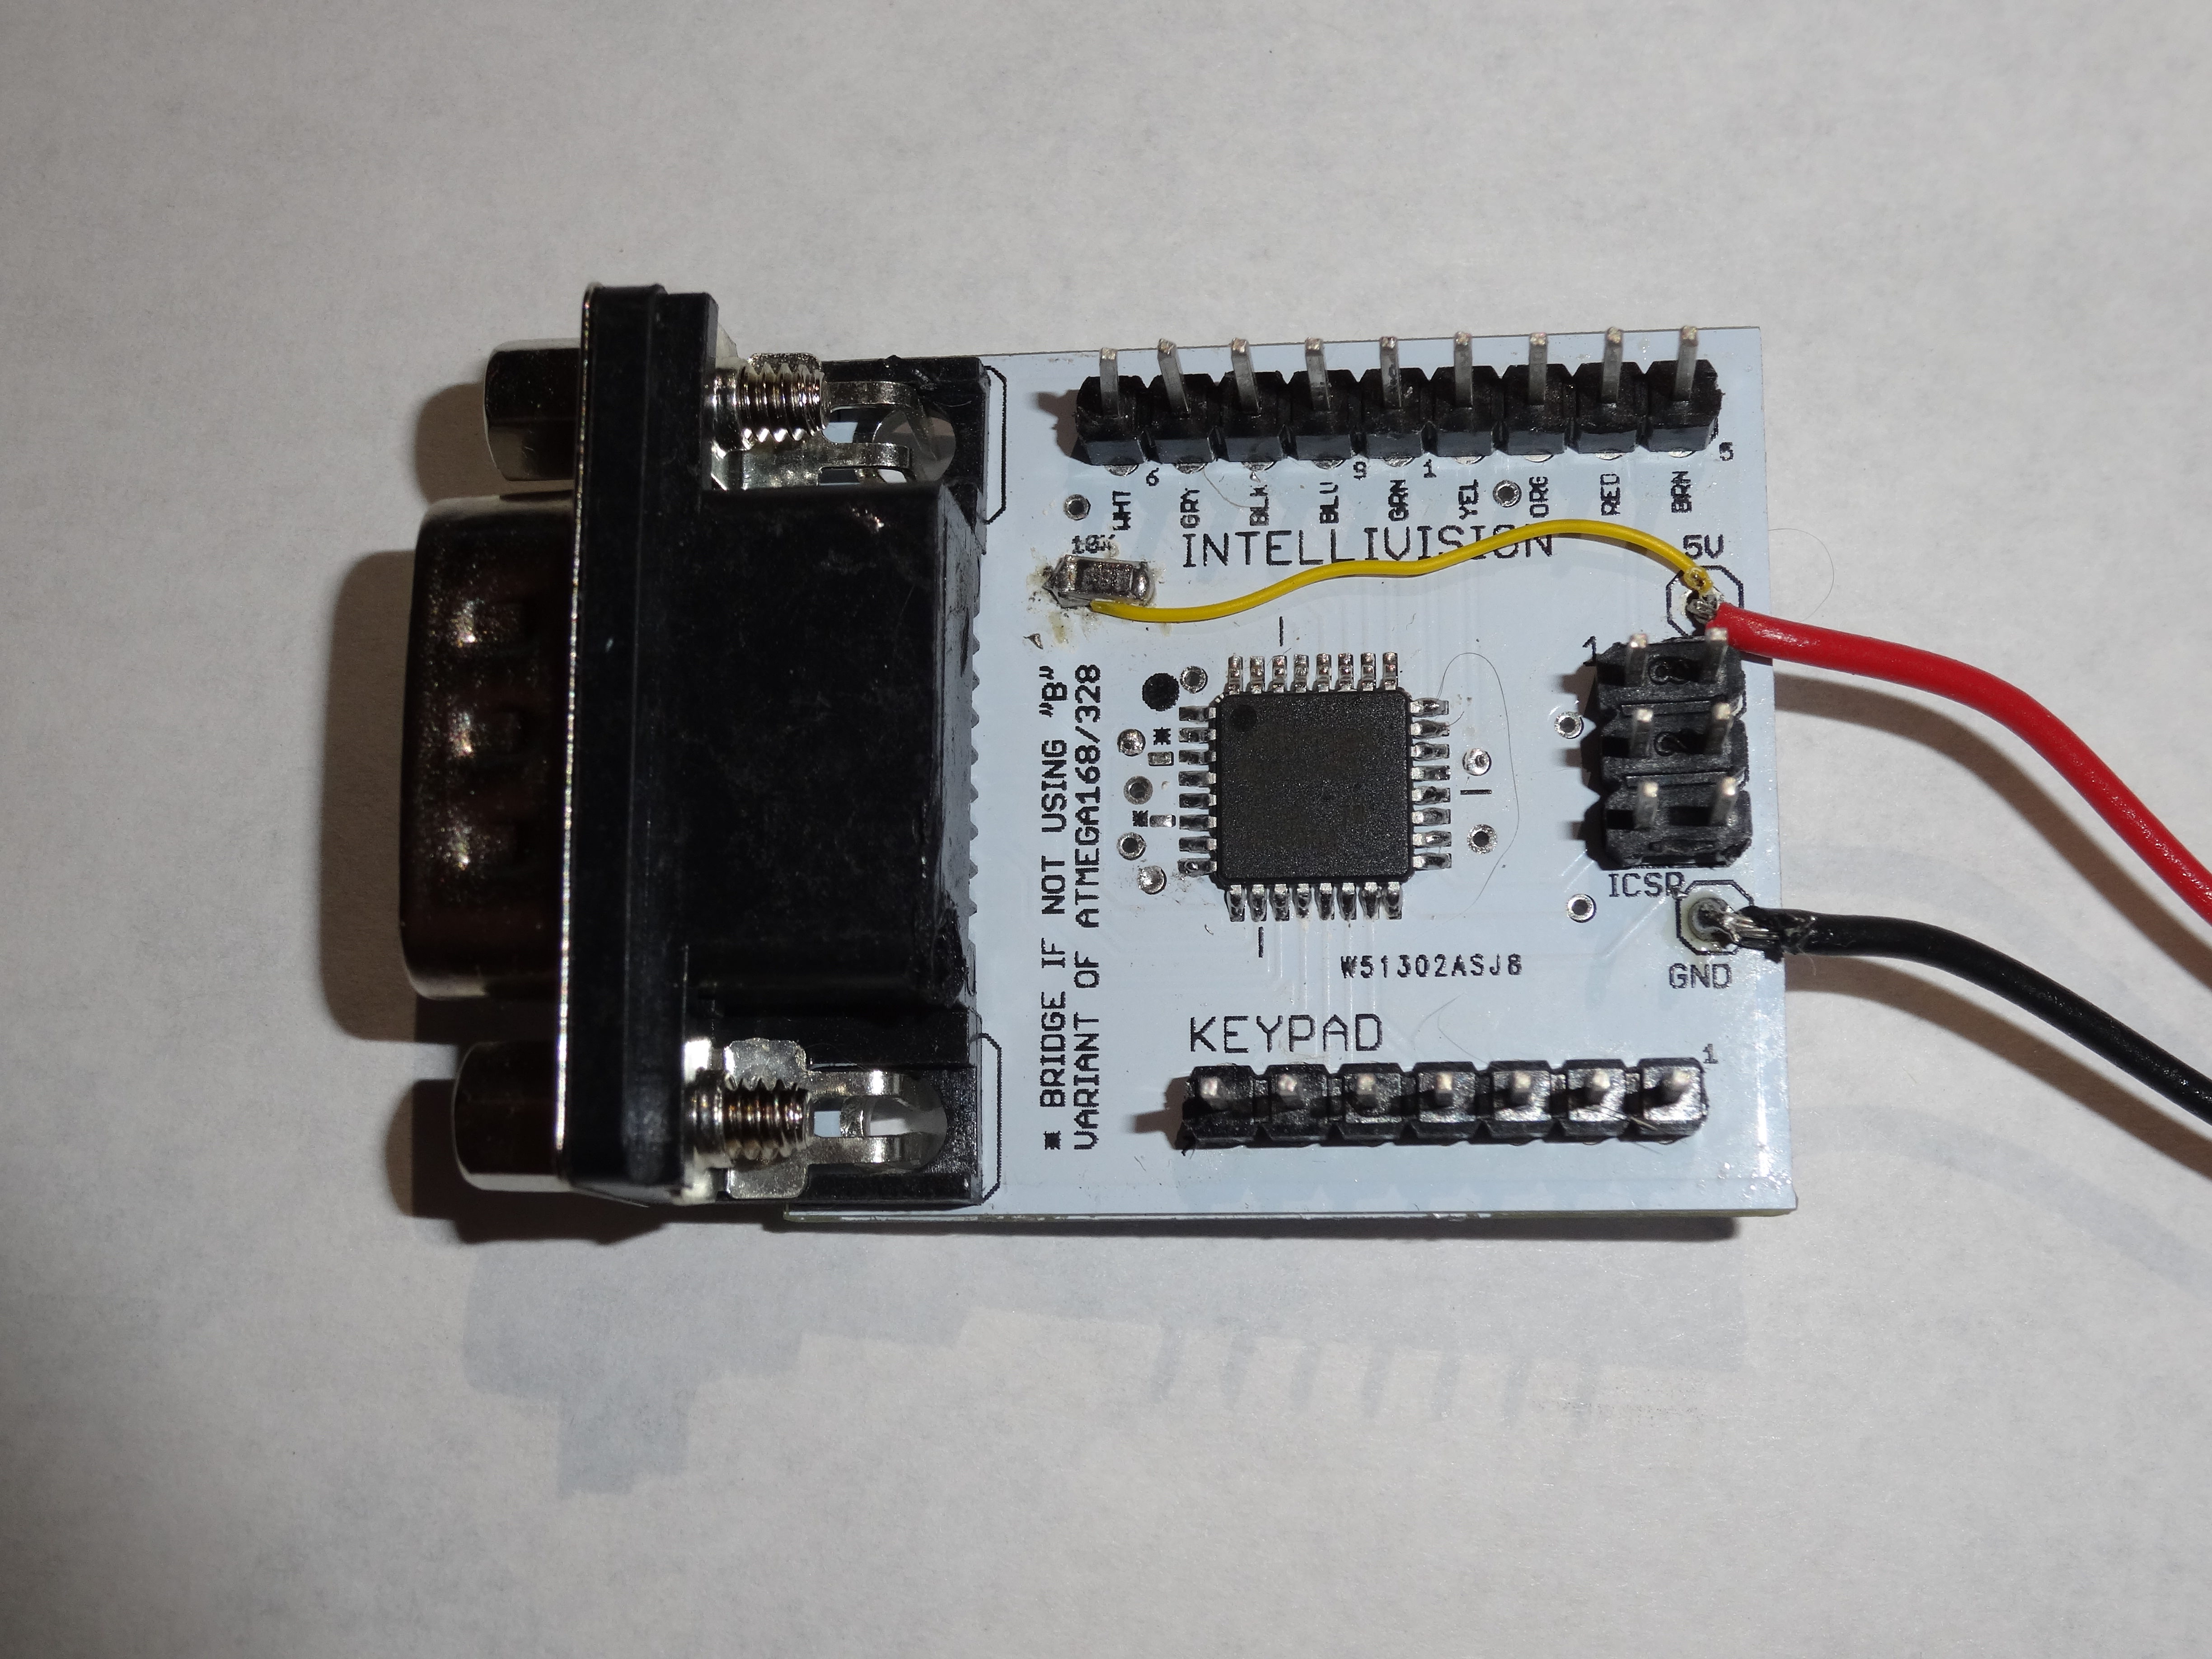
I did find a mistake that I didn't catch when I designed the PCB, the 10k pullup resistor for reset wasn't connected to 5v at all. So the chip would have been unreliable and resetting randomly without ISP programmer plugged in. A quick bodge wire fixed it.
Intellivision controller weren't comfortable to use and no one made a nice 3rd party controller replacement mainly because the controllers were wired internally and no company back in the day wanted to risk lawsuit because someone opened the console to swap controller and accidentally touched live 110v that are inside.
I've also made adapter for using Atari Jaguar controller to Intellivision some years ago, the keypad is built in.
i like your trace, it reminds me of mines. I was considering for all my future board adding a solder link (zero ohm resistor type deal) on all my tracks so i could more easily fix screwups... nicely done.
Congrats! Looks clean to me. My first SMD IC wasn't as pretty. Did you use any flux pen or flux paste? They make surface mount soldering quite a bit easier. Also using thinner solder helps a lot. I have 0.015" diameter wire I can just push against SMD ICs with this pitch with very few bridges because how thin it is.
Assembled some more, I hadn't cleaned the bottom yet as I am still waiting for the rest of the parts. The PCB are v1.1 with the fixes and added missing pin header row. I messed up the silkscreen though, the 10k marking and 5v marking got lost when I added the missing pin header so I have 1.2 on file should I need to make more.
liuzengqiang:
Congrats! Looks clean to me. My first SMD IC wasn't as pretty. Did you use any flux pen or flux paste? They make surface mount soldering quite a bit easier. Also using thinner solder helps a lot. I have 0.015" diameter wire I can just push against SMD ICs with this pitch with very few bridges because how thin it is.
Liquid flux from a bottle. I also use 0.016" diameter 63/37 solder. After assembling 20 I averaged one bridge per PCB and those goes away quickly with the braid.
What I did was to align a new chip on the PCB, using tape to hold the chip in place. When it's perfectly aligned to solder pads, I solder in 2 pins to lock them in place. Take the tape off, drip little flux and spread it around, then I solder each pin. Usually goes by quickly.
I recommend using 0.016" lead-free solder such as SAC305. It's more expensive compared with lead solder or cheaper lead-free solder but lead-free generally bridges less than lead and SAC305 solder melts at slightly lower temperature than cheaper lead-free stuff. I use SAC305 for reflow just because of the not-bridging property. Fewer bridges means less frustration.
liuzengqiang:
I recommend using 0.016" lead-free solder such as SAC305. It's more expensive compared with lead solder or cheaper lead-free solder but lead-free generally bridges less than lead and SAC305 solder melts at slightly lower temperature than cheaper lead-free stuff. I use SAC305 for reflow just because of the not-bridging property. Fewer bridges means less frustration.
I am not a fan of lead free solder. They tended to be a pain in the butt if I needed to repair or change something on lead-free work. Leaded solder are easier to work with. Beside I probably won't live long enough to use up all the stockpiled 63/37 solder
I might have to make the custom tip and try those. I do have a couple of semi-retired tips, they are fine for none-fine work but the tip when viewed under 10x magnification resembles the nose of a star-nosed mole. Snip the tip, carve a cup, it should be fine.
Anyway practice makes perfect! After some 50 soldered on chips, I'm able to go a while without a single bridged pin. Here's the last one I made:
Or get a solder mask stencil, squeegie on some Kester Easy 256 solder paste, and do a 5 minute reflow cycle in on old toaster oven. 90 seconds at 150C, then 90 seconds at 190C, let it cool. Beats the heck out of soldering a mess of individual pins.
Talking about stencils, anyone using stainless steel stencils? How do you use them? I got a gigantic one (think road atlas) with only about 100mm by 100mm area with components. I'm used to kapton stencils that are so easy to tape to the table but not good since they deform, stretch, curl etc.