/*
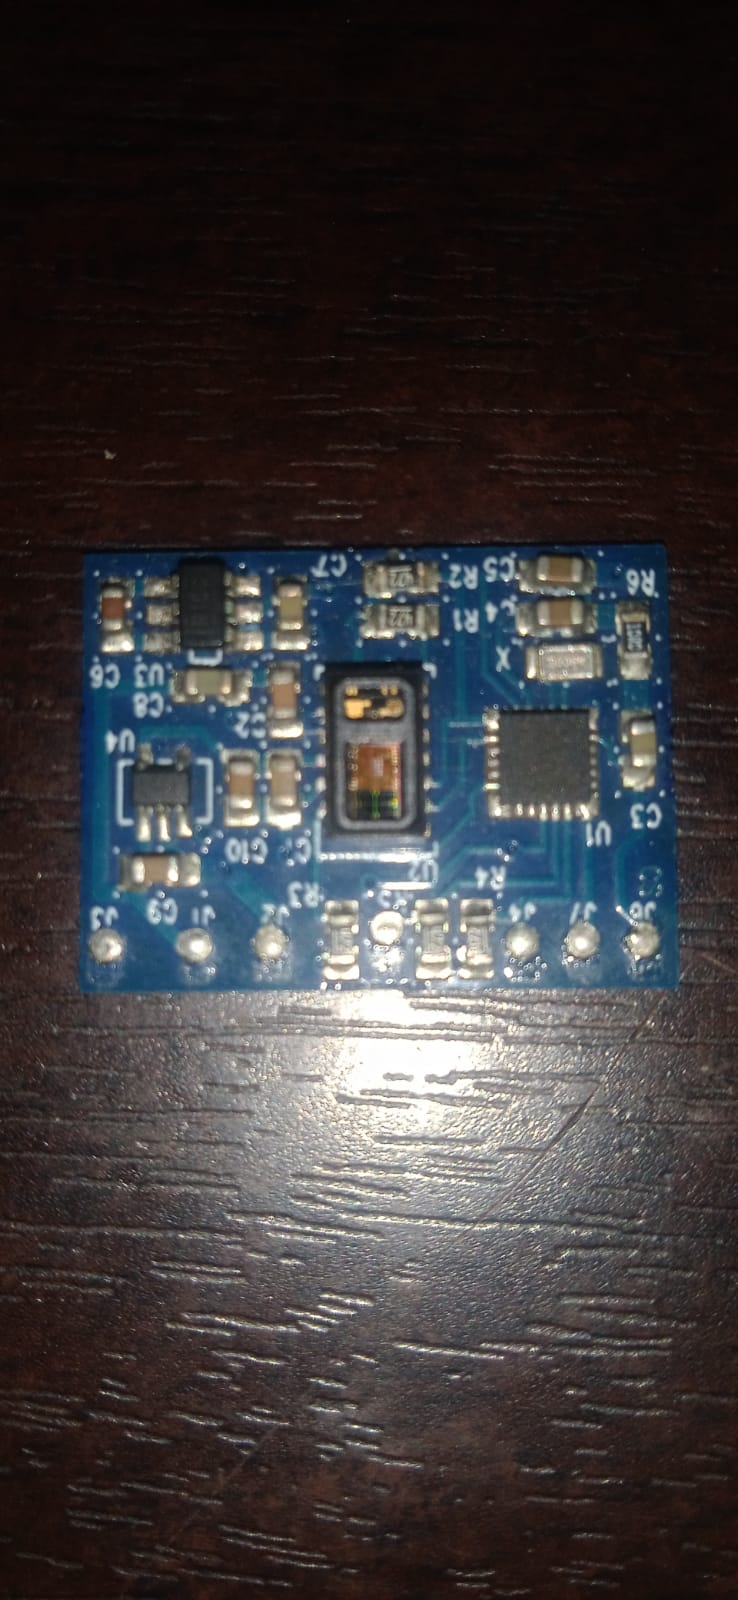
This example sketch gives you exactly what the SparkFun Pulse Oximiter and
Heart Rate Monitor is designed to do: read heart rate and blood oxygen levels.
This board requires I-squared-C connections but also connections to the reset
and mfio pins. When using the device keep LIGHT and CONSISTENT pressure on the
sensor. Otherwise you may crush the capillaries in your finger which results
in bad or no results. A summary of the hardware connections are as follows:
SDA -> SDA
SCL -> SCL
RESET -> PIN 4
MFIO -> PIN 5
Author: Elias Santistevan
Date: 8/2019
SparkFun Electronics
If you run into an error code check the following table to help diagnose your
problem:
1 = Unavailable Command
2 = Unavailable Function
3 = Data Format Error
4 = Input Value Error
5 = Try Again
255 = Error Unknown
*/
#include <SparkFun_Bio_Sensor_Hub_Library.h>
#include <Wire.h>
// Reset pin, MFIO pin
int resPin = 14;
int mfioPin = 16;
// Takes address, reset pin, and MFIO pin.
SparkFun_Bio_Sensor_Hub bioHub(resPin, mfioPin);
bioData body;
// ^^^^^^^^^
// What's this!? This is a type (like int, byte, long) unique to the SparkFun
// Pulse Oximeter and Heart Rate Monitor. Unlike those other types it holds
// specific information on your heartrate and blood oxygen levels. BioData is
// actually a specific kind of type, known as a "struct".
// You can choose another variable name other than "body", like "blood", or
// "readings", but I chose "body". Using this "body" varible in the
// following way gives us access to the following data:
// body.heartrate - Heartrate
// body.confidence - Confidence in the heartrate value
// body.oxygen - Blood oxygen level
// body.status - Has a finger been sensed?
void setup(){
Serial.begin(115200);
Wire.begin();
int result = bioHub.begin();
if (result == 0) // Zero errors!
Serial.println("Sensor started!");
else
Serial.println("Could not communicate with the sensor!");
Serial.println("Configuring Sensor....");
int error = bioHub.configBpm(MODE_ONE); // Configuring just the BPM settings.
if(error == 0){ // Zero errors!
Serial.println("Sensor configured.");
}
else {
Serial.println("Error configuring sensor.");
Serial.print("Error: ");
Serial.println(error);
}
// Data lags a bit behind the sensor, if you're finger is on the sensor when
// it's being configured this delay will give some time for the data to catch
// up.
Serial.println("Loading up the buffer with data....");
delay(4000);
}
void loop(){
// Information from the readBpm function will be saved to our "body"
// variable.
body = bioHub.readBpm();
Serial.print("Heartrate: ");
Serial.println(body.heartRate);
Serial.print("Confidence: ");
Serial.println(body.confidence);
Serial.print("Oxygen: ");
Serial.println(body.oxygen);
Serial.print("Status: ");
Serial.println(body.status);
// Slow it down or your heart rate will go up trying to keep up
// with the flow of numbers
delay(250);
}
I used example code. Now the led on the sensor is glowing but the output is constant