Hardware I am using is Arduino Uno R3, ESP32 Camera, and Windows 10 Laptop for the IDE.
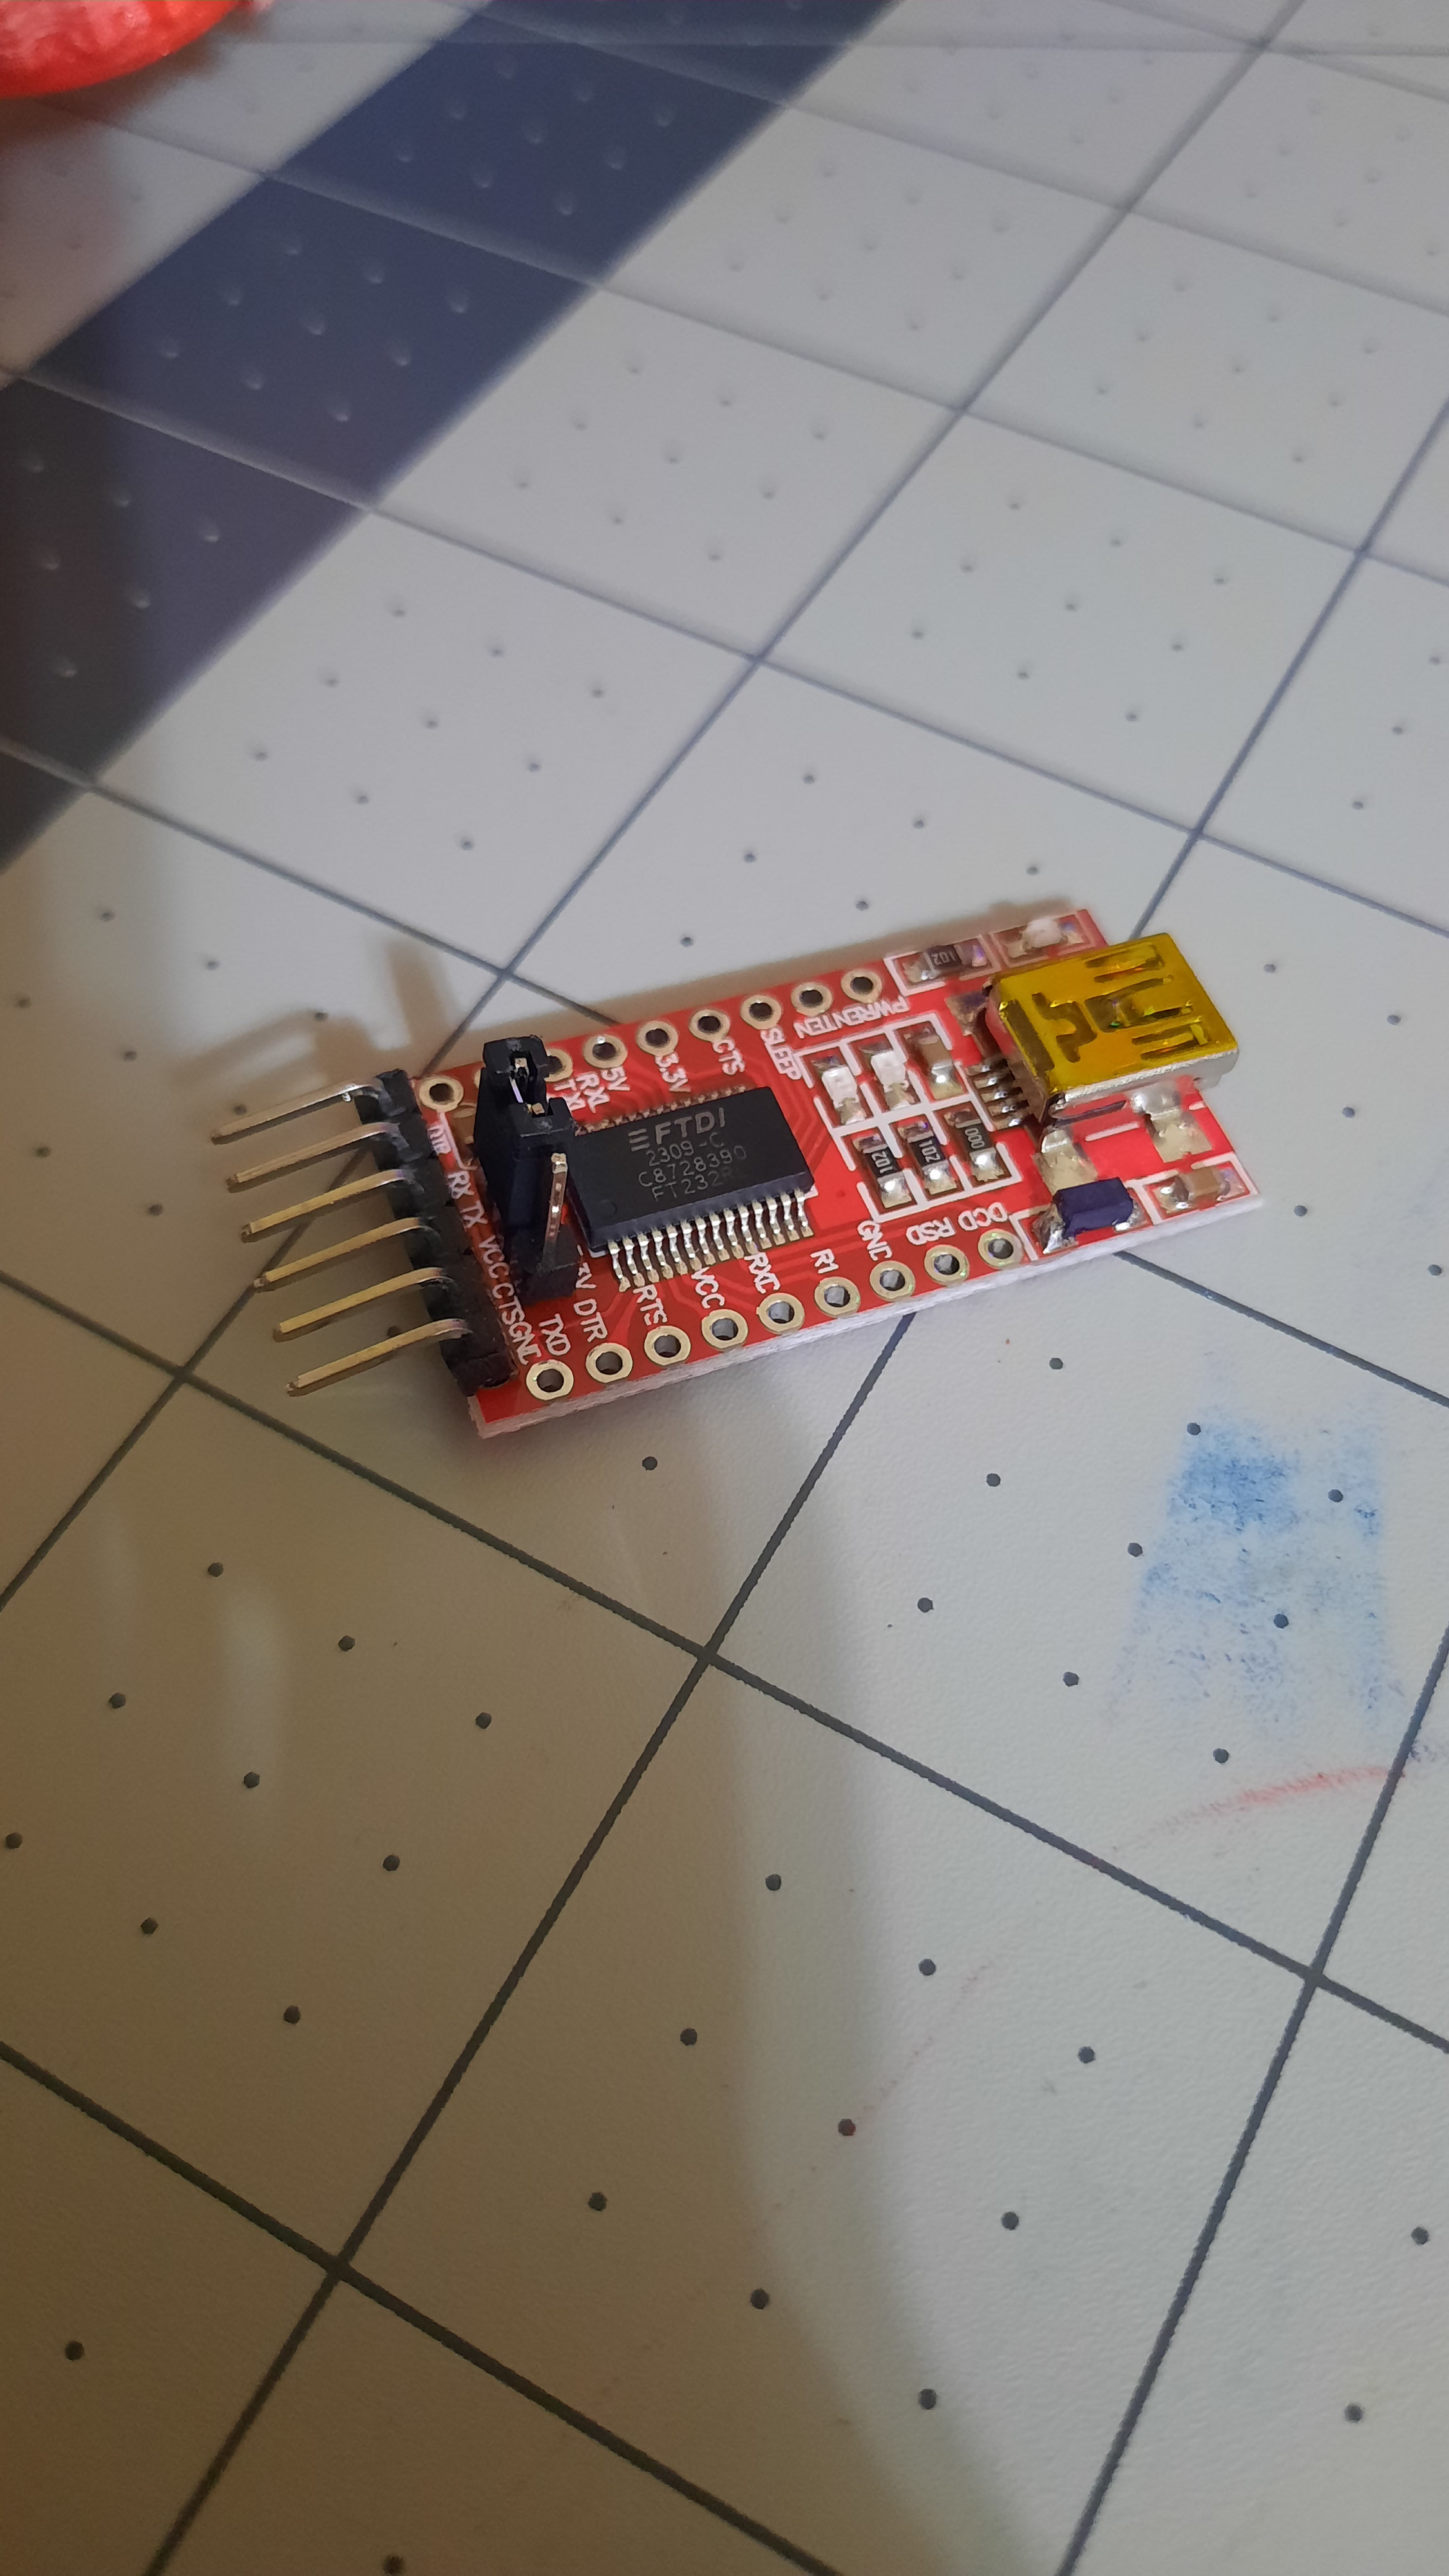
Link to where I purchased the ESP32 Camera: Amazon.com: ACEIRMC ESP32-CAM WiFi + Bluetooth Module WiFi ESP32 CAM Development Board with Camera Module OV2640 2MP + FT232RL FTDI USB to TTL Serial Converter + 20 pin Jumper Wire : Electronics
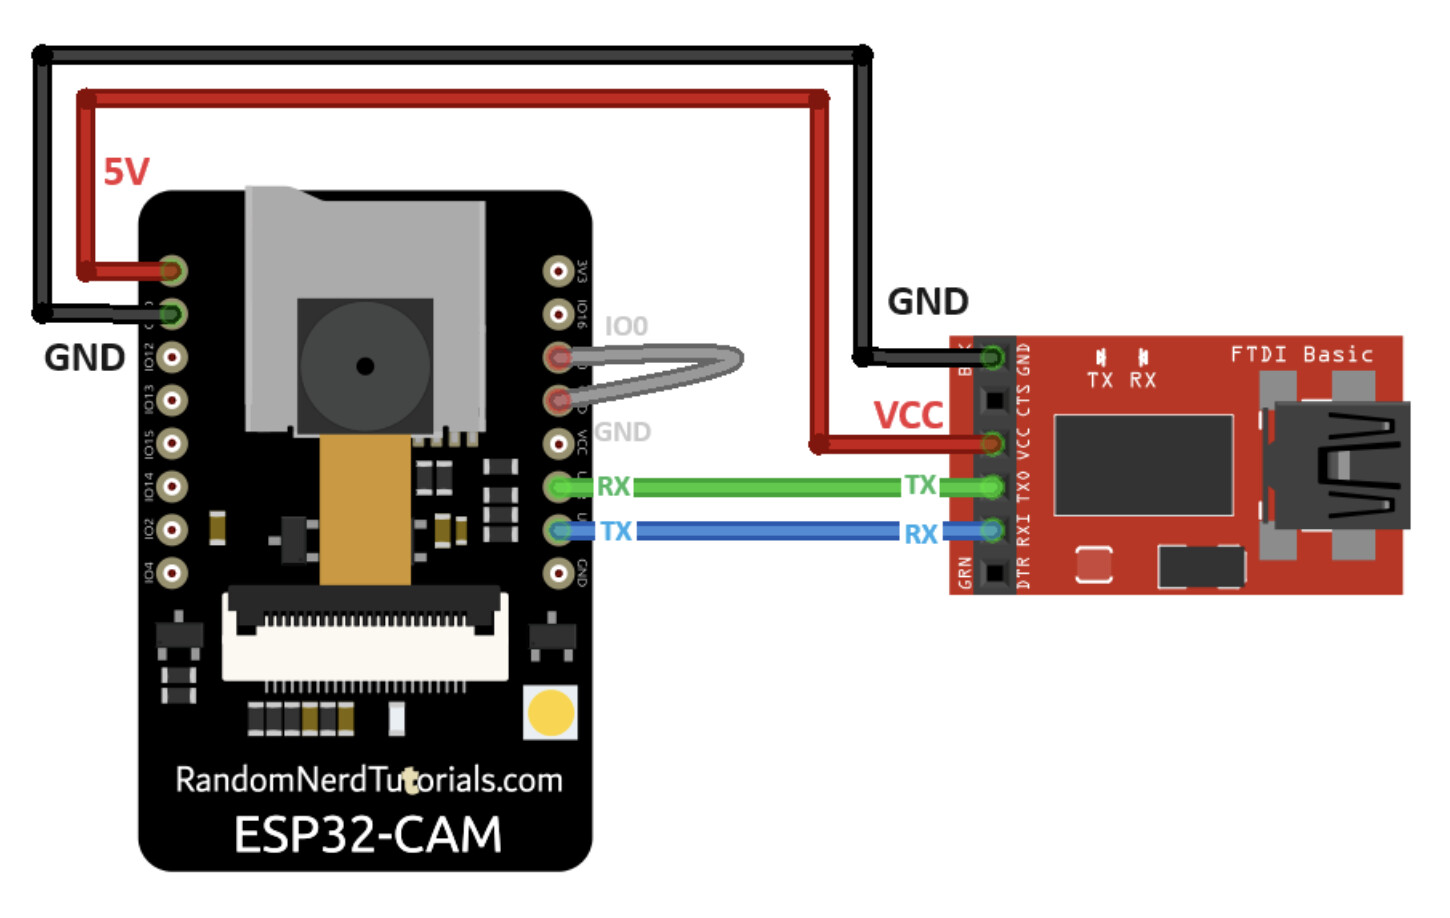
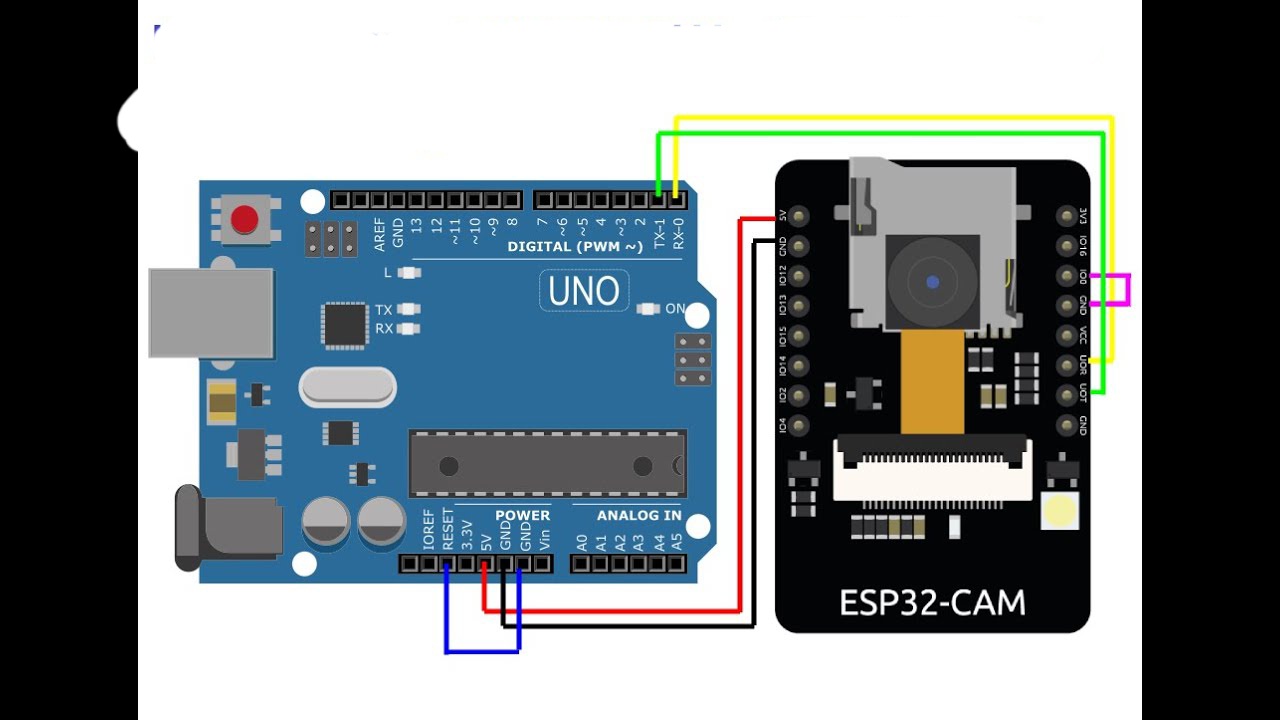
I planned on using my ESP32 Camera for my Arduino robot so I could have it do facial recognition. I first wanted to start simple setting up the communication between the ESP32 Camera and the UNO R3. Instead of using the FTDI USB to TTL converter I wired the ESP32 camera up to the Arduino UNO R3.
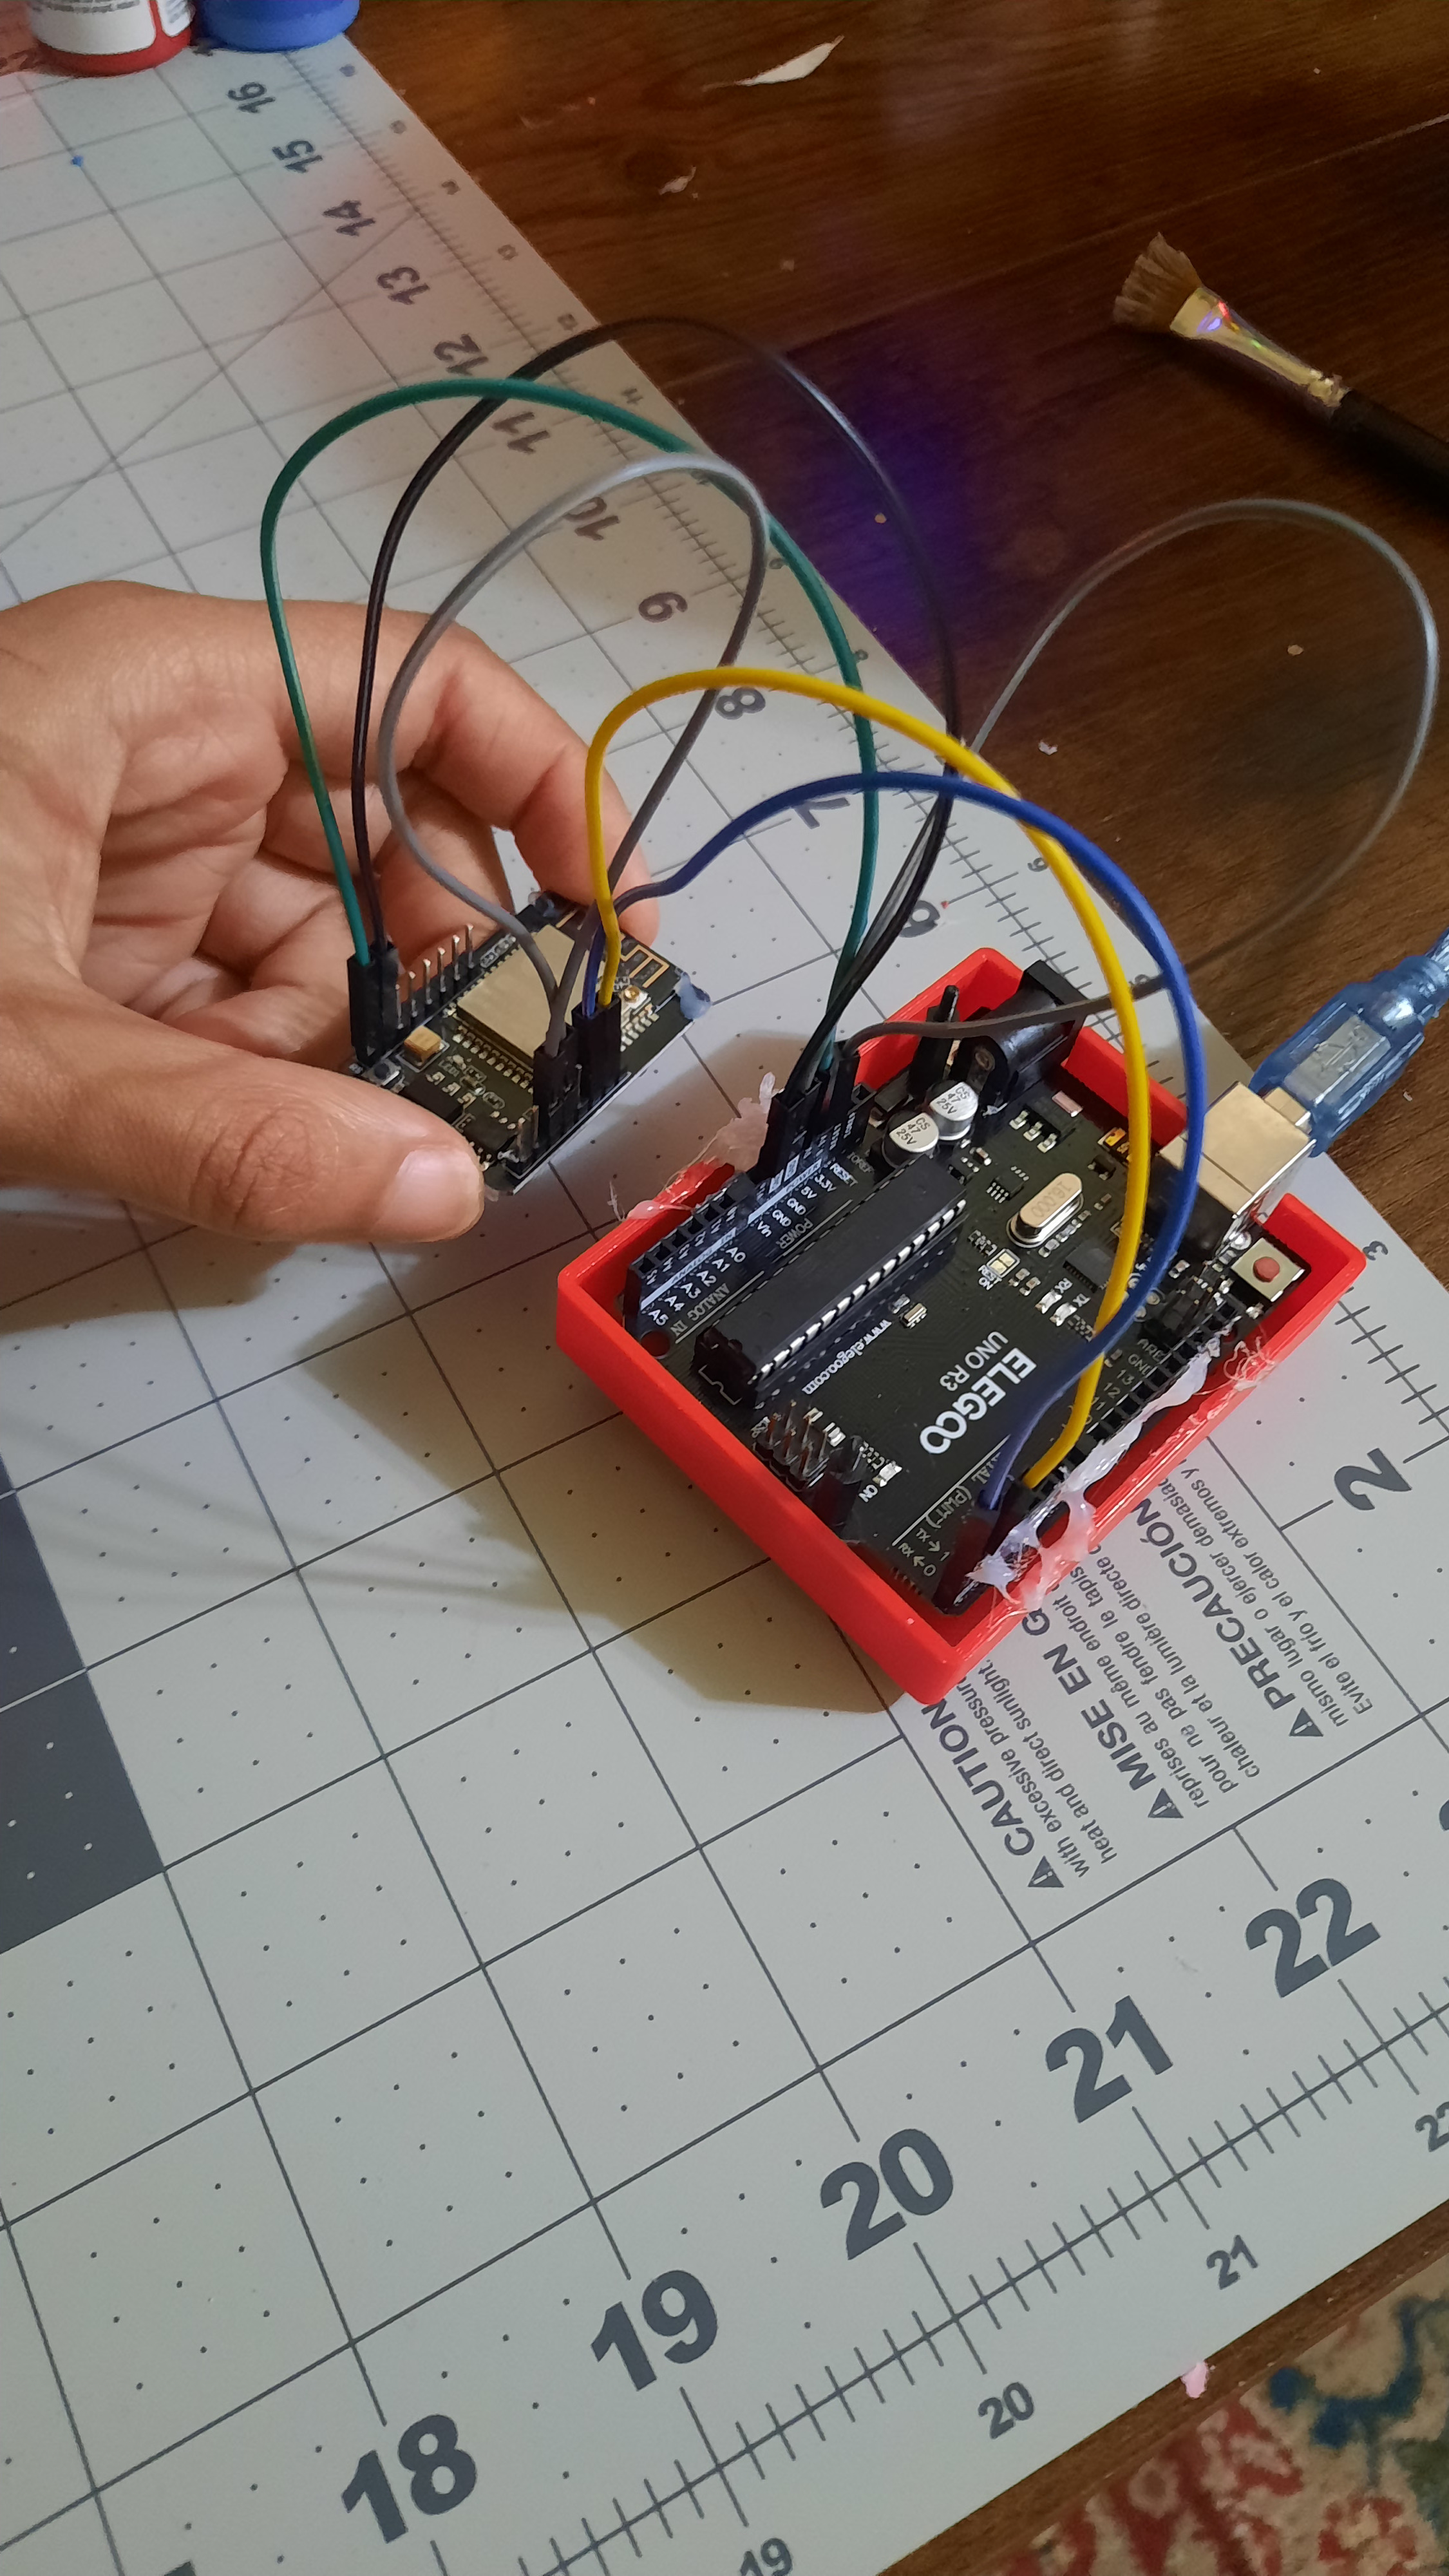
I double checked all of the Connections between the two:
I connected the ESP32 CAMERA's 5v pin to the 5v on the UNO.
I connected the ESP32 CAMERA's GND pin to the GND on the UNO.
I connected the UNO's ground to the UNO's reset.
I connected the UNO's TX pin to the ESP32's TX pin (labeled U0T)
I connected the UNO's RX pin to the ESP32's RX pin (labeled U0R)
The ESP32 camera GPIO0 pin is connected to the GND on the ESP32 camera
The IDE side of things:
I went into the preferences of the IDE and pasted this URL into the Additional boards Manager URL's: https://raw.githubusercontent.com/espressif/arduino-esp32/gh-pages/package_esp32_index.json
After that I installed the ESP32 add-on for the Arduino IDE by Espressif.
After the installation was finished, I went to File > Examples > ESP32 > Camera > CameraWebServer. In the Tools I went to Tools > Board > esp32 > ESP32 Wrover Module.
I wanted to point out that #define CAMERA_MODEL_ESP_EYE// Has PSRAM was uncommented, so I put // before it.
And then I uncommented the #define CAMERA_MODEL_AI_THINKER.
I also added my correct Wifi password and ssid (I double checked it). The Laptop I am using the IDE on is connected to the same Wifi.
I set the Upload speed to the lowest speed which was 921600.
The Flash frequency I set at 40MHz instead of 80MHz.
The Partition Scheme I set to "Huge APP (3MB No OTA/ 1MB SPIFFS)"
The Flash mode was on QIO.
It takes a long time, but the Code does verify. However, whenever I upload the code to my Arduino UNO R3 towards the end of the upload it says "connecting...." but never connects and it will stay stuck like that for an hour or so until I user abort the upload.
I'm not sure what this problem could be I tried updating my drivers following a YouTube tutorial: https://youtu.be/fCSN_VDOqGU?si=MTv63bb2FYxbbbBI. The person tried updating their drivers to get their ESP32 camera to connect and I followed their guide but still nothing changed.
CODE:
The CameraWebServer.ino,
#include "esp_camera.h"
#include <WiFi.h>

// ===========================
// Select camera model in board_config.h
// ===========================
#include "board_config.h"

// ===========================
// Enter your WiFi credentials
// ===========================
const char *ssid = "hgfgffghm";
const char *password = "hjgfgghvgfgh";

void startCameraServer();
void setupLedFlash();

void setup() {
  Serial.begin(115200);
  Serial.setDebugOutput(true);
  Serial.println();

  camera_config_t config;
  config.ledc_channel = LEDC_CHANNEL_0;
  config.ledc_timer = LEDC_TIMER_0;
  config.pin_d0 = Y2_GPIO_NUM;
  config.pin_d1 = Y3_GPIO_NUM;
  config.pin_d2 = Y4_GPIO_NUM;
  config.pin_d3 = Y5_GPIO_NUM;
  config.pin_d4 = Y6_GPIO_NUM;
  config.pin_d5 = Y7_GPIO_NUM;
  config.pin_d6 = Y8_GPIO_NUM;
  config.pin_d7 = Y9_GPIO_NUM;
  config.pin_xclk = XCLK_GPIO_NUM;
  config.pin_pclk = PCLK_GPIO_NUM;
  config.pin_vsync = VSYNC_GPIO_NUM;
  config.pin_href = HREF_GPIO_NUM;
  config.pin_sccb_sda = SIOD_GPIO_NUM;
  config.pin_sccb_scl = SIOC_GPIO_NUM;
  config.pin_pwdn = PWDN_GPIO_NUM;
  config.pin_reset = RESET_GPIO_NUM;
  config.xclk_freq_hz = 20000000;
  config.frame_size = FRAMESIZE_UXGA;
  config.pixel_format = PIXFORMAT_JPEG;  // for streaming
  //config.pixel_format = PIXFORMAT_RGB565; // for face detection/recognition
  config.grab_mode = CAMERA_GRAB_WHEN_EMPTY;
  config.fb_location = CAMERA_FB_IN_PSRAM;
  config.jpeg_quality = 12;
  config.fb_count = 1;

  // if PSRAM IC present, init with UXGA resolution and higher JPEG quality
  //                      for larger pre-allocated frame buffer.
  if (config.pixel_format == PIXFORMAT_JPEG) {
    if (psramFound()) {
      config.jpeg_quality = 10;
      config.fb_count = 2;
      config.grab_mode = CAMERA_GRAB_LATEST;
    } else {
      // Limit the frame size when PSRAM is not available
      config.frame_size = FRAMESIZE_SVGA;
      config.fb_location = CAMERA_FB_IN_DRAM;
    }
  } else {
    // Best option for face detection/recognition
    config.frame_size = FRAMESIZE_240X240;
#if CONFIG_IDF_TARGET_ESP32S3
    config.fb_count = 2;
#endif
  }

#if defined(CAMERA_MODEL_ESP_EYE)
  pinMode(13, INPUT_PULLUP);
  pinMode(14, INPUT_PULLUP);
#endif

  // camera init
  esp_err_t err = esp_camera_init(&config);
  if (err != ESP_OK) {
    Serial.printf("Camera init failed with error 0x%x", err);
    return;
  }

  sensor_t *s = esp_camera_sensor_get();
  // initial sensors are flipped vertically and colors are a bit saturated
  if (s->id.PID == OV3660_PID) {
    s->set_vflip(s, 1);        // flip it back
    s->set_brightness(s, 1);   // up the brightness just a bit
    s->set_saturation(s, -2);  // lower the saturation
  }
  // drop down frame size for higher initial frame rate
  if (config.pixel_format == PIXFORMAT_JPEG) {
    s->set_framesize(s, FRAMESIZE_QVGA);
  }

#if defined(CAMERA_MODEL_M5STACK_WIDE) || defined(CAMERA_MODEL_M5STACK_ESP32CAM)
  s->set_vflip(s, 1);
  s->set_hmirror(s, 1);
#endif

#if defined(CAMERA_MODEL_ESP32S3_EYE)
  s->set_vflip(s, 1);
#endif

// Setup LED FLash if LED pin is defined in camera_pins.h
#if defined(LED_GPIO_NUM)
  setupLedFlash();
#endif

  WiFi.begin(ssid, password);
  WiFi.setSleep(false);

  Serial.print("WiFi connecting");
  while (WiFi.status() != WL_CONNECTED) {
    delay(500);
    Serial.print(".");
  }
  Serial.println("");
  Serial.println("WiFi connected");

  startCameraServer();

  Serial.print("Camera Ready! Use 'http://");
  Serial.print(WiFi.localIP());
  Serial.println("' to connect");
}

void loop() {
  // Do nothing. Everything is done in another task by the web server
  delay(10000);
}
The board config.h
#ifndef BOARD_CONFIG_H
#define BOARD_CONFIG_H

//
// WARNING!!! PSRAM IC required for UXGA resolution and high JPEG quality
//            Ensure ESP32 Wrover Module or other board with PSRAM is selected
//            Partial images will be transmitted if image exceeds buffer size
//
//            You must select partition scheme from the board menu that has at least 3MB APP space.

// ===================
// Select camera model
// ===================
//#define CAMERA_MODEL_WROVER_KIT // Has PSRAM
//#define CAMERA_MODEL_ESP_EYE  // Has PSRAM
//#define CAMERA_MODEL_ESP32S3_EYE // Has PSRAM
//#define CAMERA_MODEL_M5STACK_PSRAM // Has PSRAM
//#define CAMERA_MODEL_M5STACK_V2_PSRAM // M5Camera version B Has PSRAM
//#define CAMERA_MODEL_M5STACK_WIDE // Has PSRAM
//#define CAMERA_MODEL_M5STACK_ESP32CAM // No PSRAM
//#define CAMERA_MODEL_M5STACK_UNITCAM // No PSRAM
//#define CAMERA_MODEL_M5STACK_CAMS3_UNIT  // Has PSRAM
#define CAMERA_MODEL_AI_THINKER // Has PSRAM
//#define CAMERA_MODEL_TTGO_T_JOURNAL // No PSRAM
//#define CAMERA_MODEL_XIAO_ESP32S3 // Has PSRAM
// ** Espressif Internal Boards **
//#define CAMERA_MODEL_ESP32_CAM_BOARD
//#define CAMERA_MODEL_ESP32S2_CAM_BOARD
//#define CAMERA_MODEL_ESP32S3_CAM_LCD
//#define CAMERA_MODEL_DFRobot_FireBeetle2_ESP32S3 // Has PSRAM
//#define CAMERA_MODEL_DFRobot_Romeo_ESP32S3 // Has PSRAM
#include "camera_pins.h"

#endif  // BOARD_CONFIG_H
Thank you for reading