This is a scaled back design attempt from trying to develop a modern replacement for some 1980s test equipment boards.
The image has the circuit I'm starting with with ten 7-segment displays, nine LEDs, and the associated drivers
(a 4514 is used for the cathode end, a 4547 used for the anode end).
The dotted box is my end goal with an Arduino nano and a 4x20 LCD with I2C interface.
What I'm after at this point is wanting to know how difficult it would be to develop or modify existing LCD code.
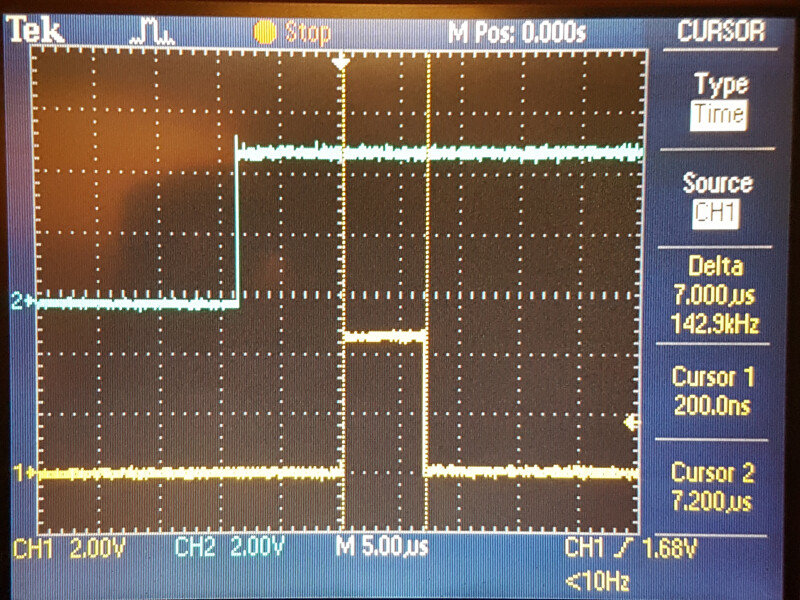
Breakdown of the important parts of the schematic:
There are 9 inputs to the display section, driven from an 8279 display controller.
Lines A, B, C, and D are the BCD data that are fed into the 7-segment LED driver which feeds the display anodes.
Segment A also provides anode drive to the 5 red LEDs
Segment G also provides anode drive to the 4 green LEDs
The blanking input line into the 7-segment driver is also used.
A0 to A3 is used as the cathode select input (using a 4514)
My thoughts as to the LCD setup:
Test Number is from outputs 09, 08
(planned output: LCD line 1, left: Test: XX)
Data is from outputs 07 through 00 inclusive
(planned output: LCD line 2, left: XXXXXXXX)
Test A is from output 10
(planned output: LCD line 1, right: LD A: ____)
Test B is from output 11
(planned output: LCD line 2, right: LD B: ____)
Test C is from output 12
(planned output: LCD line 3, right: LD C: ____)
Test D is from output 13
(planned output: LCD line 4, right: LD D: ____)
Installing indicator is from output 14
(planned output: LCD line 4, left: Install [normally blank - this line only intended to blink])
Test status is from output 15
(planned output: LCD line 3, left: Stat: ____)
The five ____ lines would be blank when inactive, PASS when green LED is called, and NOGO when red LED is called