apologies @Railroader , i thought i was following guidelines by uploading the file below is the text of the code
/**
* Modular 7-segment display using (WS2812B) programmable LED strip
* Copyright (c) 2022 Playful Technology
*/
// INCLUDES
// Interfacing to programmable LED strips, see https://fastled.io/
#include <FastLED.h>
// For debouncing button input, see https://github.com/thomasfredericks/Bounce2
#include <Bounce2.h>
// DEFINES
// How many LEDs are used in each digit
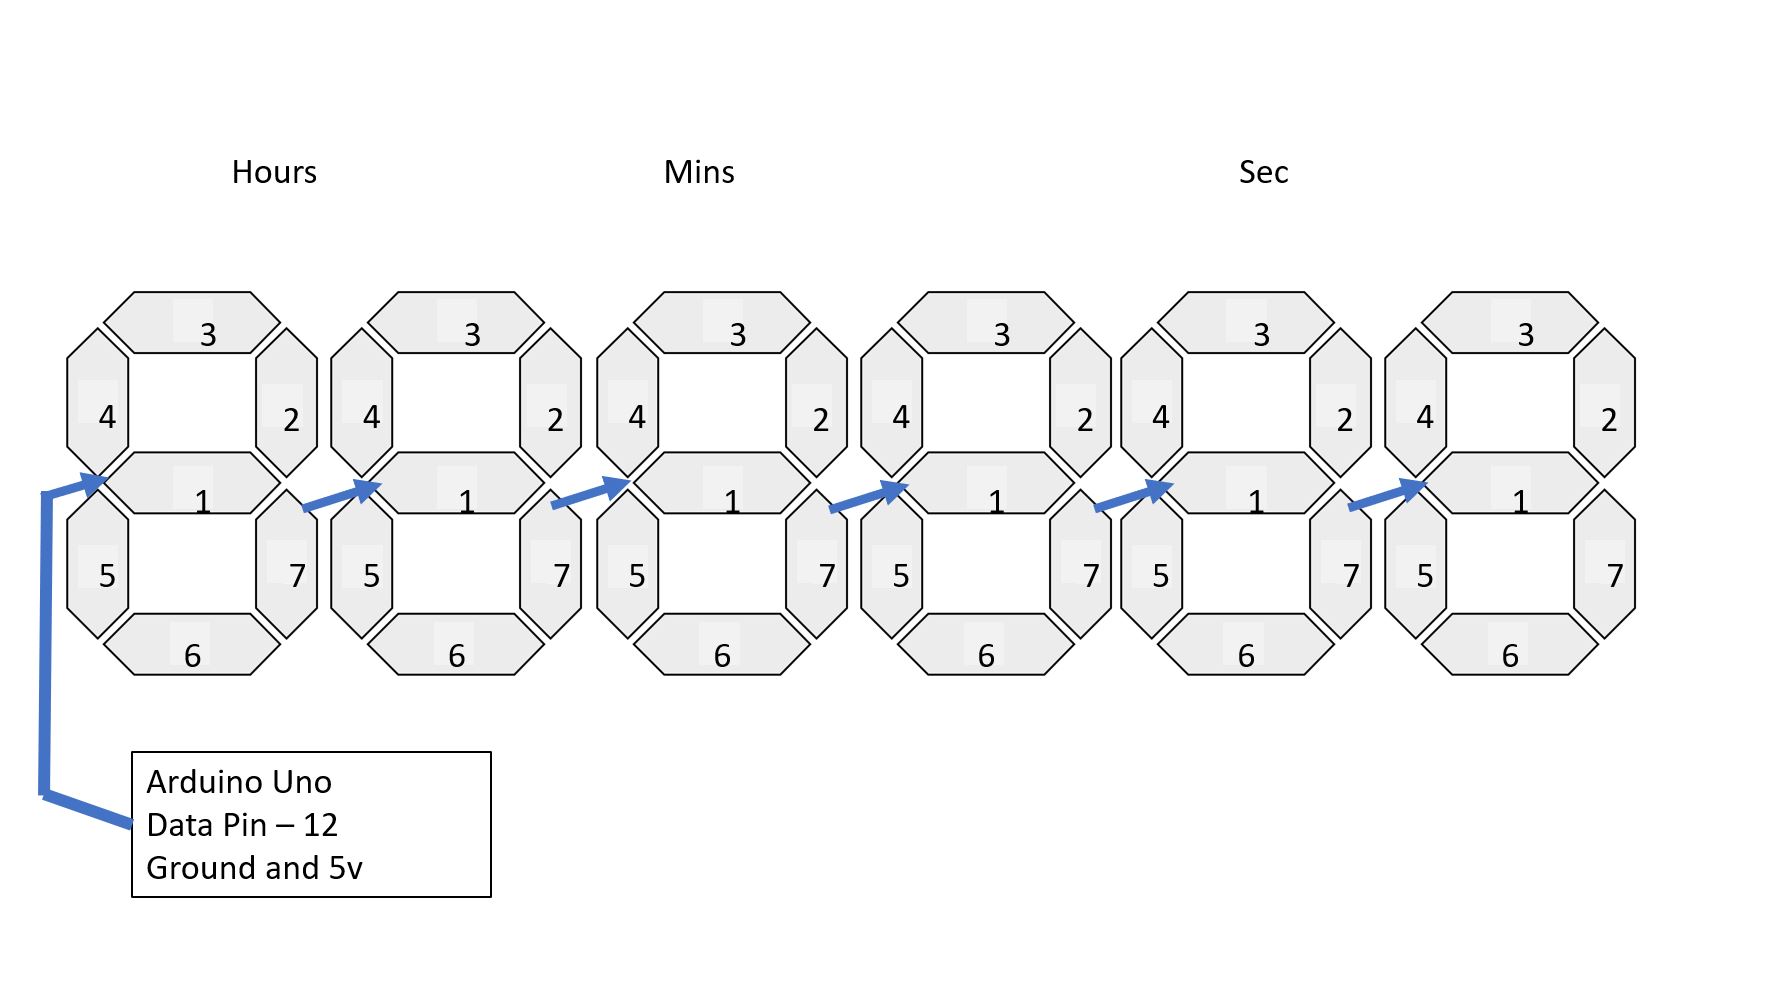
#define NUM_LEDS_PER_DIGIT 28
// Total number of LEDs in the strip
#define NUM_LEDS 168
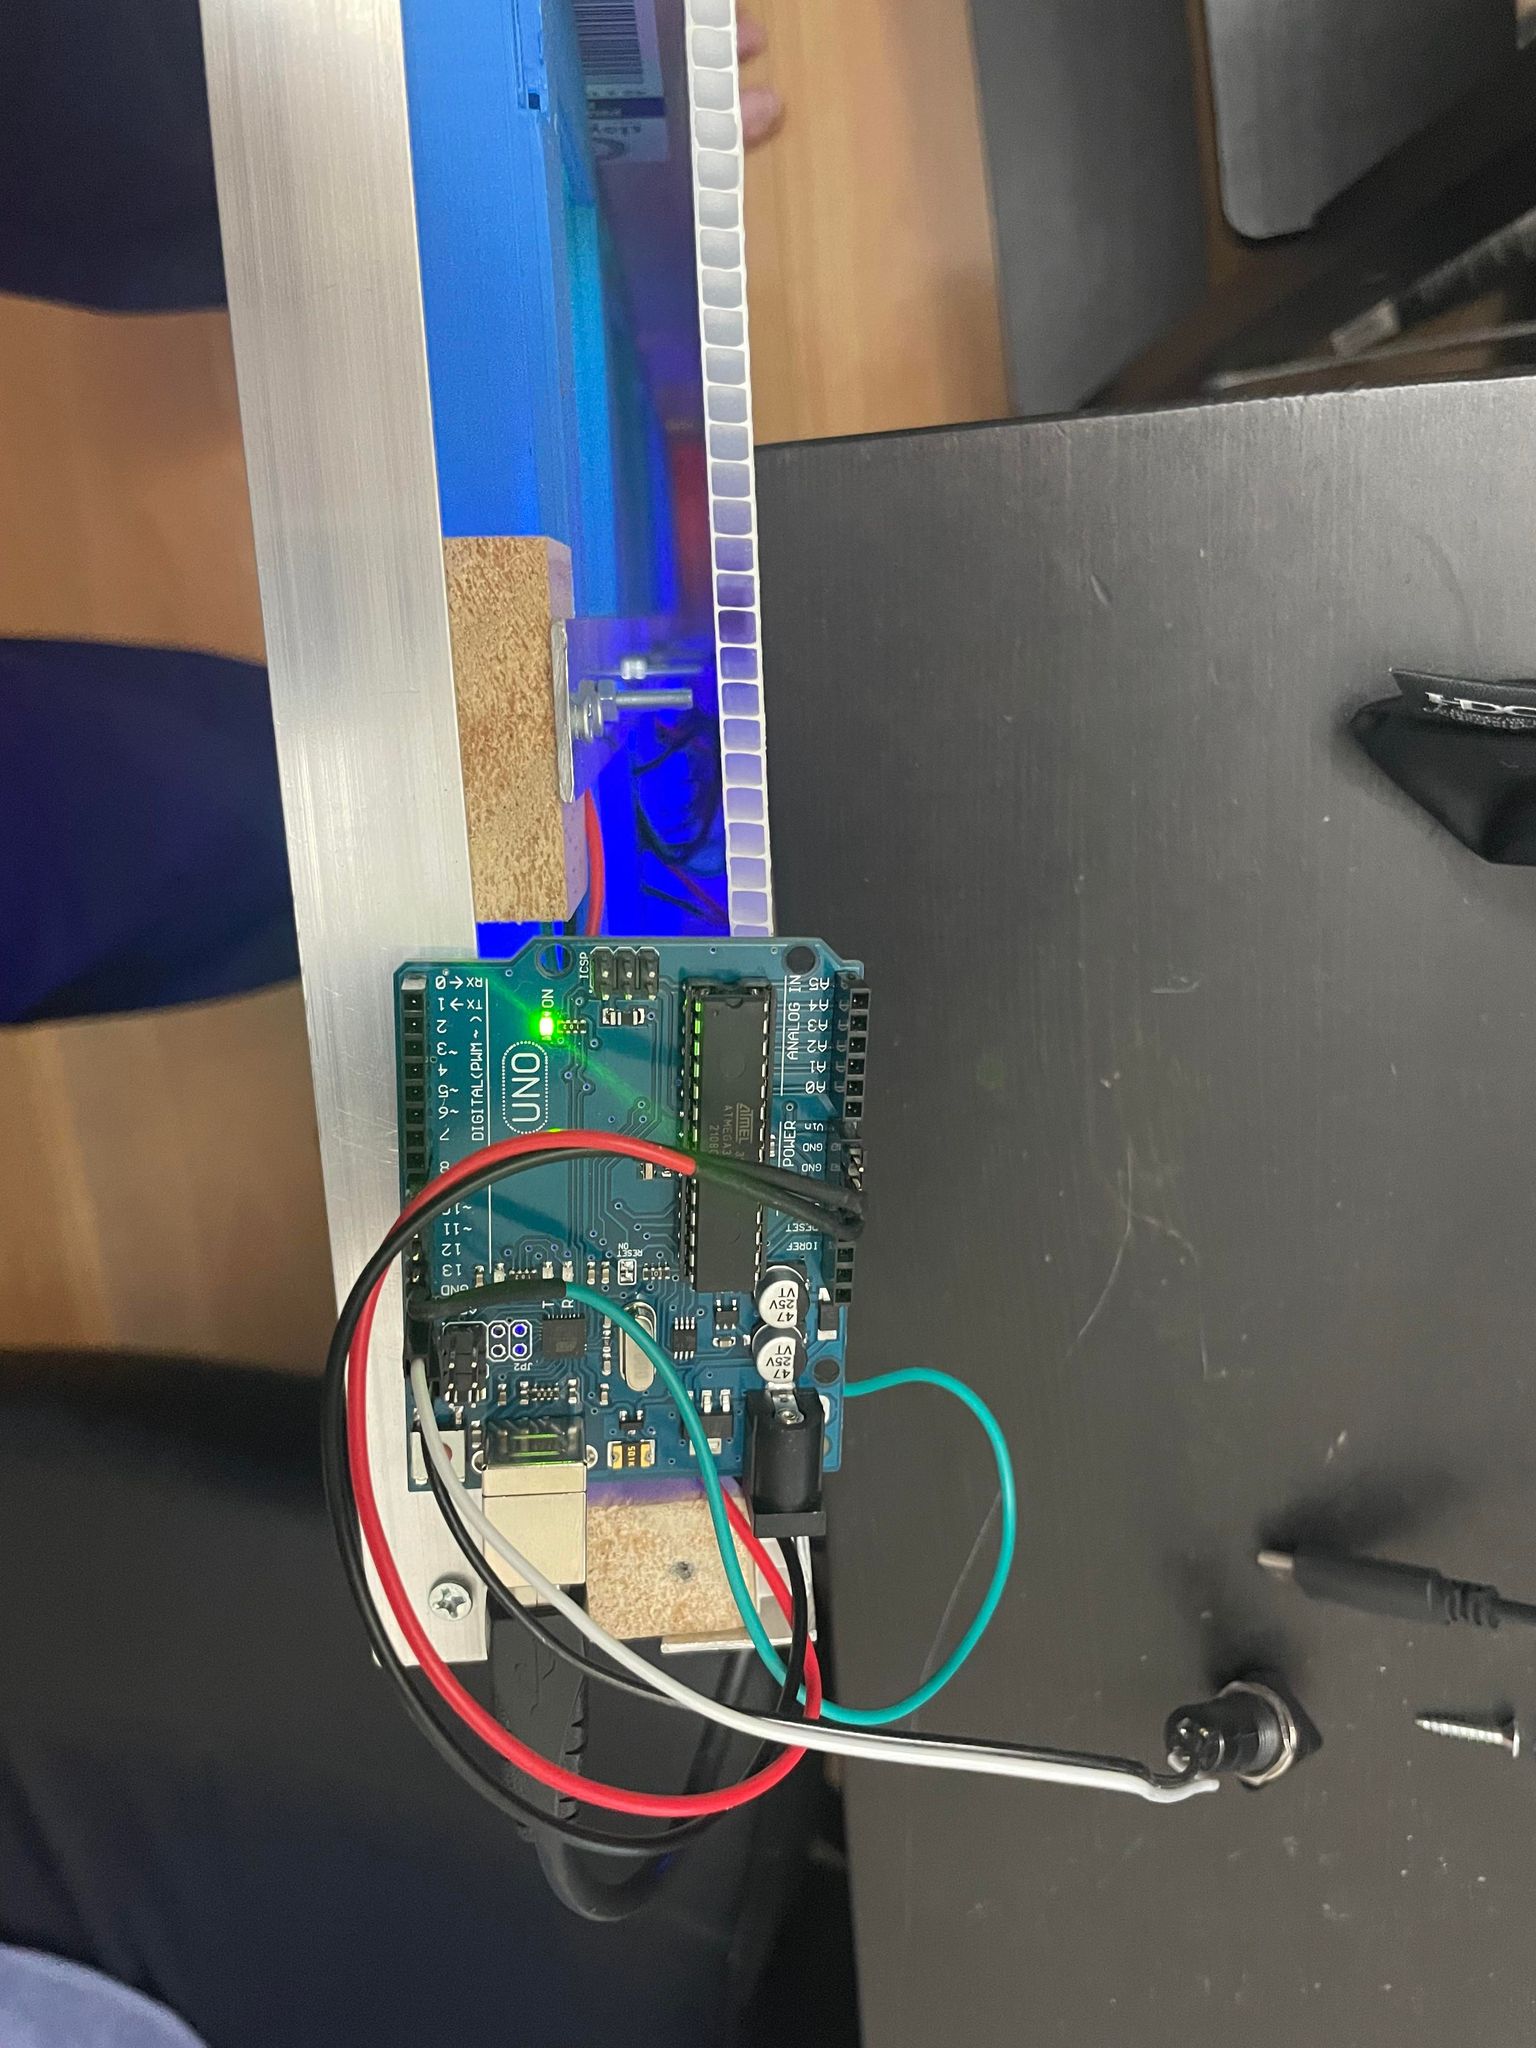
// The pin which is connected to the DataIn of the LED strip
#define DATA_PIN 12
// If defined, timer shows minutes and seconds MM:SS, rather than seconds SSSS
#define DISPLAY_HHMMSS
// CONSTANTS
// The following array defines the sequence of LEDs that should be lit to represent each digit 0-9
// This will vary depending on the order in which the strip has been physically wired through
// the segments, the number of LEDs in each segment, whether there are any unused LEDs in the strip
// (e.g. between digits) etc.
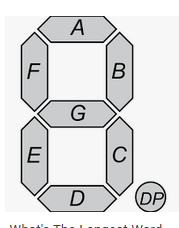
// Segments of a 7-segment display are generally labelled as follows:
// /-A-\
// F B
// --G-/
// E C
// \-D-/
// The way I've wired the strips is:
// - Strip is fed through the segments in the order G->B->A->F->E->D->C (then onto the next digit)
// - There are 4 LEDs in each segment
// - There is a single unused LED in the strip between segments F and E
// - This makes the total length of 29 LEDs in the strip for each digit
// - I'm packing these into a single 32-bit integer, and since bitwise operations are MSB, this will
// be counted from the right-hand side, and then padded at the front with 3x0s up to 32 bits.
// e.g. 0b000ccccddddeeee0ffffaaaabbbbgggg
// If you have an even bigger display containing more LEDs, it might be necessary to pack them into a
// 64-bit integer instead, i.e. uint64_t.
const uint32_t digits[10] = {
0b00001111111111111111111111110000, // 0
0b00001111000000000000000011110000, // 1
0b00000000111111110000111111111111, // 2
0b00001111111100000000111111111111, // 3
0b00001111000000001111000011111111, // 4
0b00001111111100001111111100001111, // 5
0b00001111111111111111111100001111, // 6
0b00001111000000000000111111110000, // 7
0b00001111111111111111111111111111, // 8
0b00001111111100001111111111111111, // 9
};
// Input pins
const byte leftPin = 6;
const byte startPin = 13;
const byte rightPin = 4;
// GLOBALS
// The array of RGB values assigned to each LED in the strip
CRGB leds[NUM_LEDS];
// Bounce objects to read debounced button input
Bounce2::Button btnStart = Bounce2::Button();
Bounce2::Button btnLeft = Bounce2::Button();
Bounce2::Button btnRight = Bounce2::Button();
// The time at which the counter was (most recently) started
unsigned long startTime;
// Duration is specified in ms. So 1000 = 1 second, 60000 = 1 minute, etc.
unsigned long timerDuration = 0;
// Keep track of elapsed time from previous start/stop cycles
unsigned long cumulativeElapsedTime;
// Keep track of the current state of the device
enum State {Inactive, Active};
State state = State::Inactive;
// Count direction
enum Mode {CountUp, CountDown};
Mode mode = Mode::CountUp;
// FUNCTIONS
// Set the values in the LED strip corresponding to a particular display/value
void setDigit(int display, int val, CHSV colour){
for(int i=0;i<NUM_LEDS_PER_DIGIT; i++){
colour.v = bitRead(digits[val], i) * 255;
leds[display*NUM_LEDS_PER_DIGIT + i] = colour;
}
}
void Start(){
Serial.println(F("Timer activated!"));
state = State::Active;
startTime = millis();
}
void Stop() {
Serial.println(F("Timer stopped"));
// Add the length of time elapsed since the timer was last started to the total time elapsed
cumulativeElapsedTime += (millis() - startTime);
state = State::Inactive;
}
void Reset(){
Serial.println(F("Timer reset"));
cumulativeElapsedTime = 0;
state = State::Inactive;
}
// This function runs once when the program first starts
void setup() {
// Initialise a serial connection, used only for debugging
Serial.begin(115200);
Serial.println(__FILE__ __DATE__);
// Initialise the LED strip
FastLED.addLeds<WS2812B, DATA_PIN, GRB>(leds, NUM_LEDS);
// Configure the debounced inputs
btnStart.attach(startPin, INPUT_PULLUP);
btnLeft.attach(leftPin, INPUT_PULLUP);
btnRight.attach(rightPin, INPUT_PULLUP);
state = State::Inactive;
}
// This function runs over and over
void loop() {
// Check whether any buttons have been pressed
btnStart.update();
btnLeft.update();
btnRight.update();
// Grab the current timestamp
unsigned long currentTime = millis();
// Calculate the value to be displayed
static long timeValue = 0;
// The colour hue in which the time will be displayed
int timeHue = 170;
// What to do next depends on the current state of the device
if(state == State::Active) {
if(mode == Mode::CountDown) {
// The time remaining is the total game duration, less the time spent during the
// current period of play, less the time elapsed during any previous sessions
// or other deductions
timeValue = timerDuration - (currentTime - startTime) - cumulativeElapsedTime;
// Map colour hue from green -> red based on fraction of time remaining
timeHue = map(timeValue, 0, timerDuration, 0, 100);
// Countdown has reached zero
if(timeValue <= 0) {
timeValue = 0;
state = State::Inactive;
}
}
else if(mode == Mode::CountUp) {
// Time is however long since we started counting, plus any previous existing time
timeValue = (currentTime - startTime) + cumulativeElapsedTime;
// Constant colour
timeHue = 0;
}
// Toggle whether timer is active
if(btnStart.pressed()) {
Stop();
}
}
else if(state == State::Inactive){
// Cycle colour hue while paused (BPM, from_value, to_value)
timeHue = beatsin8(20, 0, 40);
// Subtract from countdown duration
if(btnLeft.pressed()) {
if(timerDuration >= 60000) { timerDuration -= 60000; }
timeValue = timerDuration;
Reset();
}
// Add to countdown duration
if(btnRight.pressed()) {
timerDuration += 60000;
timeValue = timerDuration;
Reset();
}
// Start timer
if(btnStart.pressed()) {
// Set mode depending on whether duration had been set
if(timerDuration == 0) { mode = Mode::CountUp; }
else { mode = Mode::CountDown; }
// Activate the counter
Start();
}
}
// Display as mm:ss
#ifdef DISPLAY_MMSS
// Use modulo to calculate "remainder" seconds
int seconds = (timeValue / 1000) % 60;
int minutes = timeValue / 60000;
// Units
setDigit(3, seconds%10, CHSV(timeHue, 255, 255));
// Tens
setDigit(2,(seconds/10)%10, CHSV(timeHue, 255, 255));
// Hundreds
setDigit(1, minutes%10, CHSV(timeHue, 255, 255));
// Thousands
setDigit(0,(minutes/10)%10, CHSV(timeHue, 255, 255));
// Display in seconds
#else
// Units
setDigit(3, (timeValue / 1000) % 10, CHSV(timeHue, 255, 255));
// Tens
setDigit(2, (timeValue / 10000) % 10, CHSV(timeHue, 255, 255));
// Hundreds
setDigit(1, (timeValue / 100000) % 10, CHSV(timeHue, 255, 255));
// Thousands
setDigit(0, (timeValue / 1000000) % 10, CHSV(timeHue, 255, 255));
#endif
// Send the updated values to the LED strip
FastLED.show();
delay(20);
}