I’m making an anxiety/panic attack sensing device as a project for school, and to do it I’m using a series of sensors: heartRate sensor, GSR sensor, and vibration sensor. Most parts of the project are working, but whenever I try the heart rate sensor I either get flat 0 over and over again or just really unstable results ranging from 30 to 280, I’ve already tried adjusting the threshold and resoldering the wires on the sensor which were loose neither of these things helped. What else could be the problem?
Less a schematic and links to your sensors along with your code I have no idea why you have happening what you do.
Ron
1 Like
Hi, @Lizzy_Sky
Welcome to the forum.
Thanks.. Tom... ![]()
![]()
![]()
![]()
the pulse sensor I'm using is the regular arduino pulse senor -- https://pulsesensor.com/pages/code-and-guide
gsr sensor https://wiki.seeedstudio.com/Grove-GSR_Sensor/
vibration sensor https://osoyoo.com/2018/11/14/arduino-lesson-vibration-sensor-module/
This is the code for all the sensors combined (when I try this I get a 0 BPM):
#define USE_ARDUINO_INTERRUPTS true
#include <PulseSensorPlayground.h>
PulseSensorPlayground pulseSensor;
int vibSensor=A1;
int gsrSensor=A2;
int gsrReading;
int gsrThreshold=3;
int vibThreshold=1010;
int heartThreshold=40;
const int heartSensor = A0;
const int LED = LED_BUILTIN;
int beatThreshold = 550;
int average;
int BPM;

void setup() {
  pinMode(vibSensor,INPUT);
  pinMode(heartSensor, INPUT);
  pinMode(gsrSensor, INPUT);
   Serial.begin(115200);

  pulseSensor.analogInput(heartSensor);
  pulseSensor.blinkOnPulse(LED);
  pulseSensor.setThreshold(beatThreshold);
 }

void loop() {

if (pulseSensor.sawStartOfBeat()) {
int BPM = pulseSensor.getBeatsPerMinute();
  delay(20);
  for (int i=0; i < 30; i++) {
average = average + analogRead(vibSensor);
 }
 average = average/30;

  gsrReading=analogRead(gsrSensor);
  float gsrVoltage;
  gsrVoltage=gsrReading*5.0/1023.0;

  if(BPM>=heartThreshold && gsrVoltage<=gsrThreshold){
Serial.println("you may be having a panic attack start grounding techniques");
delay(10);
  }
else if(BPM>=heartThreshold && average>=vibThreshold){
Serial.println("you may be having a panic attack start grounding techniques");
delay(10);
}
else if(gsrVoltage<=gsrThreshold && average>=vibThreshold){
Serial.println("you may be having a panic attack start grounding techniques");
delay(10);
}
else if(BPM>=heartThreshold && average>=vibThreshold && gsrReading<=gsrThreshold){
Serial.println("you may be having a panic attack start grounding techniques");
delay(10);
}
else if (BPM>=heartThreshold){
  Serial.println("you seem to be experiencing an irregular heart rate");
}
Serial.println("BPM");
Serial.println(BPM);
and this is the code for the heart rate sensor separately (when I try this I get a range of numbers that is really unstable):
#define USE_ARDUINO_INTERRUPTS true
const int PulseWire = A0;
const int LED = LED_BUILTIN;
int Threshold = 550;
PulseSensorPlayground pulseSensor;

void setup() {

  Serial.begin(115200);
  pulseSensor.analogInput(PulseWire);
  pulseSensor.blinkOnPulse(LED);
  pulseSensor.setThreshold(Threshold);

   if (pulseSensor.begin()) {
    Serial.println("We created a pulseSensor Object !");
  }
}

void loop() {

if (pulseSensor.sawStartOfBeat()) {
int BPM = pulseSensor.getBeatsPerMinute();

 Serial.println("♥  A HeartBeat Happened ! ");
 Serial.print("BPM: ");
}
  delay(20);
}
How is the sensor attached to the body?
The tutorial talks about a sweet spot of attachment. Not too tight, not too loose.
I've tried every variation of tightness using the piece of velcro that came with the sensor. It only makes small differences, so I don't think that's the problem.
Is something missing here? This will never print the measured BPM value. I think it should be ...
 Serial.println("♥  A HeartBeat Happened ! ");
 Serial.print("BPM: "); Serial.println(BPM);
Regards,
Gareth
Hi, @Lizzy_Sky
What model Arduino are you using?
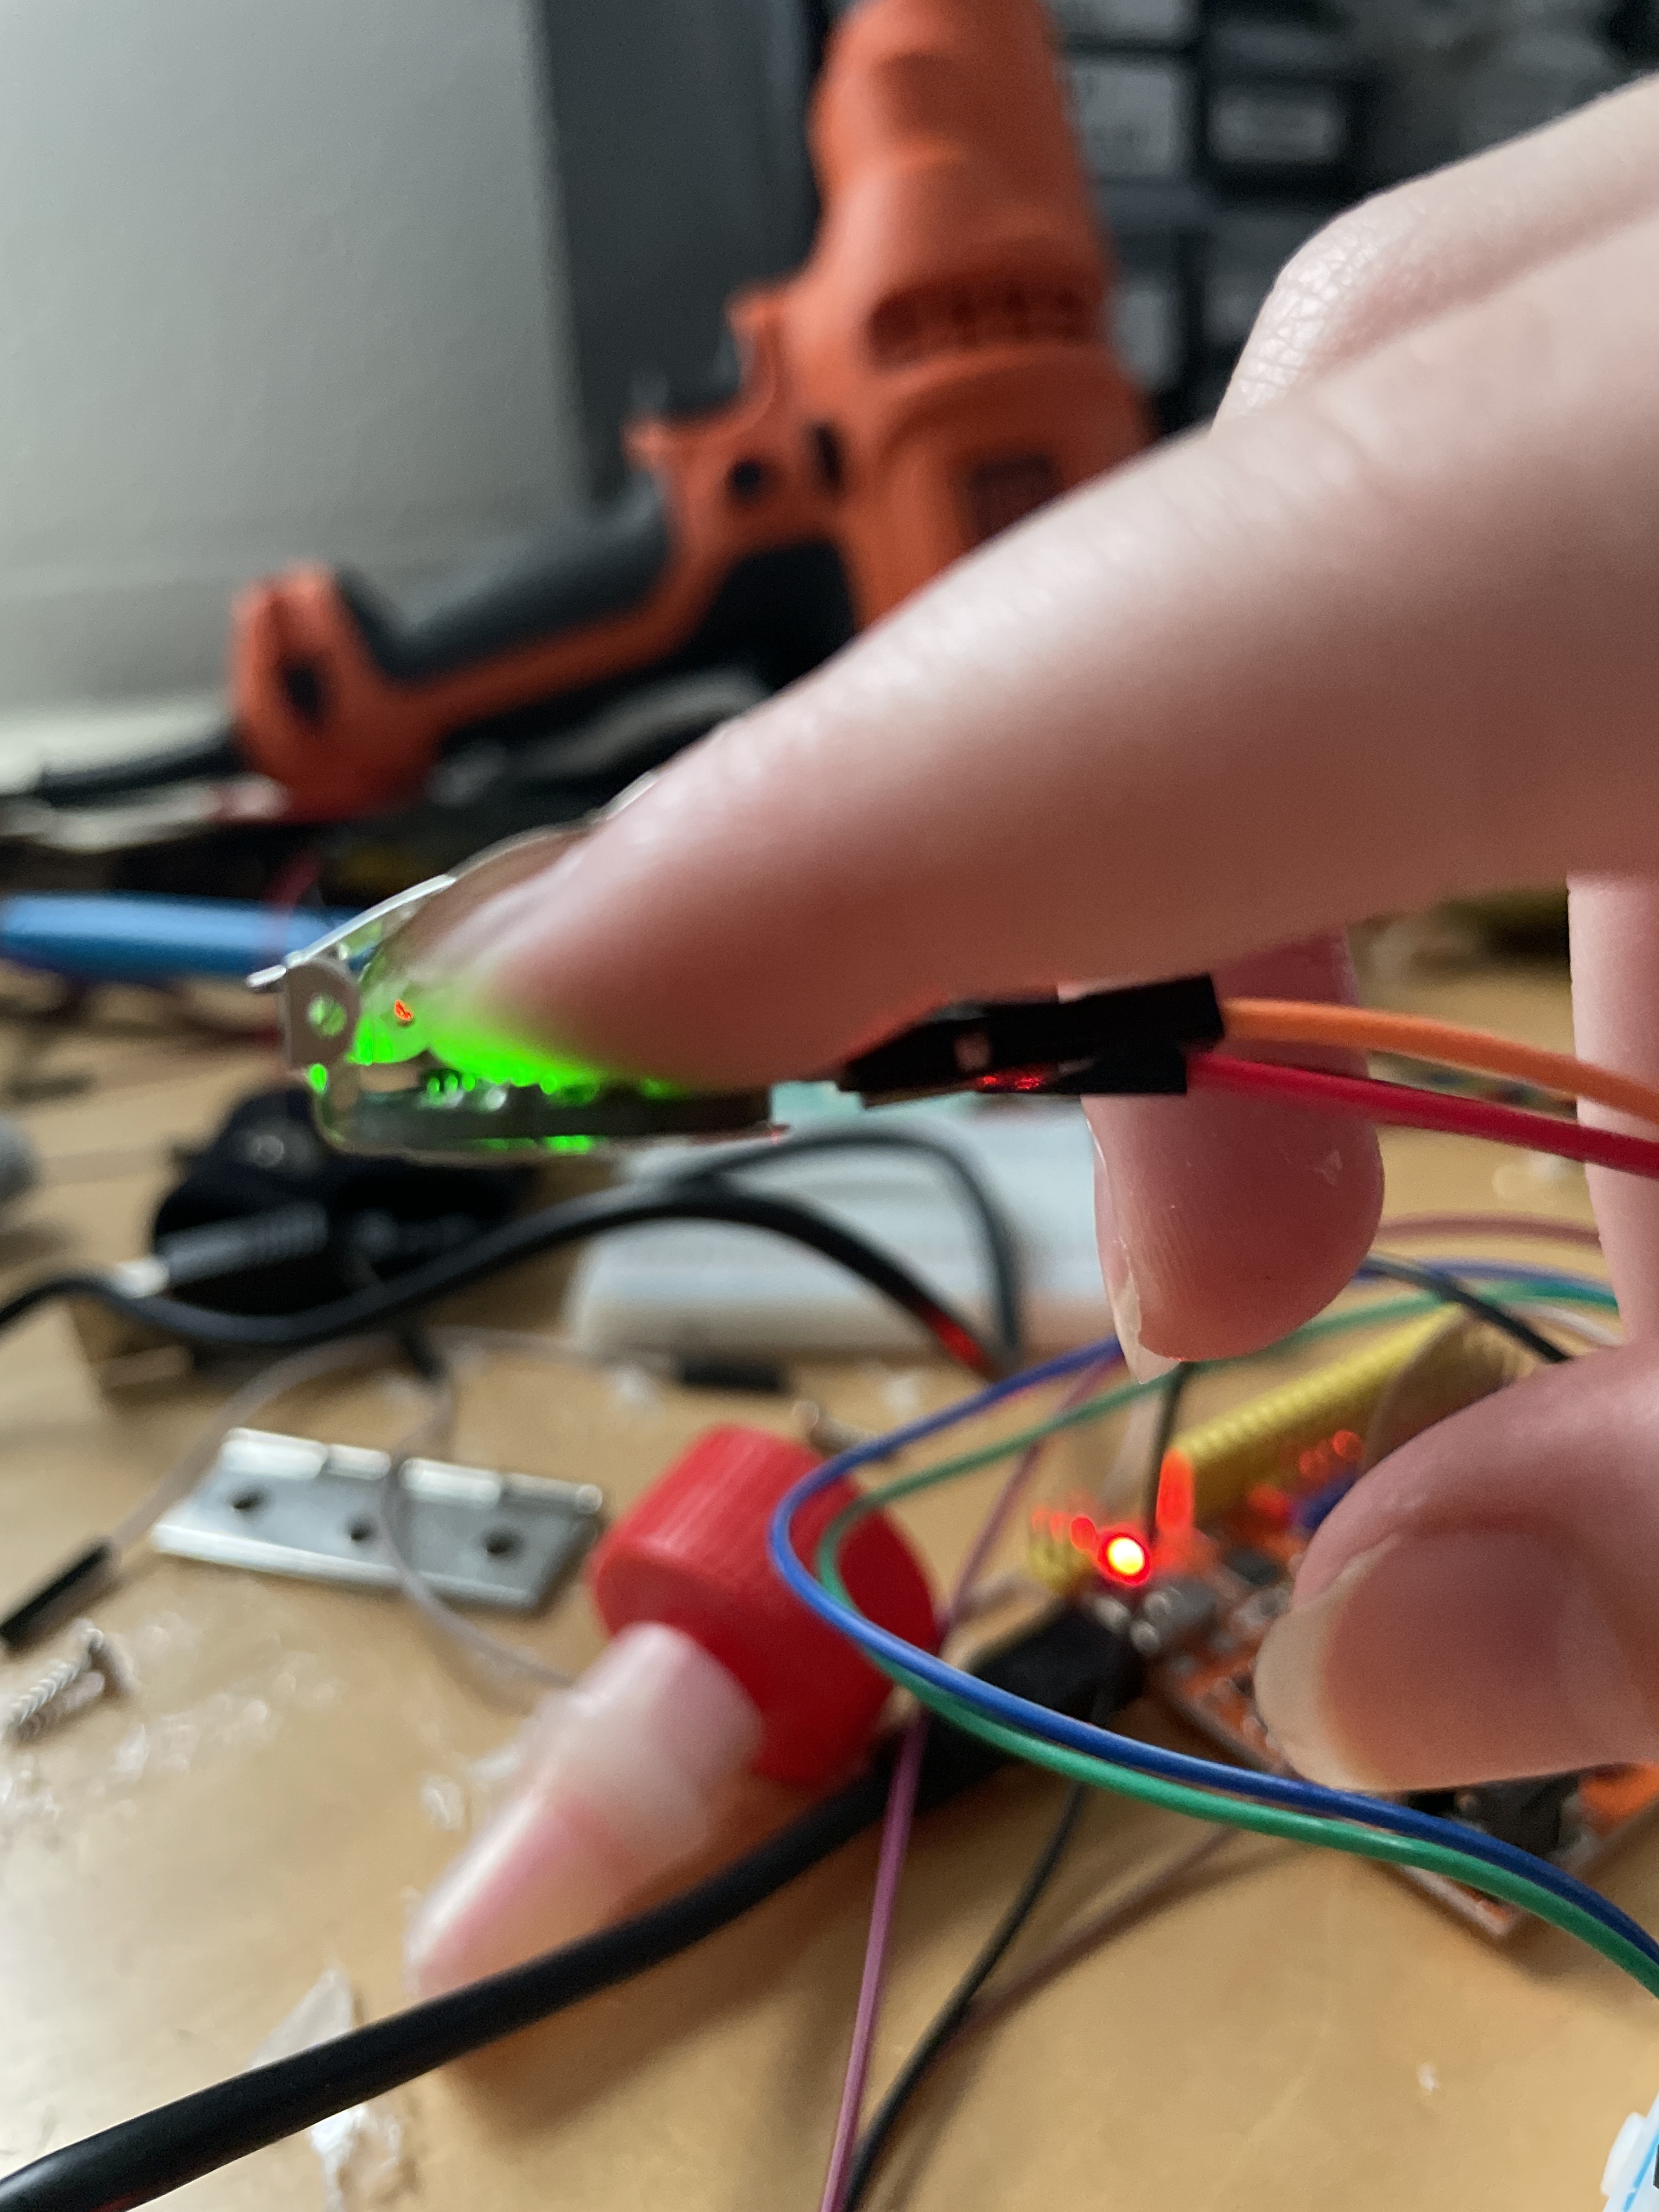
Can you please post some images of your sensor attached to a finger, and an overall image of your project?
Thanks.. Tom... ![]()
![]()
![]()
![]()
Hi,
In your second code, the pulse sensor on its own, where is;
#include <PulseSensorPlayground.h>
Have you tried an example from the library?
/*
   Code to detect pulses from the PulseSensor,
   using an interrupt service routine.

   Here is a link to the tutorial\
   https://pulsesensor.com/pages/getting-advanced

   Copyright World Famous Electronics LLC - see LICENSE
   Contributors:
     Joel Murphy, https://pulsesensor.com
     Yury Gitman, https://pulsesensor.com
     Bradford Needham, @bneedhamia, https://bluepapertech.com

   Licensed under the MIT License, a copy of which
   should have been included with this software.

   This software is not intended for medical use.
*/

/*
   Every Sketch that uses the PulseSensor Playground must
   define USE_ARDUINO_INTERRUPTS before including PulseSensorPlayground.h.
   Here, #define USE_ARDUINO_INTERRUPTS true tells the library to use
   interrupts to automatically read and process PulseSensor data.

   See ProcessEverySample.ino for an example of not using interrupts.
*/
#define USE_ARDUINO_INTERRUPTS true
#include <PulseSensorPlayground.h>

/*
   The format of our output.

   Set this to PROCESSING_VISUALIZER if you're going to run
    the Processing Visualizer Sketch.
    See https://github.com/WorldFamousElectronics/PulseSensor_Amped_Processing_Visualizer

   Set this to SERIAL_PLOTTER if you're going to run
    the Arduino IDE's Serial Plotter.
*/
const int OUTPUT_TYPE = SERIAL_PLOTTER;

/*
   Pinout:
     PULSE_INPUT = Analog Input. Connected to the pulse sensor
      purple (signal) wire.
     PULSE_BLINK = digital Output. Connected to an LED (and 1K series resistor)
      that will flash on each detected pulse.
     PULSE_FADE = digital Output. PWM pin onnected to an LED (and 1K series resistor)
      that will smoothly fade with each pulse.
      NOTE: PULSE_FADE must be a pin that supports PWM. Do not use
      pin 9 or 10, because those pins' PWM interferes with the sample timer.
     THRESHOLD should be set higher than the PulseSensor signal idles
      at when there is nothing touching it. The expected idle value
      should be 512, which is 1/2 of the ADC range. To check the idle value
      open a serial monitor and make note of the PulseSensor signal values
      with nothing touching the sensor. THRESHOLD should be a value higher
      than the range of idle noise by 25 to 50 or so. When the library
      is finding heartbeats, the value is adjusted based on the pulse signal
      waveform. THRESHOLD sets the default when there is no pulse present.
      Adjust as neccesary.
*/
const int PULSE_INPUT = A0;
const int PULSE_BLINK = LED_BUILTIN;
const int PULSE_FADE = 5;
const int THRESHOLD = 550;   // Adjust this number to avoid noise when idle

/*
   All the PulseSensor Playground functions.
*/
PulseSensorPlayground pulseSensor;

void setup() {
  /*
     Use 115200 baud because that's what the Processing Sketch expects to read,
     and because that speed provides about 11 bytes per millisecond.

     If we used a slower baud rate, we'd likely write bytes faster than
     they can be transmitted, which would mess up the timing
     of readSensor() calls, which would make the pulse measurement
     not work properly.
  */
  Serial.begin(115200);

  // Configure the PulseSensor manager.

  pulseSensor.analogInput(PULSE_INPUT);
  pulseSensor.blinkOnPulse(PULSE_BLINK);
  pulseSensor.fadeOnPulse(PULSE_FADE);

  pulseSensor.setSerial(Serial);
  pulseSensor.setOutputType(OUTPUT_TYPE);
  pulseSensor.setThreshold(THRESHOLD);

  // Now that everything is ready, start reading the PulseSensor signal.
  if (!pulseSensor.begin()) {
    /*
       PulseSensor initialization failed,
       likely because our particular Arduino platform interrupts
       aren't supported yet.

       If your Sketch hangs here, try PulseSensor_BPM_Alternative.ino,
       which doesn't use interrupts.
    */
    for(;;) {
      // Flash the led to show things didn't work.
      digitalWrite(PULSE_BLINK, LOW);
      delay(50);
      digitalWrite(PULSE_BLINK, HIGH);
      delay(50);
    }
  }
}

void loop() {
  /*
     Wait a bit.
     We don't output every sample, because our baud rate
     won't support that much I/O.
  */
  delay(20);

  // write the latest sample to Serial.
 pulseSensor.outputSample();

  /*
     If a beat has happened since we last checked,
     write the per-beat information to Serial.
   */
  if (pulseSensor.sawStartOfBeat()) {
   pulseSensor.outputBeat();
  }
}
Tom.. ![]()
![]()
![]()
![]()
Yes that line is missing I must have made a mistake when I copied and pasted thank you
The code I showed you is actually from the library but I’ll be sure to try out the one you’ve suggested as well
This topic was automatically closed 180 days after the last reply. New replies are no longer allowed.