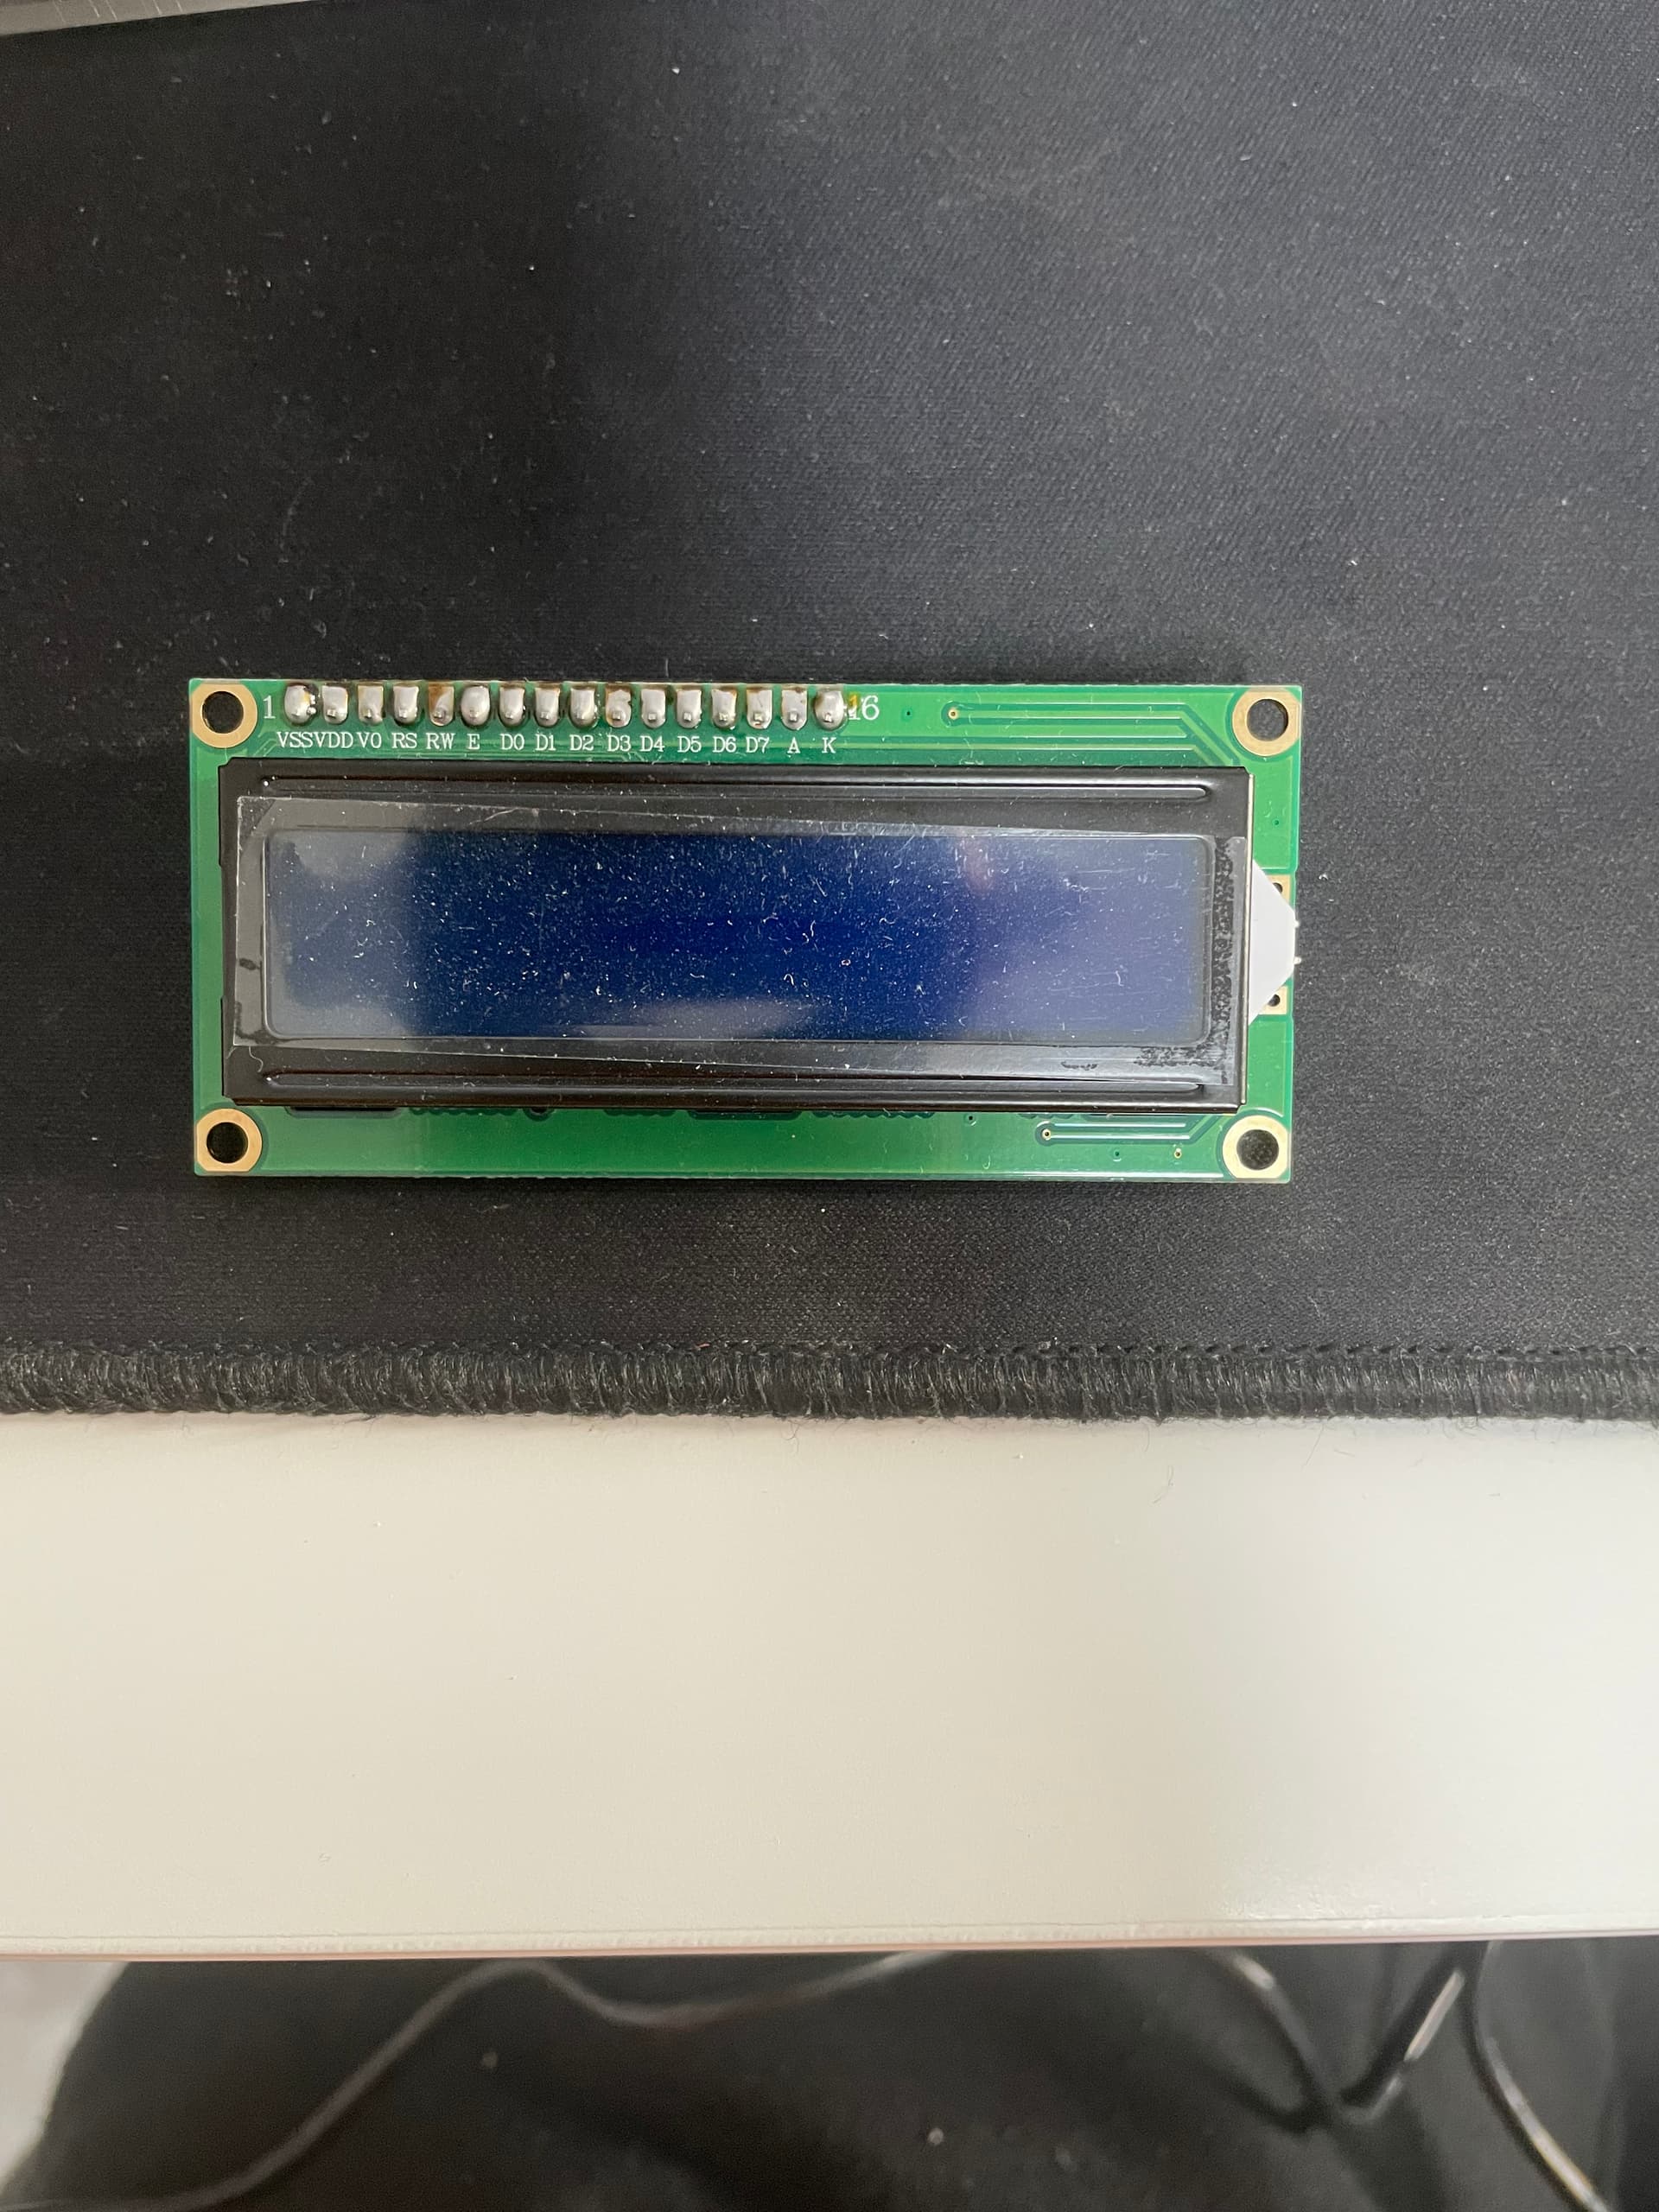
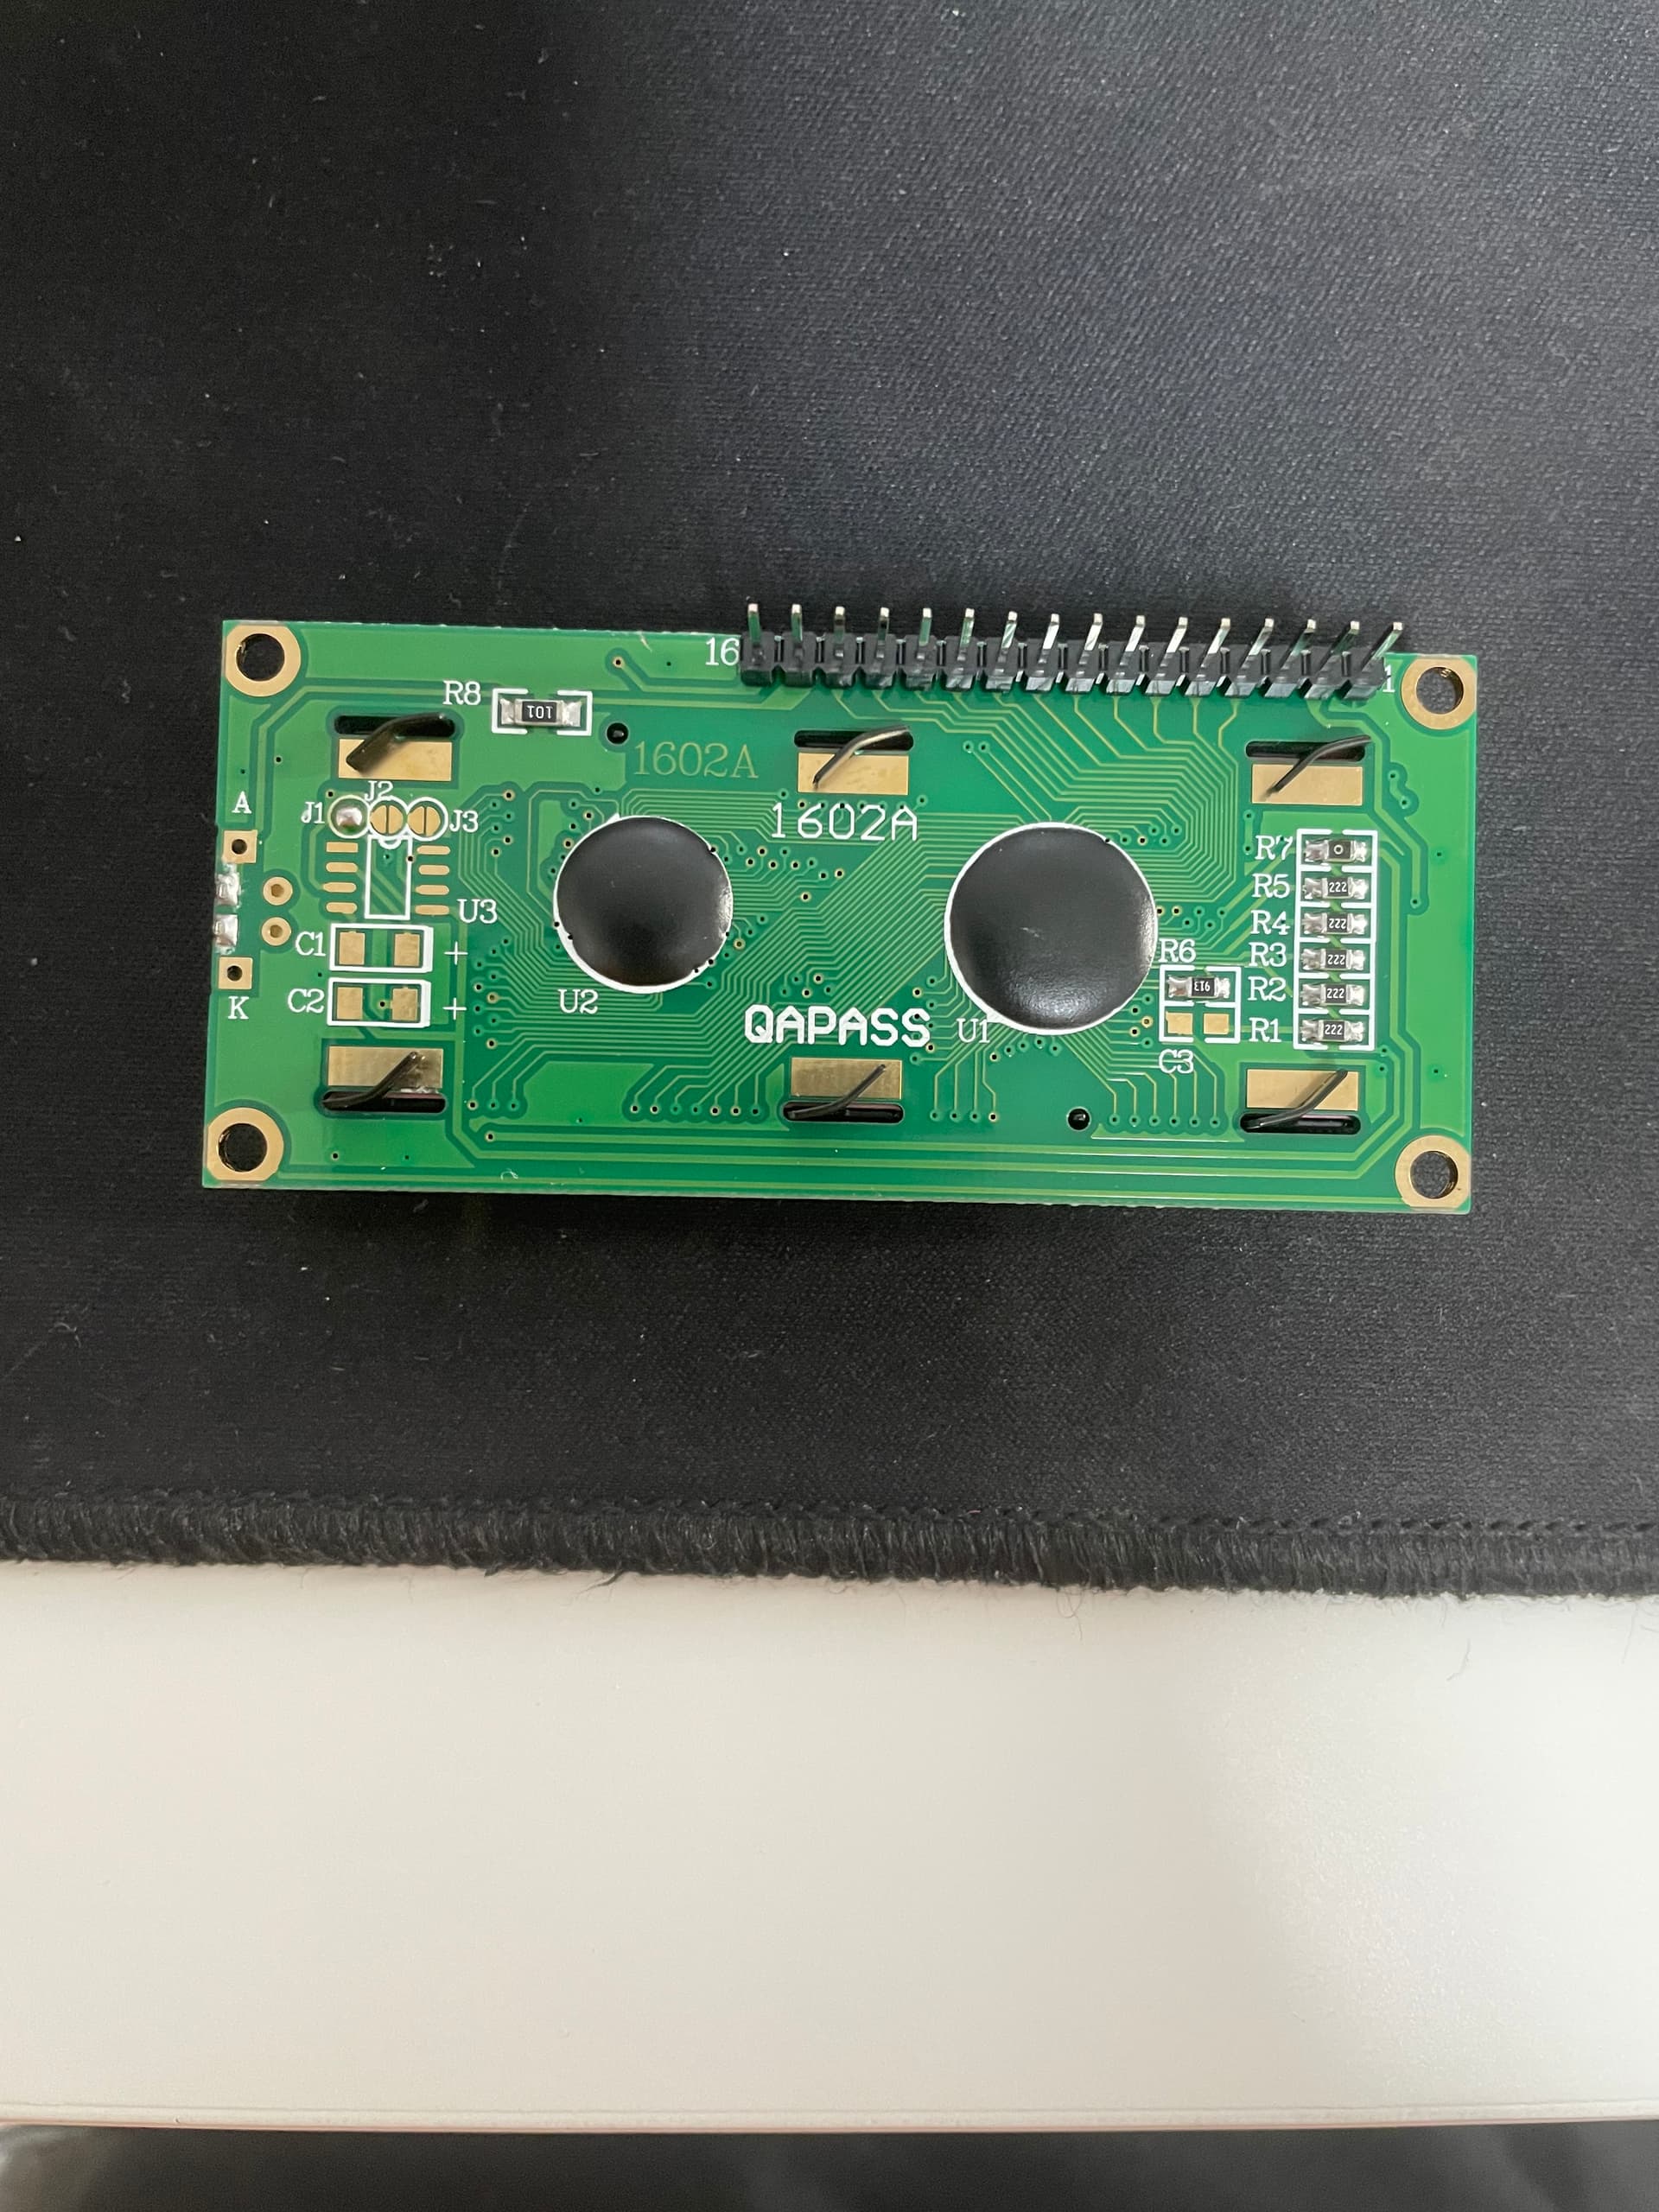
I have a code that is used for detecting movement behind walls. It uses a DMS (Digital Microwave Sensor). The blueprint I use used a OLED Display and Arduino Nano, I only have a LCD Display and an Arduino Uno. I don't even know if the type of Arduino matters in any way, but I don't know how I should change the code for the different type of display that I have.
For convenience the website I found this project on is: "Electronic Clinic, microwave sensor with arduino for humans and objects detection behind walls."
Here's the Code:
#include <SPI.h>
#include <MsTimer2.h>           //Timer interrupt function library
#include <Adafruit_GFX.h>
#include <Adafruit_SSD1306.h>
#define SCREEN_WIDTH 128 // OLED display width, in pixels
#define SCREEN_HEIGHT 64 // OLED display height, in pixels

// Declaration for an SSD1306 display connected to I2C (SDA, SCL pins)
#define OLED_RESET     -1 // Reset pin # (or -1 if sharing Arduino reset pin)
#define SCREEN_ADDRESS 0x3D
Adafruit_SSD1306 display(SCREEN_WIDTH, SCREEN_HEIGHT, &Wire, OLED_RESET);


int pbIn = 0;                    // Define interrupt 0 that is digital pin 2
int ledOut = 13;                 // Define the indicator LED pin digital pin 13
int number=0;                    //Interrupt times
volatile int state = LOW;         // Defines the indicator LED state, the default is not bright

void setup()
{
     Serial.begin(9600);
     pinMode(ledOut, OUTPUT);//
     attachInterrupt(pbIn, stateChange, FALLING); // Set the interrupt function, interrupt pin is digital pin D2,
                                                   //interrupt service function is stateChange (),
                                                   //when the D2 power change from high to low , the trigger interrupt.
     MsTimer2::set(3000, Handle); // Set the timer interrupt function, running once Handle() function per 1000ms
     MsTimer2::start();//Start timer interrupt function

    display.begin(SSD1306_SWITCHCAPVCC, 0x3C);
    display.clearDisplay();
    display.display();
}

void loop()
{
 display.setTextSize(2);
  display.setTextColor(WHITE);
  display.setCursor(0,5);
 display.println("status: ");

  display.setTextSize(3);
  display.setTextColor(WHITE);
  display.setCursor(0,30);
 display.println(number);

  display.display();
  display.clearDisplay();
  delay(10);

 }


void stateChange()  //Interrupt service function
{
  number++;  //Interrupted once, the number + 1

}

void Handle()   //Timer service function
{
number = 0;
}
I'd greatly appreciate if someone could help me with this.
KoenV.