Line follower robot not working

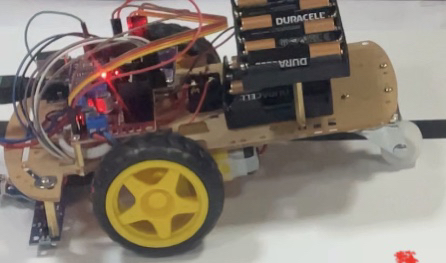
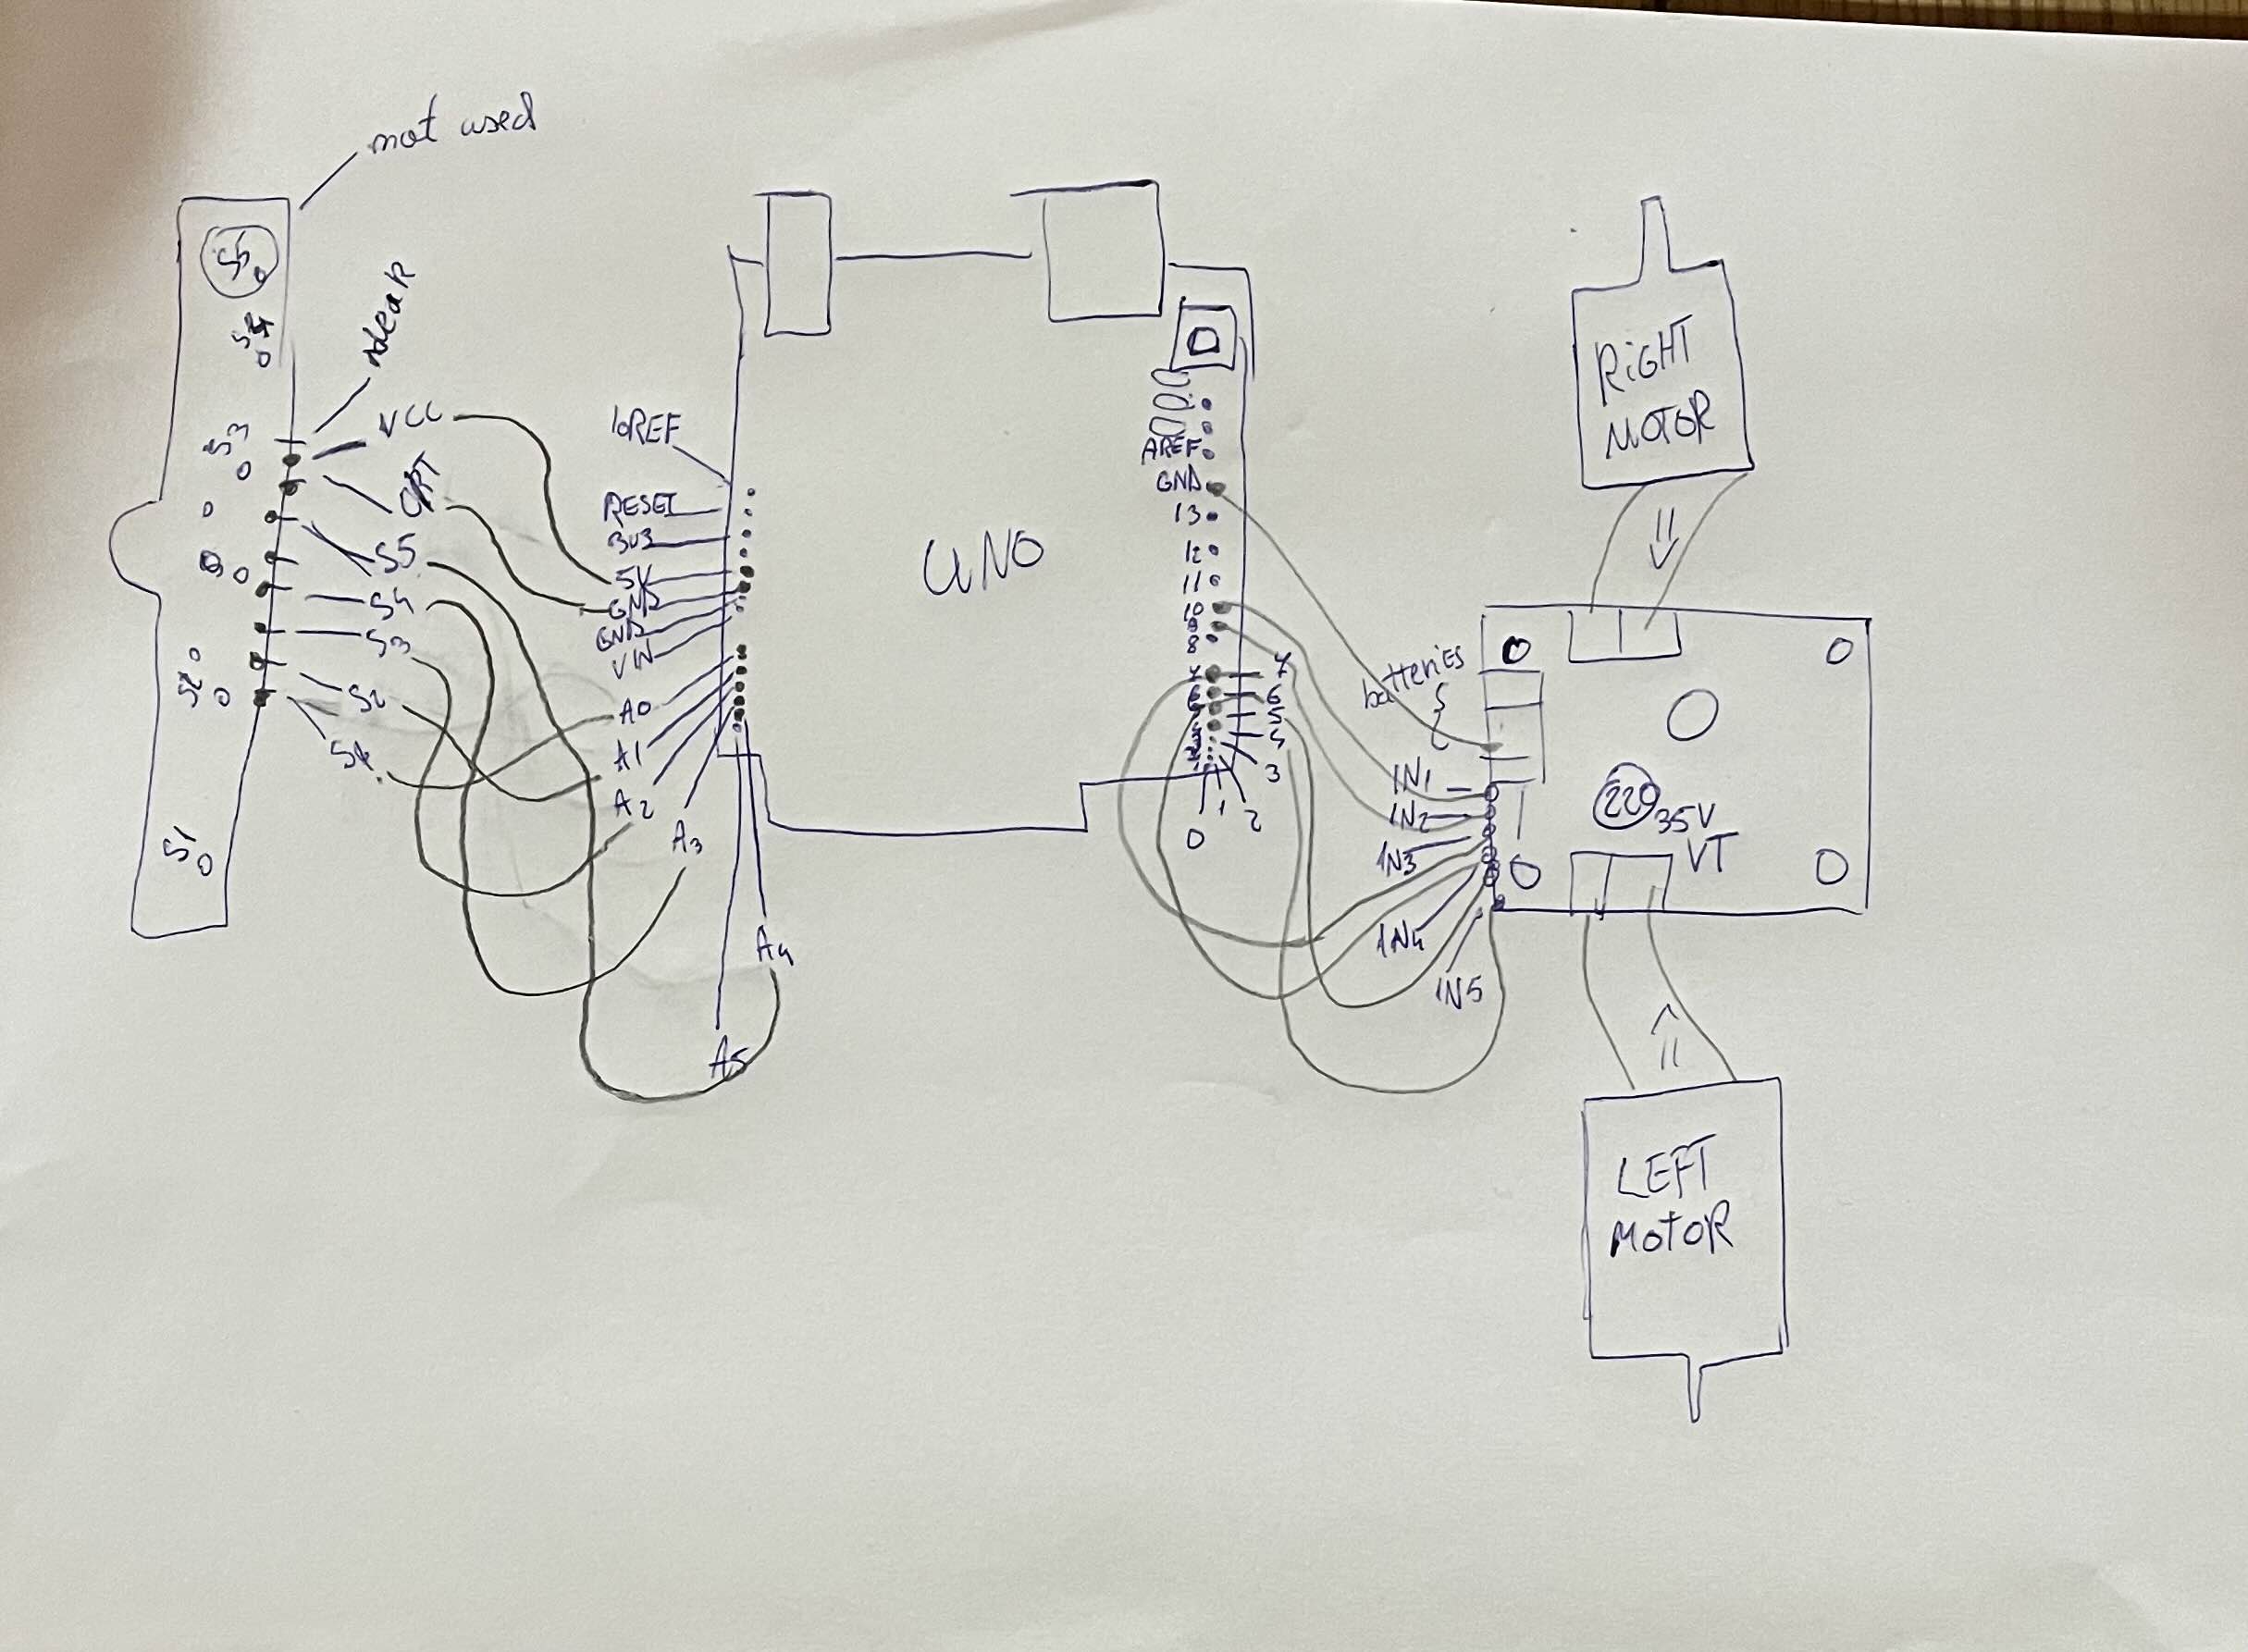
I am an arduino noob and I have made a line follower robot using arduino uno, Motor 3-6V TT DC with 4 motors and 5 IR sensors in the front and L298N shield. The motors seem to be working fine although, the right wheel stops pretty frequently and the sensors only light up when encountering the black line instead of also turning or following the black line. Sometimes the sensors picked up the line but turned the wrong direction

This is the code I made that seemed to work the best, still not following the line and the motors stopping here and there.

void ____readsensors();
void ____controlmotor();
void ____error();

double ___SA0;
double ___SA1;
double ___SA2;
double ___SA3;
double ___SA4;
double ___error;
double ___Senzors;
int _output_MotorRight2 = 5;
int _input_SA1 = A1;
int _input_SA0 = A0;
int _input_SA3 = A3;
int _input_SA2 = A2;
int _input_SA4 = A4;
int _output_MotorRight1 = 4;
int _output_SpeedMotorRight = 10;
int _led_L = 13;
int _output_MotorLeft2 = 7;
int _output_MotorLeft1 = 6;
int _output_SpeedMotorLeft = 9;

void ____citestesenzori() {
    ___SA0 = analogRead(_input_SA0);
    ___SA1 = analogRead(_input_SA1);
    ___SA2 = analogRead(_input_SA4);
    ___SA3 = analogRead(_input_SA3);
    ___SA4 = analogRead(_input_SA4);
}

void ____controlmotor() {
    digitalWrite(_output_MotorRight1, (int)1);
    digitalWrite(_output_MotorRight2, (int)0);
    digitalWrite(_output_MotorLeft1, (int)0);
    digitalWrite(_output_MotorLeft2, (int)1);
    if ( ___error == 0 ) {
        analogWrite(_output_SpeedMotorRight, (int)80);
        analogWrite(_output_SpeedMotorLeft, (int)80);
    } else {
        if ( ___error == 1 ) {
            analogWrite(_output_SpeedMotorRight, (int)0);
            analogWrite(_output_SpeedMotorLeft, (int)80);
        } else {
            if ( ___error == -1 ) {
                analogWrite(_output_SpeedMotorDrept, (int)80);
                analogWrite(_output_SpeedMotorStang, (int)0);
            }
        }
    }
}

void ____errors() {
    if ( ___SA2 < 400 ) {
        ___error = 0;
    } else {
        if ( ( ___SA0 < 400 ) || ( ___SA1 < 400 ) ) {
            ___error = 1;
        } else {
            if ( ( ___SA3 < 400 ) || ( ___SA4 < 400 ) ) {
                ___error = -1;
            }
        }
    }
}

void setup()
{
    Serial.begin(9600);
    pinMode(_output_MotorRight2, OUTPUT);
    pinMode(_input_SA1, INPUT);
    pinMode(_input_SA0, INPUT);
    pinMode(_input_SA3, INPUT);
    pinMode(_input_SA2, INPUT);
    pinMode(_input_SA4, INPUT);
    pinMode(_output_MotorRight1, OUTPUT);
    pinMode(_output_SpeedMotorRight, OUTPUT);
    pinMode(_led_L, OUTPUT);
    pinMode(_output_MotorLeft2, OUTPUT);
    pinMode(_output_MotorLeft1, OUTPUT);
    pinMode(_output_SpeedMotorLeft, OUTPUT);
    ___SA0 = 0;
    ___SA1 = 0;
    ___SA2 = 0;
    ___SA3 = 0;
    ___SA4 = 0;
    ___Ajustare = 0;
    ___Senzori = 5;
}

void loop()
{
    ____readsensors();
    ____errors();
    ____controlmotor();
    Serial.println(___SA0);
    Serial.println(___SA1);
    Serial.println(___SA2);
    Serial.println(___SA3);
    Serial.println(___SA4);
    Serial.println("");
    delay(10);
}

I would love any help with this, thank you so much!

Please post a hand drawn schematic diagram (not Fritzing wiring diagram) with all pins and connections clearly labeled, and include the specifics of how the motors and Arduino are powered. A close up, focused photo of the setup would also be helpful.

When getting started with Arduino, it is best to make sure each part of the program works before combining sections. The line following functions should be tested without the motors (you can activate LEDS instead of motors), likewise the motor functions can be tested without the line following code.

1 Like


If there's anything else I need to add, I will gladly do so! Sadly this is the best photo I have right now

I appreciate the effort, but what forum members hope for is something a bit like this, showing exactly how each wire between modules, motors, power supplies, etc. is connected and to which pins :

It is much easier to draw a circuit like the above with pencil and paper, than it is to learn how to use the professional program that produced the above diagram.

If you are serious about this hobby, it is a great idea to learn how to read and draw schematic diagrams, the international language used to communicate circuit information.

Good basic tutorial here: How to Read a Schematic - SparkFun Learn

By the way, the strange choice of variable names and odd program logic makes me wonder if you copied code from a strikingly similar source like this, without understanding what it does.

Pololu offers much, much better examples of line following code for their robots, but you do need to understand what the code does before copying it.

Hi, @fishsticks0_o
Welcome to the forum.
Thanks for using code tags. :+1:

As @jremington has pointed out , you your schematic needs connected wiring.

Use a pen(cil) and a ruler to draw your circuit.
Reverse engineer your project.

Do you have a DMM? Digital Multimeter?

Thanks.. Tom.. :smiley: :+1: :coffee: :australia:

Where does this code originate?

Here is the updated version, Im sorry for the trouble. I hope its somewhat understandable

The code itself isnt copied, Its based off a tutorial used in open roberta that I followed and still with no use due to the code not working properly, so I tried making some chances in arduino and I added the longer names to try and not get the motors mixed up

Please post a link to this tutorial.

I sadly dont have one, I added the updated schematic. I still need some work at overall making the schematic but I hope its somewhat understandable, If not I can always redo it!

The link is from a friend that followed a robotics program so Im not too sure if It is very good code vise

I'm sure it is very bad code advice, and as mentioned above, recommend to study other tutorials.

Thank you so much for the heads up, I will make sure to do that from now on!

It helps, but yes you need more practice at schematic drawing.

Tom.. :smiley: :+1: :coffee: :australia:

I will try to better myself, is there anything I can change about the code to mske it work better?

Thank you for the advice! Is there anything I could change about the code to make it run better?

This topic was automatically closed 180 days after the last reply. New replies are no longer allowed.