Hey all,
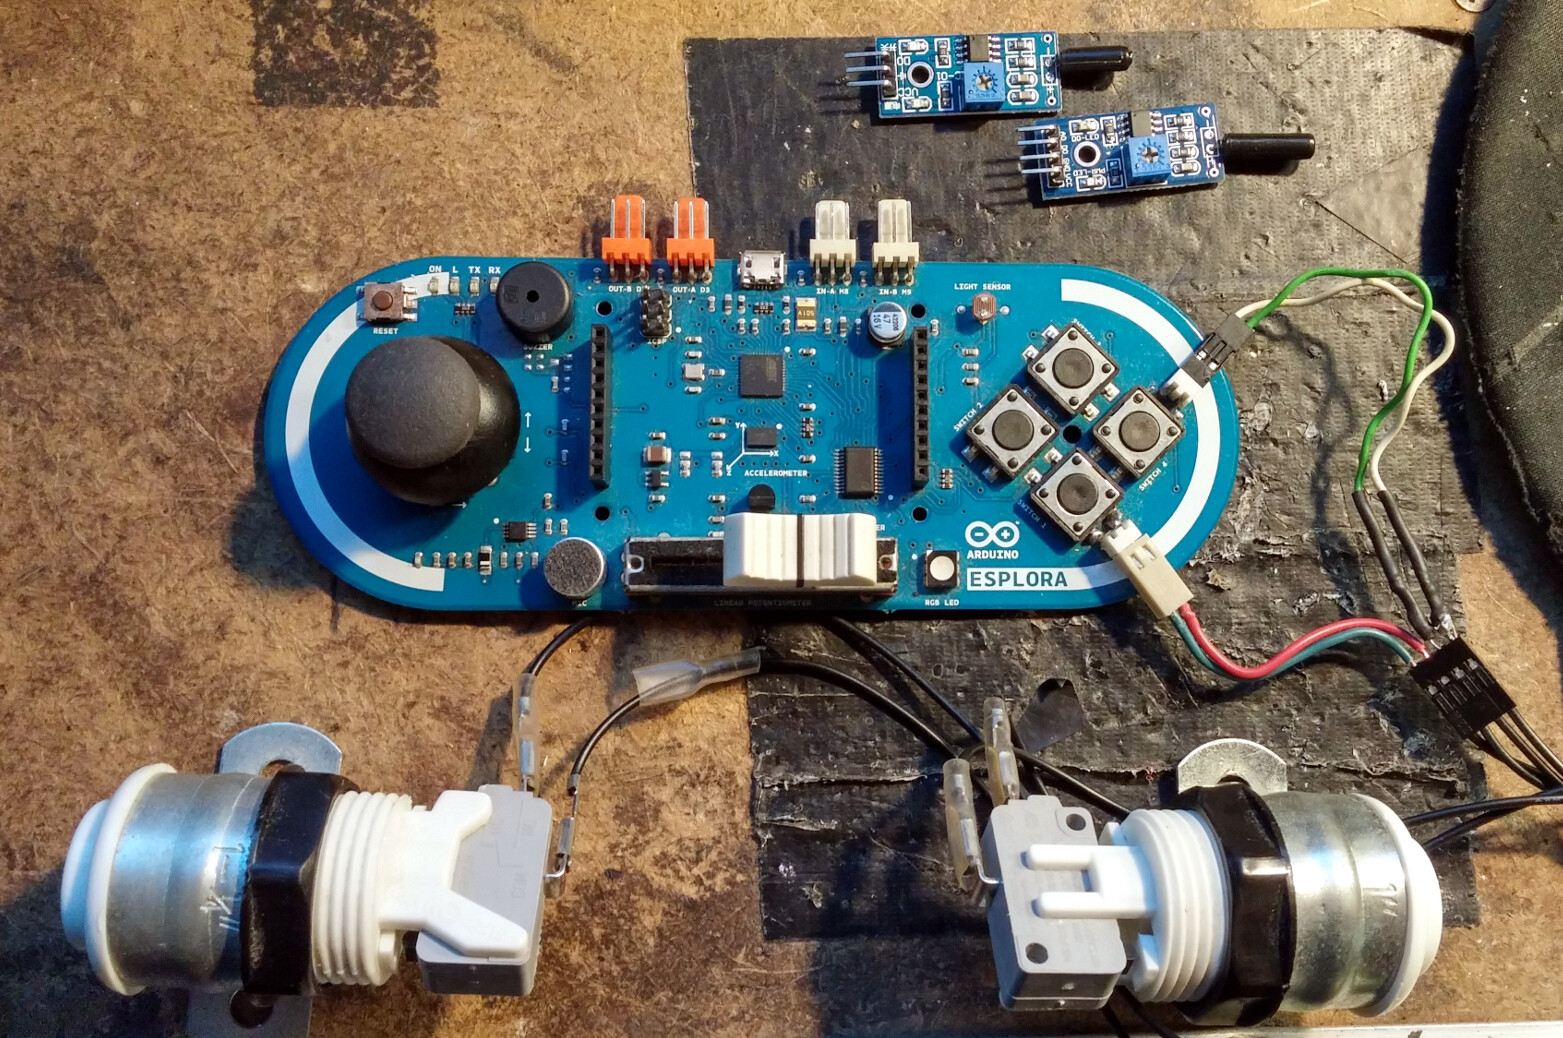
I'm currently working on upgrading the very unconventional input setup I've made for my video pinball table. Currently it consists of an Arduino Esplora and 2 flipper buttons with "high use" mechanical switches that I soldered to the buttons. At this time I was a total newb and had no idea if I could use the tinkerkit inputs or not for the flippers.
Now in the pic I uploaded, you can see 2 tilt switches, one with 3 pins and the other with 4 (analog/digital) that I bought to take place of a physical tilt. Only one will be used, they were very cheap so I got one of each just in case. Right now, tilting is mapped to the joystick left, right and up. Joystick down is the plunger.
So basically, what I'm getting at is, what would be the best way to clean this mess up? Should I just keep it this way and somehow map the tilt sensors to the joystick via the tinkerkit inputs? Or would the built-in Accelerometer be of some use? Also, I have few Leonardo's laying around that I can use.
Here's a video I made as well last year.

Thanks in advance for your help!
![]()
The code currently used is a modified EsploraKart.ino
#include <Esplora.h>

/*
  You're going to handle eight different buttons. You'll use arrays,
  which are ordered lists of variables with a fixed size. Each array
  has an index (counting from 0) to keep track of the position
  you're reading in the array, and each position can contain a number.

  This code uses three different arrays: one for the buttons you'll read;
  a second to hold the current states of those buttons; and a third to hold
  the keystrokes associated with each button.
 */

/*
  This array holds the last sensed state of each of the buttons
  you're reading.
  Later in the code, you'll read the button states, and compare them
  to the previous states that are stored in this array. If the two
  states are different, it means that the button was either
  pressed or released.
 */
boolean buttonStates[8];

/*
  This array holds the names of the buttons being read.
  Later in the sketch, you'll use these names with
  the method Esplora.readButton(x), where x
  is one of these buttons.
 */
const byte buttons[] = {
  JOYSTICK_DOWN,
  JOYSTICK_LEFT,
  JOYSTICK_UP,
  JOYSTICK_RIGHT,
  SWITCH_RIGHT, // Right Flipper
  SWITCH_LEFT, // Left Flipper
  SWITCH_UP, // Camera Angle
  SWITCH_DOWN, // Slow Motion
};

/*
  This array tells what keystroke to send to the PC when a
  button is pressed.
  If you look at this array and the above one, you can see that
  the "cursor down" keystroke is sent when the joystick is moved
  down, the "cursor up" keystroke when the joystick is moved up
  and so on.
*/
const char keystrokes[] = {
  KEY_DOWN_ARROW,
  KEY_LEFT_ARROW,
  KEY_UP_ARROW,
  KEY_RIGHT_ARROW,
  '6',
  '4',
  'C',
  'R'
};

/*
  This is code is run only at startup, to initialize the
  virtual USB keyboard.
*/
void setup() {
  Keyboard.begin();
}

/*
  After setup() is finished, this code is run continuously.
  Here we continuously check if something happened with the
  buttons.
*/
void loop() {

  // Iterate through all the buttons:
  for (byte thisButton = 0; thisButton < 8; thisButton++) {
    boolean lastState = buttonStates[thisButton];
    boolean newState = Esplora.readButton(buttons[thisButton]);
    if (lastState != newState) { // Something changed!
      /*
        The Keyboard library allows you to "press" and "release" the
        keys as two distinct actions. These actions can be
        linked to the buttons we're handling.
       */
      if (newState == PRESSED) {
        Keyboard.press(keystrokes[thisButton]);
      }
      else if (newState == RELEASED) {
        Keyboard.release(keystrokes[thisButton]);
      }
    }

    // Store the new button state, so you can sense a difference later:
    buttonStates[thisButton] = newState;
  }

  /*
    Wait a little bit (50ms)(or not)between a check and another.
    When a mechanical switch is pressed or released, the
    contacts may bounce very rapidly. If the check is done too
    fast, these bounces may be confused as multiple presses and
    may lead to unexpected behaviour.
   */
  delay(5);
}