Hi, SeniorCitizen here (80+); have a water rocket and want to send a radio control signal (via ground transmitter button) to a receiver in the rocket to simply rotate a servo 90 degrees (this would release a chute. I have been trying (unfortunately unsuccessfuly for weeks on and off) to develop the transceivers codes to do this. I got as far as serial monitors showing Transmitter Ready and Receiver Ready.....but nothing happens on either serial monitor or with the servo when i press the button. Before i query the Forum in some detail about my codes, I was wondering (hoping) if anyone knows of an existing set of lora codes that work to rotate the servo. Forgive me if this is the wrong forum category....I'm not an experience arduino forum communicator.
The library contains sample code. PLEASE stop saying codes though, there is no such word in software, it is just code no matter if it's one or a million lines.
You should probably post your code and then go from there, also the wiring diagram. A picture of a hand-drawn and clearly labelled one is fine.
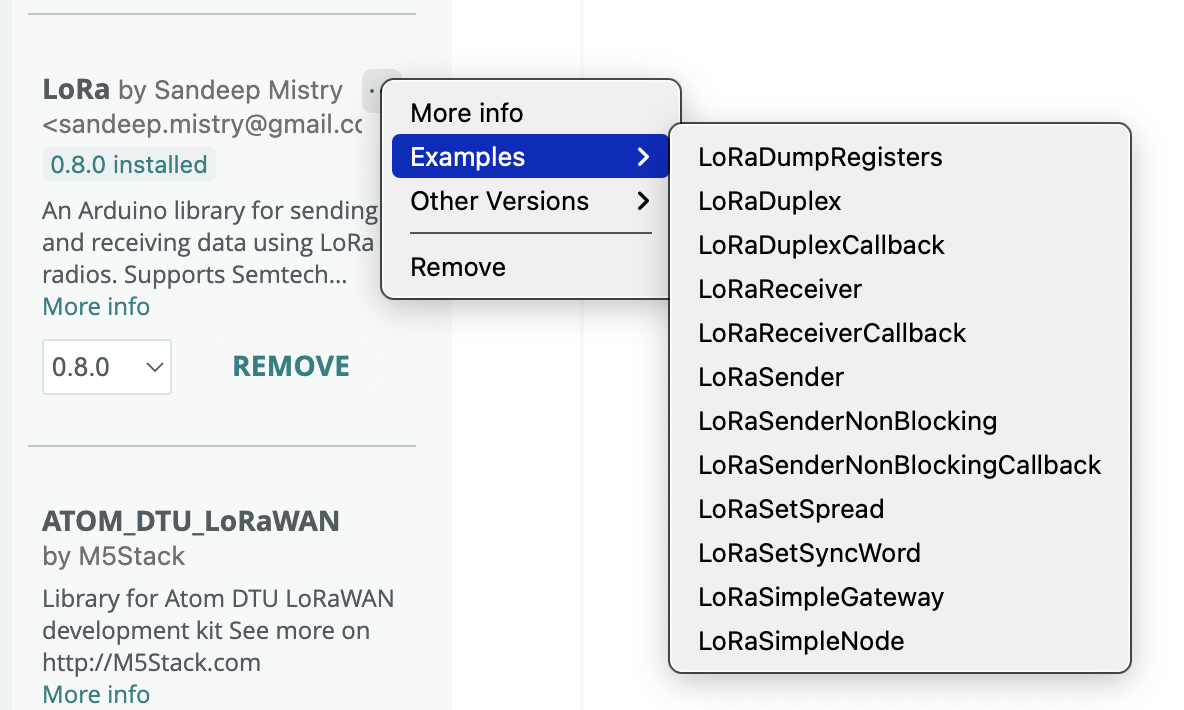
Here is a good library, I did a screen grab of the sample code. You can use a sender in one and a receiver in the other unless you need two way then the duplex.
#include <SPI.h>
#include <LoRa.h>

int counter = 0;

void setup() {
  Serial.begin(9600);
  while (!Serial);

  Serial.println("LoRa Sender");

  if (!LoRa.begin(915E6)) {
    Serial.println("Starting LoRa failed!");
    while (1);
  }
}

void loop() {
  Serial.print("Sending packet: ");
  Serial.println(counter);

  // send packet
  LoRa.beginPacket();
  LoRa.print("hello ");
  LoRa.print(counter);
  LoRa.endPacket();

  counter++;

  delay(5000);
}
Thank you, I tried the example; monitor only displays Lora Sender over and over; not Hello Do i have to tweak the example code somehow
Which example is that, it isn't correct.

comment out the while(1); statement and let's see whats happening.
BTW, what board are you using?
Is the board marked as 915?
Did you also get two of these?
https://www.amazon.com/dp/B0BP1PDPGL
These are two of my modules, they are very nice once you figure out what the battery connector is called. Sorry, I am ASD and have lousy memory. EDIT, looks like a lot of folks complained cuz now they post the size. BTW, no such thing as lithium connector, it's a JST something. Here is my best clue
NOTE Amazon is .CA, change to com if yiu are in the USA.
document. https://bitl.to/4c17

What is your plan for how an Ascii serial radio receiver should control a servo?
as far as I am aware the lora.h library does not support TTL serial devices such as the RYLR988
have a look at how-to-use-lora-rylr998-modules-with-arduino and the RYLR988 LoRa-AT-Command reference
Indeed the LoRa library does not support the UART front ended LoRa modules such as the RYLR988.
The standard SPI based LoRa modules have been used quite a bit for RC control and there are commercial systems you can buy. These SPI based modules might be a better option, there will be RC example code for them.
here is my transmitter code. it uploads ok, and monitor says Transmitter Ready, but nothing happens on the monitor...for example Button Pressed. Components: D1-mini, RYLR998, normally open momentary pushbutton, lipo 3.3 battery I will followup with Receiver code etc.
// Code #20 Rev A - Transmitter with Button Press & Embedded RYLR998 AT Commands (9600 baud)

#include <SoftwareSerial.h>

#define BUTTON_PIN D5     // Pushbutton connected to D5 with 10kΩ pull-down resistor
#define LORA_TX    D1     // LoRa module RX (to D1 on D1 Mini)
#define LORA_RX    D2     // LoRa module TX (to D2 on D1 Mini)

SoftwareSerial loraSerial(LORA_RX, LORA_TX); // RX, TX

bool lastButtonState = LOW;
bool sentDeploy = false;
unsigned long lastDebounceTime = 0;
const unsigned long debounceDelay = 50;

void setup() {
  Serial.begin(9600);                  // Serial Monitor
  loraSerial.begin(9600);              // Match receiver baud rate

  pinMode(BUTTON_PIN, INPUT);          // External 10kΩ pull-down resistor

  Serial.println("Transmitter Ready (Code #20 Rev A)");

  // === AT Command Setup for RYLR998 ===
  delay(1000);
  loraSerial.println("AT+ADDRESS=1");       // This device = address 1
  delay(500);
  loraSerial.println("AT+NETWORKID=5");     // Network ID MATCHES receiver
  delay(500);
  loraSerial.println("AT+BAND=915000000");  // Frequency 915 MHz
  delay(500);
}

void loop() {
  bool buttonState = digitalRead(BUTTON_PIN);

  // Debounce mechanism
  if (buttonState == HIGH && lastButtonState == LOW) {
    if (millis() - lastDebounceTime > debounceDelay) {
      Serial.println("Button Pressed: Deploy");
      loraSerial.println("AT+SEND=2,6,DEPLOY");  // Send to receiver at address 2
      sentDeploy = true;
      lastDebounceTime = millis();
    }
  }

  lastButtonState = buttonState;

  // Read LoRa response
  if (loraSerial.available()) {
    String response = loraSerial.readStringUntil('\n');
    Serial.print("LoRa says: ");
    Serial.println(response);
  }

  delay(100);
}
here is my Receiver code; using same arduino and lora boards, SG90 servo (for breadboarding, i am using an external 5v source just for the servo, however i am connecting the external ground to the common breadboard ground. Receiver uploads fine, and monitor shows Receiver Ready. So i think it's waiting for a signal from the transmitter.
// Code #16 Rev A — Receiver with LoRa & Servo control
// Hardware: D1 Mini + RYLR998 + SG90 Servo

#include <SoftwareSerial.h>
#include <Servo.h>

SoftwareSerial loraSerial(D6, D7); // D6 = TX to RYLR998 RX, D7 = RX from RYLR998 TX
Servo parachuteServo;

const int ledPin = D3;
const int servoPin = D4;

void sendCommand(String command, int waitTime = 500) {
  loraSerial.println(command);
  delay(waitTime);
  while (loraSerial.available()) {
    Serial.write(loraSerial.read());
  }
}

void setup() {
  Serial.begin(9600);
  loraSerial.begin(9600);  // **Match transmitter baud rate**
  delay(2000);

  pinMode(ledPin, OUTPUT);
  digitalWrite(ledPin, LOW);

  parachuteServo.attach(servoPin);
  parachuteServo.write(0); // Initial position

  Serial.println("Receiver Ready (Code #16 Rev A)");

  // Embedded RYLR998 AT Configuration
  sendCommand("AT+ADDRESS=2");        // Receiver at address 2
  sendCommand("AT+NETWORKID=5");      // MATCH transmitter
  sendCommand("AT+BAND=915000000");

  delay(1000);
  loraSerial.println("AT+RX");  // Start listening
}

void loop() {
  if (loraSerial.available()) {
    String received = loraSerial.readStringUntil('\n');
    Serial.print("Received: ");
    Serial.println(received);

    if (received.indexOf("DEPLOY") >= 0) {
      Serial.println("Activating Servo!");
      digitalWrite(ledPin, HIGH);      // Turn on LED
      parachuteServo.write(90);        // Move quickly to 90 degrees
      delay(150);                      // Short pause
      parachuteServo.write(0);         // Return slowly
      delay(600);
      digitalWrite(ledPin, LOW);       // Turn off LED
    }
  }
}
forgot to mention i am using a 10k pulldown resitor with the button on the transmitter
to use the RYLR998 you send it simple AT commands over the serial line, e.g. from reference in post 12
Serial.print("AT+SEND=1, 6, LEDON");
or alternatively, as @srnet suggests, move to SPI based LoRa modules.
I do not think you have mentioned the host microcontroller which you are using.
the majority of SPI modules use 3.3V logic - microcontrollers such as UNO, classic Nano, etc use 5V logic and would require level converters.
I would tend to recommend moving to a module which has an onboard microcontroller plus LoRa module, e.g. Heltec wifi-lora-32-v3 - this removes the interconnecting wires which are a source of poor connections and intermittent problems
Replace the 3.3VDC battery with USB power, the battery is not powerful enough and let's get everything working first then we can work on the power pack. Turning on the radio will kill the battery, that is why it re-boots and you only see the startup message.
Post a picture of the hardware setup. Let's make sure you have a correctly wired setup.
How does he do that when the rocket is 100ft off the ground?
Anything that can be done with the AT cmd set can be done in normal code.