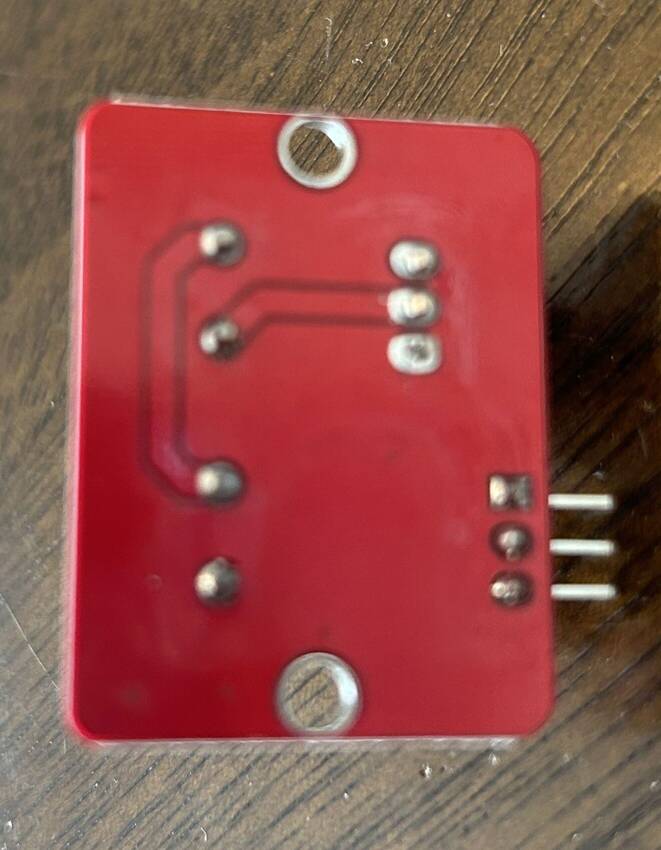
I am trying to control a 12V solenoid with my arduino. To achieve this I bought a Mosfet module with a rated output of 0-24V and requires 3.3-5V to run. I have attached a low-res diagram of my wiring - which I believe matches the manufacturers recommended set up. I have also included the code running on my arduino. With this set up and code, the light on the module blinks on and off with the signal pin (which I believe is what is supposed to happen).
The problem is I cannot get the solenoid to reach its off state. So long as the solenoid and 12V power are connected to the module, the solenoid will remain on.
If I have the set up depicted below where the signal pin alternates low to high - the solenoid remains on.
If I take the signal pin to 5V instead of pin 3 - the solenoid remains on.
If I take the signal pin to ground instead of pin 3 - the solenoid remains on.
I tried a different module from the ones I bought - same thing happened.
If I swap out the solenoid for a mini DC motor, and reduce the voltage output to 3.3V it works as expected.
What am I missing here? Why will the motor power on and off but the solenoid will not? Is there some resistor I am missing?
Here is a video I used as inspiration - again the wiring looks very familiar, but he uses it to power a light rather than a solenoid. I'm pretty new to this but do solenoids require special consideration in a set up like this?
const int solenoid1 = 3;

void setup() {
  // put your setup code here, to run once:
  pinMode(solenoid1, OUTPUT);
  Serial.begin(9600);
}

void loop() {
  digitalWrite(solenoid1, HIGH);
  delay(1000);
  Serial.println("on");
  digitalWrite(solenoid1, LOW);
  delay(1000);
  Serial.println("off");
}
I would suggest using a DMM (voltmeter) to check the voltage at the mosfet driver v+ and v- terminals. And, for troubleshooting purposes, just connect signal to 5V or Gnd as you have been doing.
And, could you please post a link to the actual module you are using and the solenoid
As for the DMM - there seems to be ample juice to turn on the solenoid, since it remains in the on position. I just cant get the module to shut it off (maybe I am misunderstanding the purpose of measuring that though).
Yes they do. You need to have a flyback diode across the solenoid or you will damage the MOSFET module.
You have probably damaged all the ones you have connected the solenoid to.
First buy a 1N4004 or 1N4007 diode
Did the MOSFET board come with documentation? A good vender should give you hook-up drawings, etc.
Things can be difficult when you buy from unknown 3rd-party Amazon suppliers or from eBay or AliExpress, etc.
Normally the ground-side of the load (solenoid) is switched and the positive voltage is constantly connected to the load. But I can't tell how the board is wired...
Thanks for the advice! That is good to hear I felt like I was going crazy - a few follow ups.
If the module still works for lower voltage outputs - I have used it to power a 3.3v dc motor correctly - is that an adequate barometer to say that is not damaged?
I think I have a 1N007 (came with a starter pack) but it is called a 'diode rectifier' in the guide the pack came with. A cursory google search says that diodes and rectifiers are not the same, but I'm unsure if a diode rectifier is both/neither
Once I have the right diode how should I wire it in? I looked it up and seems like it should connect the positive and negative parts of the solenoid, is that correct?
something like this diagram below? s= stripe of diode, b = blank of diode
module-----diode-----solenoid
(v- ) ---------- |s| -----(+)
(v+) ---------- |b| ------(-)
So the amazon posting did have a diagram which I have added here. But as far as I can tell my wiring matches that (I use pin 3 instead of 9 but its identical other than that). Also it seems like the board is working - it works with a DC motor at lower voltage, and blinks based on the signal input. Its just something about the solenoid or maybe the higher voltage it does not like - but thats probably thats where @jim-p 's answer comes in
Not really. When they fail they usually act like a complete short circuit but sometimes it's not a complete failure, may apparently work at some voltages but not at others. I wouldn't use it, it could completely fail later on
Thanks again for the help - I think I'm close but now the solenoid does not reach the powered on state. I am using a brand new module and diode. Here is my updated diagram, which is not as clean as yours (side note what is that diagram tool thats sweet).
Again first time doing much of this I used a breadboard to try to allow for that diode connection but let me know if I have misstepped there.
Essentially the different connections are
Does the solenoid not turning on mean I don't have enough power? Or have I just wired something wrong?
Edit:
For some added debugging I tried connecting the solenoid directly to power
when the solenoid is connected directly to power, but the power is also connected to the module (with all the connections shown) then the solenoid does not activate.
If it is connected directly to power and that is not connected to the module, then the solenoid activates.
Not sure if that points to anything but figured I would add that info
This would suggest a short somewhere, likely in the mosfet module.
Your solenoid is in good order.
I would avoid putting the breadboard in the path unless you have no other way to connect the diode across the solenoid.
Edit: I looked at the link for the driver, and I could not find a schematic. I did see that a reviewer had put up a schematic, but I am not sure I would trust that one, since it shows that both the resistors are shown connecting the mosfet gate to ground (one via an LED).
Ok what would you suggest as an alternative to using the breadboard?
Also I swapped out the solenoid for a DC motor - kept everything else the same including the diode, the motor turns on regardless of signal input (ground, 5V, or alternating input). In fairness the DC motor is not meant to handle high voltage, so maybe thats why it behaves that way, I only used it to check if power was coming through. Not sure if that hints at any other problems.
Could the power supply be the issue? The only time I have seen this work as intended was when I made VIN 3.3v and hooked it up to a DC motor requiring voltage in that range
It has 5V and 3.3V pins - so I guess its a 5V arduino. I power the mosfet with 5V but have tried using the 3.3V to supply power to the VIN pin, I did this just to check if the module was working appropriately - which it seemed like it did at that voltage when powering a DC motor