OLED Display clears full resolution with text while playing animation besides

Hi, I am making an ESP-8266 weather station using DHT11 and OLED display. I want to play an animation beside the temperature and humidity values when the humidity is above 80. But when the animation plays the display clear and gives a blinking look with the values. I think the display.cleardisplay is the reason because its clear the display frame for playing animations...Is there any way to plays the animation along with the values if so pls help.
thanks in advance

The in file is given bellow

test_garbage.ino (27.2 KB)

Please don't post unreadable screenshots. A simple INO file attachment is sufficient.

Two problems:

  1. you call showBitmap(); before printText();
  2. you clearDisplay in every frame.

change to

    //showBitmap();
    printText();
    showBitmap();
    display.display();

and

        //display.clearDisplay();    //clear the display
        display.drawBitmap(1, 1, Frame1, 72, 62, WHITE); //draw the image
        display.display();
        delay(frame_delay); //delay
        ...

but life is much simpler with a simple animation function:

void showBitmap_kbv(void) {
    const uint8_t *Frames[] = { 
        Frame1, Frame2, Frame3, Frame4, Frame5, Frame6, Frame7,
    };
    for (int i = 0; i < 7; i++) {
        display.drawBitmap(1, 1, Frames[i], 72, 62, WHITE); //draw the image
        display.display();
        delay(frame_delay); //delay
    }
}

e.g.

    printText();
    if (h > 80) showBitmap_kbv();
    display.display();

I tried your way, the blinking stopped but all the frames are playing continuously without clearing the previous frame.

Please attach your INO file. Or better still, put the Frame arrays into an H file. Then you can have a small INO file that you can paste here.

I just created random t and h values. And ran on a real SSD1306.
Of course, I have thrown it away now.

David.

I had to re-write the sketch. And put the bitmap data in "frames.h". Look for "kbv" to see my changes

#include <SPI.h>
#include <Wire.h>
#include <Adafruit_GFX.h>
#include <Adafruit_SSD1306.h>
#include <Fonts/FreeMonoBold12pt7b.h>


#include "DHT.h"
#define DHTPIN 3 //D3 .kbv cos I am runing on a Uno
#define DHTTYPE DHT11   // DHT 11
DHT dht(DHTPIN, DHTTYPE);
int h;
int t;
#define SCREEN_WIDTH 128 // OLED display width, in pixels
#define SCREEN_HEIGHT 64 // OLED display height, in pixels
// Declaration for an SSD1306 display connected to I2C (SDA, SCL pins)
//#define OLED_RESET     4 // Reset pin # (or -1 if sharing Arduino reset pin)
Adafruit_SSD1306 display(SCREEN_WIDTH, SCREEN_HEIGHT, &Wire, -1);

#include "frames.h"
int frame_delay = 420; // delay for the frame

void setup() {
    Serial.begin(9600);
    dht.begin();
    // SSD1306_SWITCHCAPVCC = generate display voltage from 3.3V internally
    if (!display.begin(SSD1306_SWITCHCAPVCC, 0x3C)) { // Address 0x3D for 128x64
        Serial.println(F("SSD1306 allocation failed"));
        for (;;); // Don't proceed, loop forever
    }
    // Clear the buffer
    display.clearDisplay();
    printText();
    delay(700);
}
void loop() {
    h = dht.readHumidity();
    t = dht.readTemperature();
    if (isnan(h) || isnan(t)) {
        Serial.println("Failed to read from DHT sensor!");
        return;
    }
    t = random(10, 30);  //.kbv invent some temperature
    h = random(60, 100); //.kbv invent some humidity
    //showBitmap();
    printText();
    if (h > 80) showBitmap_kbv();
    display.display();
    delay(500);
    display.clearDisplay();
}
void printText() {
    display.setFont(&FreeMonoBold12pt7b);
    display.setTextColor(WHITE);        // Draw white text
    display.setCursor(75, 26);            // Start at top-left corner
    display.print(t);
    display.drawCircle(105, 14, 3, WHITE);
    display.setCursor(110, 26);
    display.print("C");
    display.setCursor(75, 54);
    display.print(h);
    display.setCursor(110, 54);
    display.print("%");

    display.drawRect(0, 0, 128, 64, WHITE);
}


void showBitmap_kbv(void) {
    const uint8_t *Frames[] = {
        Frame1, Frame2, Frame3, Frame4, Frame5, Frame6, Frame7,
    };
    for (int i = 0; i < 7; i++) {
        display.drawBitmap(1, 1, Frames[i], 72, 62, WHITE); //draw the image
        display.display();
        delay(frame_delay); //delay
    }
}

Here is the full file

OLED.ino (211 KB)

Please try this: Note my "kbv" changes. You had altered your logic.
I happened to have an SSD1306 on the Uno board that I am working on.
I really don't want to dig out an ESP8266 board.

Ah-ha. While I was typing the Uno crashed. (but it might be down to the external hardware on 3. So I removed the external hardware)

#include <SPI.h>
#include <Wire.h>
#include <Adafruit_GFX.h>
#include <Adafruit_SSD1306.h>
#include <Fonts/FreeMonoBold12pt7b.h>


#include "DHT.h"
#define DHTPIN 3 //D3 .kbv
#define DHTTYPE DHT11   // DHT 11
DHT dht(DHTPIN, DHTTYPE);
int h;
int t;
#define SCREEN_WIDTH 128 // OLED display width, in pixels
#define SCREEN_HEIGHT 64 // OLED display height, in pixels
// Declaration for an SSD1306 display connected to I2C (SDA, SCL pins)
//#define OLED_RESET     4 // Reset pin # (or -1 if sharing Arduino reset pin)
Adafruit_SSD1306 display(SCREEN_WIDTH, SCREEN_HEIGHT, &Wire, -1);

#include "Sunnys.h"   //.kbv

int frame_delay = 40; // delay for the frame

void setup() {
    Serial.begin(9600);
    dht.begin();
    // SSD1306_SWITCHCAPVCC = generate display voltage from 3.3V internally
    if (!display.begin(SSD1306_SWITCHCAPVCC, 0x3C)) { // Address 0x3D for 128x64
        Serial.println(F("SSD1306 allocation failed"));
        for (;;); // Don't proceed, loop forever
    }
    // Clear the buffer
    display.clearDisplay();
    printText();
    delay(1500);
}
void loop() {
    h = dht.readHumidity();
    t = dht.readTemperature();
    if (isnan(h) || isnan(t)) {
        Serial.println("Failed to read from DHT sensor!");
        return;
    }

    h = random(60, 100);     //.kbv
    printText();
    if (h > 80) {
        showBitmap_kbv();
    }
    display.display();       //.kbv
    delay(500);              //.kbv
    display.clearDisplay();  //.kbv
}
void printText() {
    display.setFont(&FreeMonoBold12pt7b);
    display.setTextColor(WHITE);        // Draw white text
    display.setCursor(75, 26);            // Start at top-left corner
    display.print(t);
    display.drawCircle(105, 14, 3, WHITE);
    display.setCursor(110, 26);
    display.print("C");
    display.setCursor(75, 54);
    display.print(h);
    display.setCursor(110, 54);
    display.print("%");

    display.drawRect(0, 0, 128, 64, WHITE);
}

void showBitmap_kbv(void) {
    const uint8_t *Frames[] = {
        Sunny1, Sunny2, Sunny3, Sunny4, Sunny5, Sunny6, Sunny7, Sunny8, Sunny9, Sunny10, Sunny11, Sunny12, Sunny13, Sunny14, Sunny15,  
        //Sunny16, Sunny17, Sunny18, Sunny19, Sunny20, Sunny21, Sunny22, Sunny23, Sunny24, Sunny25, Sunny26, Sunny27, Sunny28, Sunny29, Sunny30,
        //Sunny31, Sunny32, Sunny33, Sunny34, Sunny35, Sunny36, Sunny37, Sunny38, Sunny39, Sunny40, Sunny41, Sunny42, Sunny43, Sunny44, Sunny45, 
        //Sunny46, Sunny47, Sunny48, Sunny49, Sunny50, Sunny51, Sunny52, Sunny53, Sunny54, Sunny55, Sunny56, Sunny57, Sunny58, Sunny59, Sunny60
    };
    for (int i = 0; i < 15; i++) {
        display.drawBitmap(1, 1, Frames[i], 72, 62, WHITE); //draw the image
        display.display();
        delay(frame_delay); //delay
    }
}

Edit.
Tried it with an SSD1309 and ESP8266 board. With :

    ...
    t = random(10, 40);      //.kbv
    h = random(60, 100);     //.kbv
    ...

void showBitmap_kbv(void) {
    const uint8_t *Frames[] = {
        Sunny1, Sunny2, Sunny3, Sunny4, Sunny5, Sunny6, Sunny7, Sunny8, Sunny9, Sunny10, Sunny11, Sunny12, Sunny13, Sunny14, Sunny15,  
        Sunny16, Sunny17, Sunny18, Sunny19, Sunny20, Sunny21, Sunny22, Sunny23, Sunny24, Sunny25, Sunny26, Sunny27, Sunny28, Sunny29, Sunny30,
        Sunny31, Sunny32, Sunny33, Sunny34, Sunny35, Sunny36, Sunny37, Sunny38, Sunny39, Sunny40, Sunny41, Sunny42, Sunny43, Sunny44, Sunny45, 
        Sunny46, Sunny47, Sunny48, Sunny49, Sunny50, Sunny51, Sunny52, Sunny53, Sunny54, Sunny55, Sunny56, Sunny57, Sunny58, Sunny59, Sunny60
    };
    for (int i = 0; i < 60; i++) {
        display.drawBitmap(1, 1, Frames[i], 72, 62, WHITE); //draw the image
        display.display();
        delay(frame_delay); //delay
    }
}

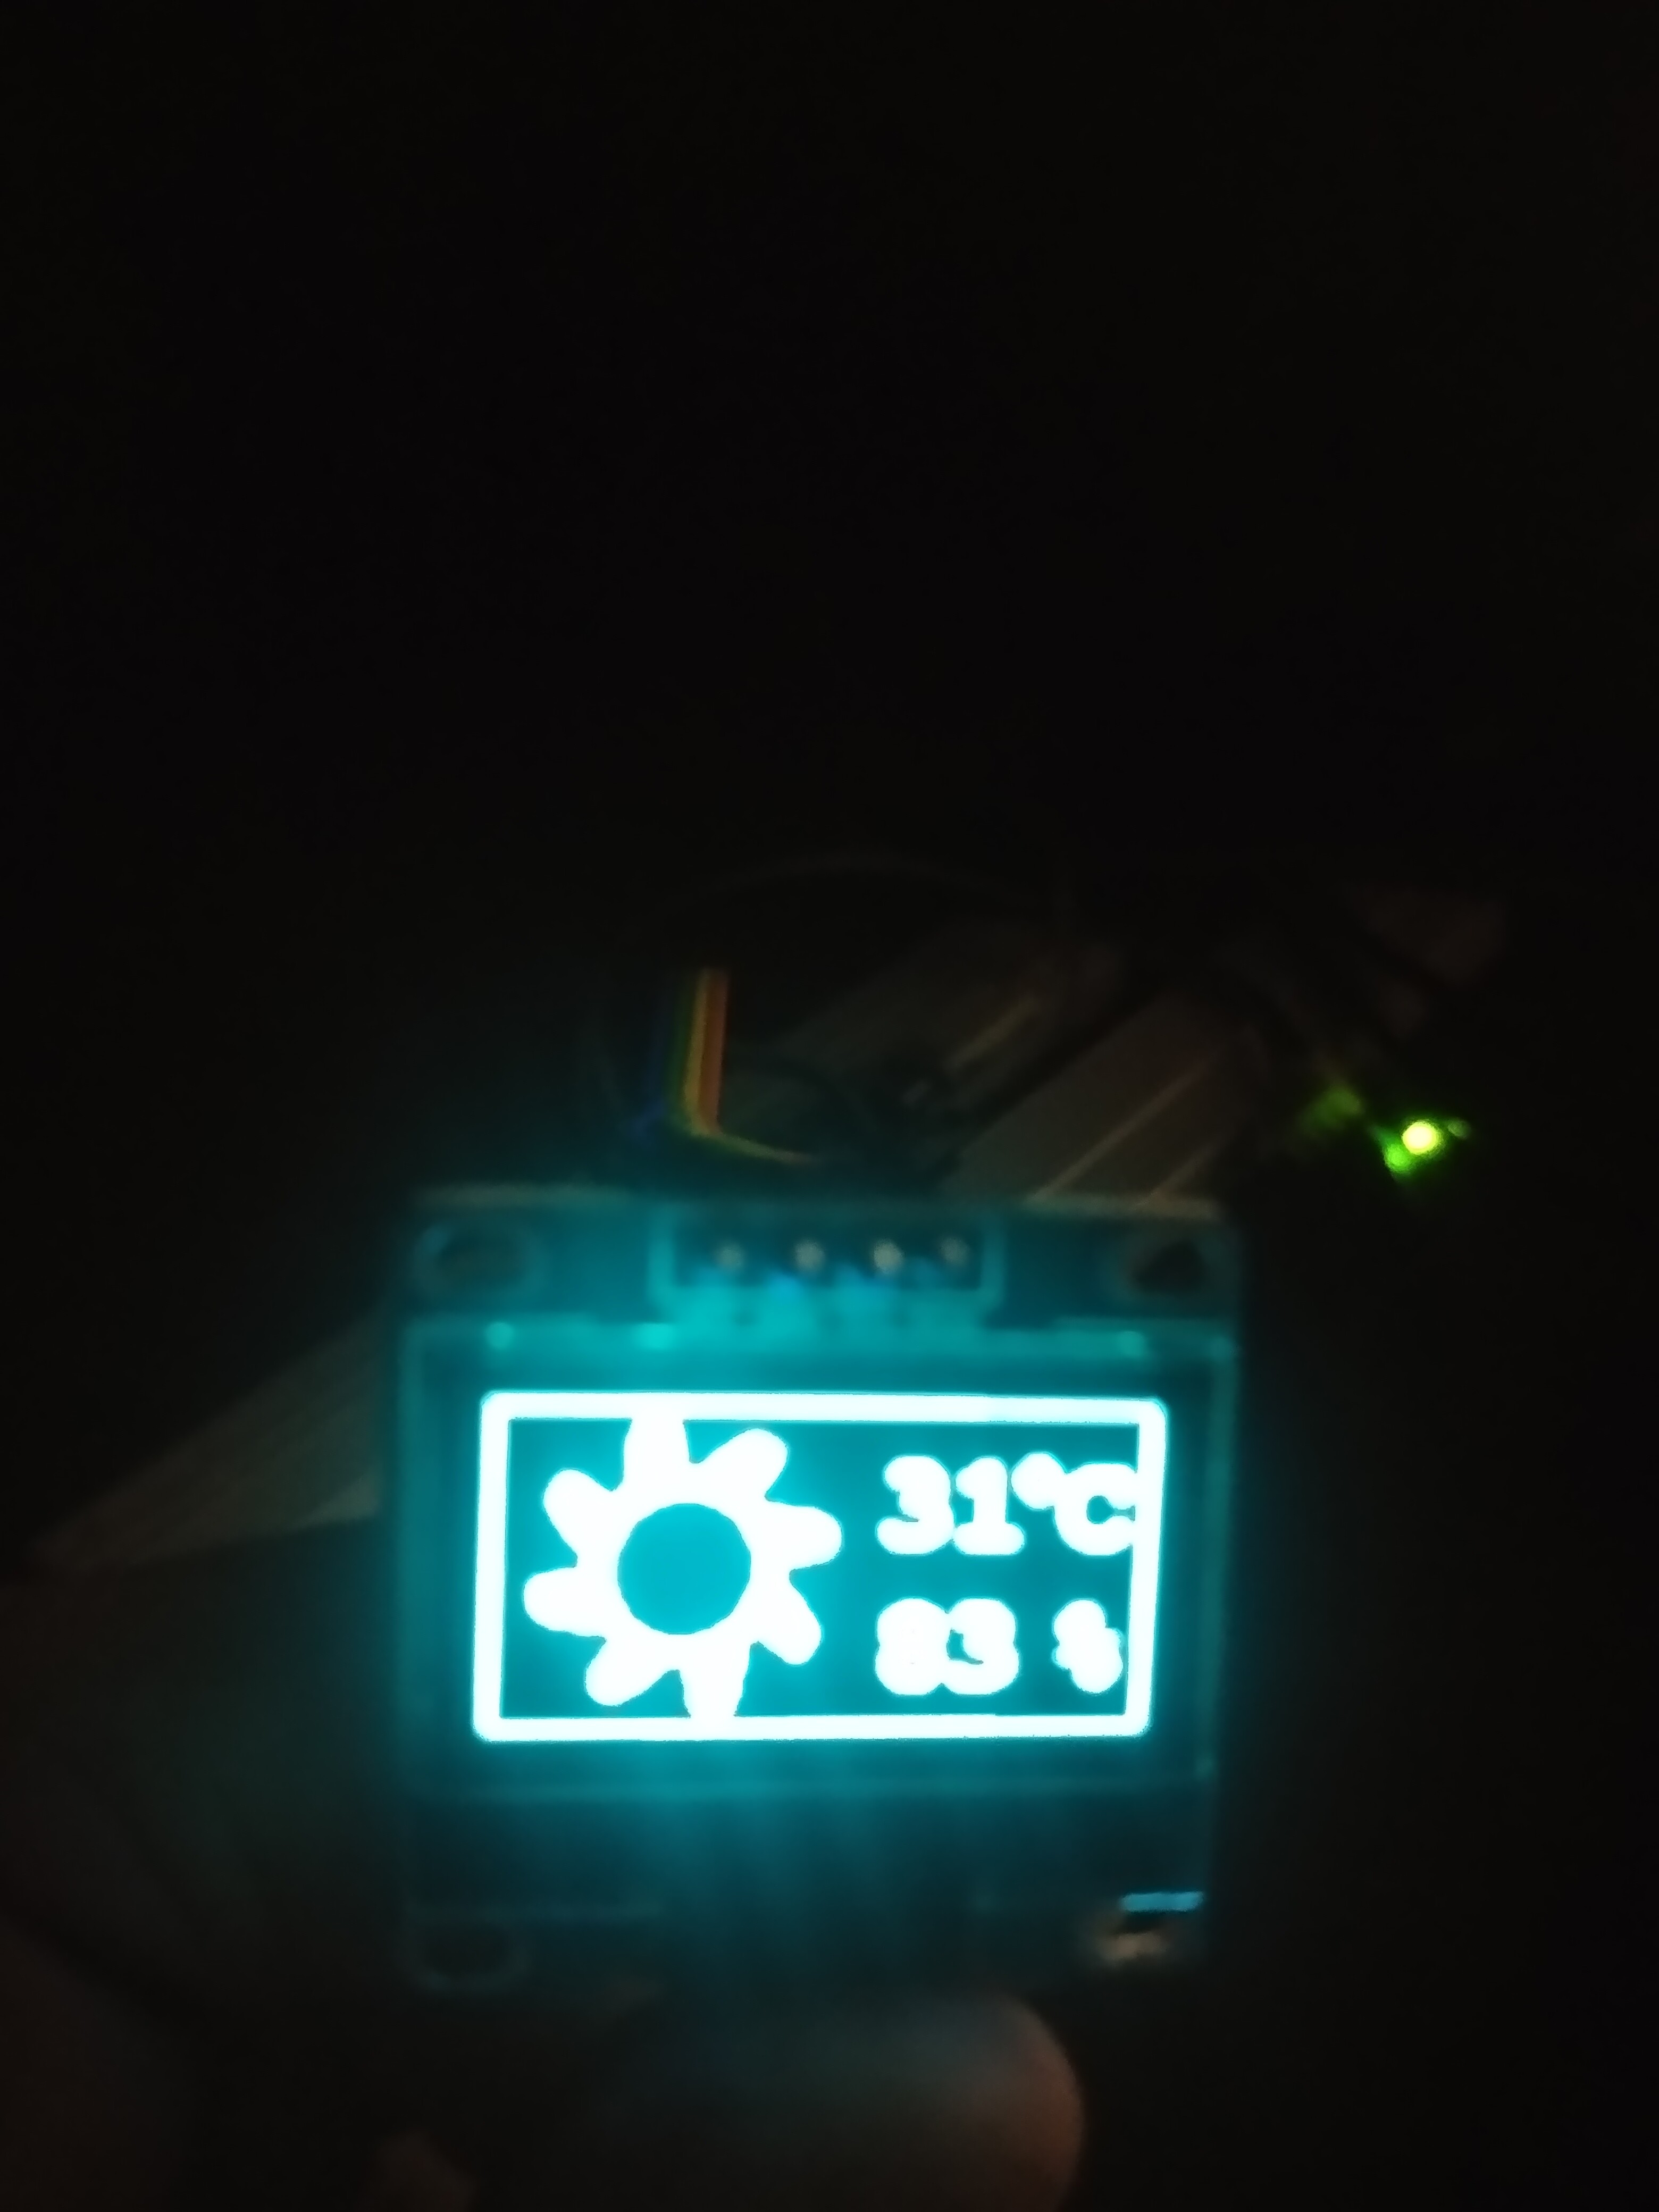
The animation works fine. I strongly recommend that you move your bitmap data into a separate "Sunnys.h" sketch tab.

I have spent some time on this (on your behalf)

Surely you can make some effort to write sensible messages.

With any project, you need to sit down with a nice cup of tea and DESIGN it.
e.g. draw a flowchart on paper. draw arrows to follow the flow.

And if you have a problem. Describe all your steps carefully. Describe what you expected and what you got.

Remember that readers are probably in another country. They do not want to guess.

David.

p.s. any file with thousands of gobbledygook image data lines makes it difficult for humans. that is why I suggest moving data into a separate sketch Tab.

I am sorry for it..I am new to programming and having hard times figuring out my problems..BTW it still doesn't work

I am new to programming and having hard times figuring out my problems.

Ask specific questions. e.g. do you know how to create a "Sunnys.h" sketch tab ?

Do you have a printer?
The sketch that I posted is only 84 lines. Two sides of paper.

You can draw arrows overs the sketch listing. (with a pencil)
Or you draw a separate Flowchart.

There is nothing complicated with Arduino programming.
clearDisplay() will create a blank screen buffer.
print() and draw() will form the picture in the buffer.
display() shows the buffer on the OLED.

Arrows that join statements give you a clear impression of what is happening.
If you use a pencil, you can rub out with an eraser.

You seem to understand programming quite well. But there are always questions.

"it still doesn't work" is not helpful.
Do you see temperature and humidity numbers?
Do you see the animation?

David.