A couple of decades after last using it, I dusted off the Surf Simulator I built in the later 90s and have been trying in vain to get it working again. I'll probably build a much simpler version for Arduino, as I'm now discussing in a parallel thread of same subject in the Project Guidance category:
https://forum.arduino.cc/t/surf-simulation/1124684/2
But I'm still hoping to get the legacy stuff working again, mainly as a challenge.
It was still working very well, the only flaw being a faint but still audible 'click' within the crashing breaker stage, not good for a 'sleep inducer'!
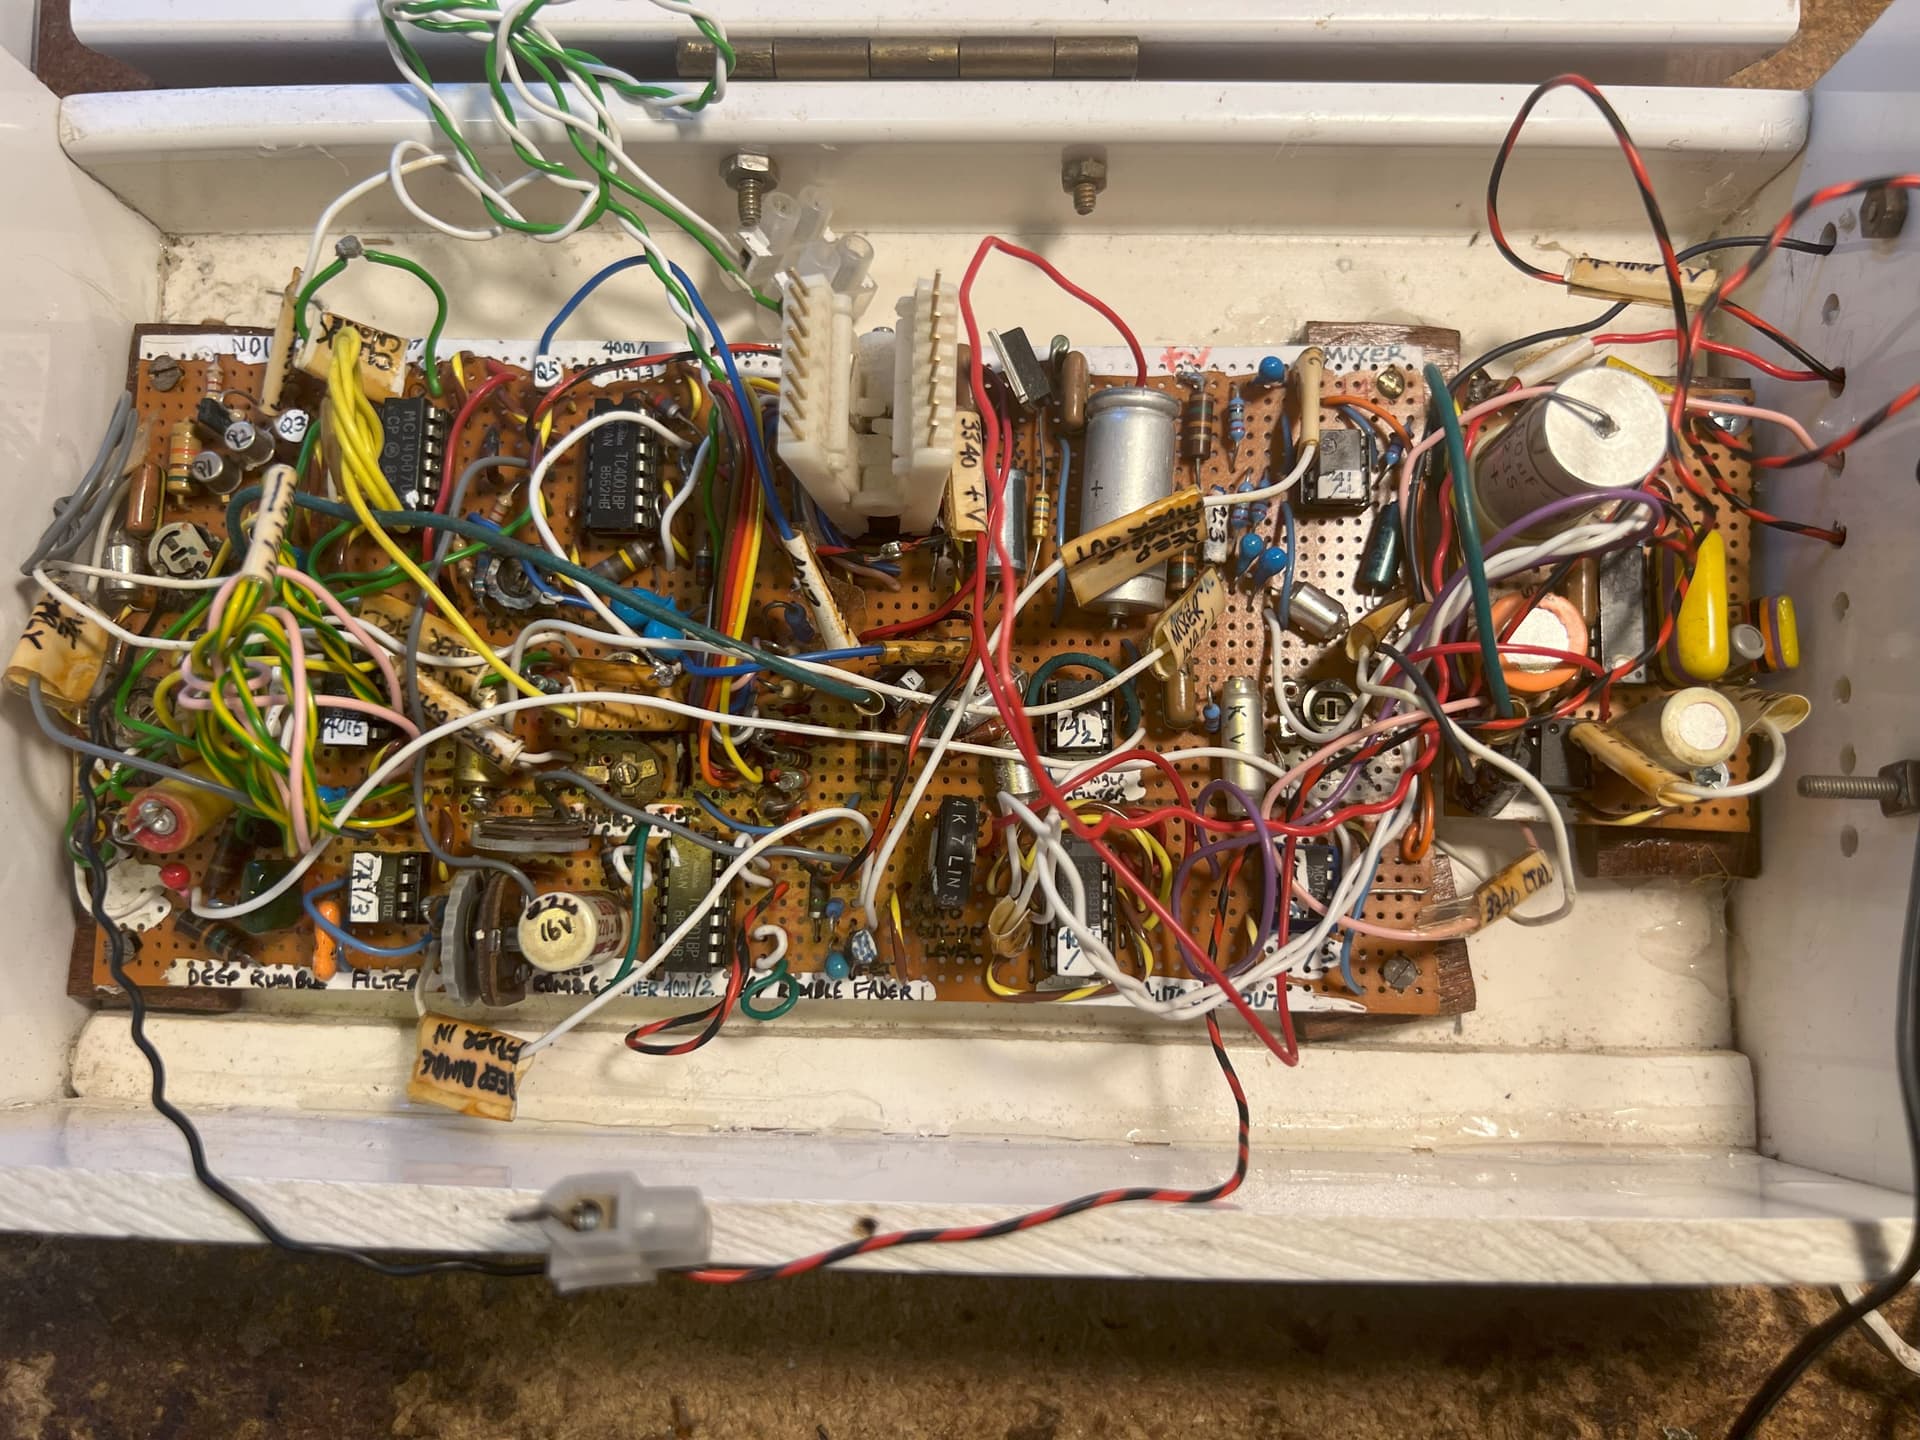
But I then made the stupid mistake of fiddling with several of its nine presets and physically replacing some wiring... and after a couple of days I still have not recovered that '95% OK' status. And I'm darned if I can still fully follow my own design from the limited stuff I documented in late 2000. A big ask I know, but I'm hoping for advice on a few specifics. Here's the block diagram I also posted in the other thread:

Q1:
I've got the 3340/380 attenuator/amplifier section working (it's on a separate veroboard strip). But I dispensed with the dual supply that I'd apparently used originally. Works fine from a single supply of around 12V. Does that look as if it was used anywhere else?
Q2:
Assuming I can identify it amongst the very crowded main veroboard, I wonder if I really needed two 'Rumblers'? As I now see it, the sound has the following elements:
- Gentle surf slowly increasing
- Breaking with a sudden but rapidly decreasing crash
- Deeeper 'rumble' as it recedes on a pebble shore, fading to virtual silence. No 'mid rumbler'.
(All with some randomness over the cycle's duration.)
Q3:
Any other ideas or advice welcomed. Here about circuitry, or in the other thread re Arduino.