Working with the standalone ATMega328

I need to "get rid" of the arduino shield and use a standalone controller due to space limitations on my PCB.

I got an ATMega328P-PU (the same one as the Arduino UNO r3) with pre-mounted Arduino bootloader (original one, bought in a local store). The chip works, I tried to wire it on a breadboard, plug the RX, TX and RESET pins to the original arduino UNO r3 in order to upload sketches and everything works.

The issue is when I try to use the chip alone, it does nothing. My sketch doesn't work, even if it was uploaded successfully. I also tried removing the chip on my Arduino UNO r3 and replacing it with my new one to upload sketches, everything works but when I remove the chip and wire it on a breadboard the sketch just doesn't work.

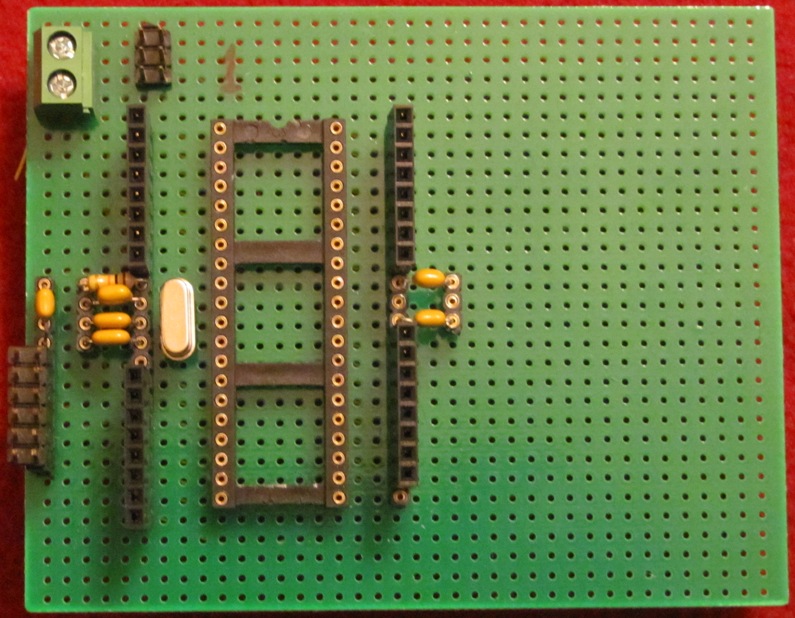
I read that this can be due to the fact that I need a 16MHz oscillator and two condensers in order to make it work. I don't have those (and I don't have the space on my final PCB for those compoenents) so I'm trying to work without them.

My understanding was that I need to burn a bootloader to the chip which will tell it to use the internal crystal (the 8MHz one) instead of the external 16MHz one. I followed this tutorial: http://www.instructables.com/id/Atmega-Standalone-Running-without-crystal-oscillat/?ALLSTEPS

I can't burn the bootloader, as I get "Yikes! Invalid device signature 0x000000".

This is the full output I get:

C:\arduino 1.6.13\hardware\tools\avr/bin/avrdude -CC:\arduino 1.6.13\hardware\tools\avr/etc/avrdude.conf -v -patmega328p -cstk500v1 -PCOM3 -b19200 -e -Ulock:w:0x3F:m -Uefuse:w:0x05:m -Uhfuse:w:0xDA:m -Ulfuse:w:0xE2:m 

avrdude: Version 6.3, compiled on Sep 12 2016 at 17:24:16
         Copyright (c) 2000-2005 Brian Dean, http://www.bdmicro.com/
         Copyright (c) 2007-2014 Joerg Wunsch

         System wide configuration file is "C:\arduino 1.6.13\hardware\tools\avr/etc/avrdude.conf"

         Using Port                    : COM3
         Using Programmer              : stk500v1
         Overriding Baud Rate          : 19200
         AVR Part                      : ATmega328P
         Chip Erase delay              : 9000 us
         PAGEL                         : PD7
         BS2                           : PC2
         RESET disposition             : dedicated
         RETRY pulse                   : SCK
         serial program mode           : yes
         parallel program mode         : yes
         Timeout                       : 200
         StabDelay                     : 100
         CmdexeDelay                   : 25
         SyncLoops                     : 32
         ByteDelay                     : 0
         PollIndex                     : 3
         PollValue                     : 0x53
         Memory Detail                 :

                                  Block Poll               Page                       Polled
           Memory Type Mode Delay Size  Indx Paged  Size   Size #Pages MinW  MaxW   ReadBack
           ----------- ---- ----- ----- ---- ------ ------ ---- ------ ----- ----- ---------
           eeprom        65    20     4    0 no       1024    4      0  3600  3600 0xff 0xff
           flash         65     6   128    0 yes     32768  128    256  4500  4500 0xff 0xff
           lfuse          0     0     0    0 no          1    0      0  4500  4500 0x00 0x00
           hfuse          0     0     0    0 no          1    0      0  4500  4500 0x00 0x00
           efuse          0     0     0    0 no          1    0      0  4500  4500 0x00 0x00
           lock           0     0     0    0 no          1    0      0  4500  4500 0x00 0x00
           calibration    0     0     0    0 no          1    0      0     0     0 0x00 0x00
           signature      0     0     0    0 no          3    0      0     0     0 0x00 0x00

         Programmer Type : STK500
         Description     : Atmel STK500 Version 1.x firmware
         Hardware Version: 2
         Firmware Version: 1.18
         Topcard         : Unknown
         Vtarget         : 0.0 V
         Varef           : 0.0 V
         Oscillator      : Off
         SCK period      : 0.1 us

avrdude: AVR device initialized and ready to accept instructions

Reading | ################################################## | 100% 0.02s

avrdude: Device signature = 0x000000 (retrying)

Reading | ################################################## | 100% 0.02s

avrdude: Device signature = 0x000000 (retrying)

Error while burning bootloader.
Reading | ################################################## | 100% 0.02s

avrdude: Device signature = 0x000000
avrdude: Yikes!  Invalid device signature.
         Double check connections and try again, or use -F to override
         this check.


avrdude done.  Thank you.

I double-checked the wires, they are properly connected.
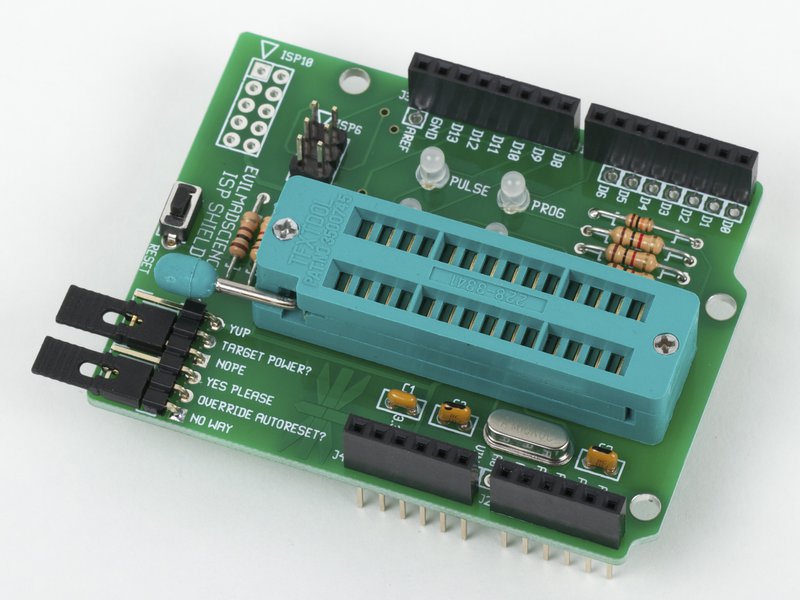
I also burnt the "ArduinoISP" sketch on the UNO shield before trying to burn the bootloader on the new chip.

Is someone able to help me figure this out?

Thank you

This is the page that I used to do my standalone 328 projects at 8MHz. Follow it step by step. Works every time.

Thank you, Nick.

Hi, thank you for the answer.

I got to the "Minimal Wiring" section of the article you linked, I was able to flash the board detector sketch but it can't enter the programming mode.

Atmega chip detector.
Written by Nick Gammon.
Version 1.19
Compiled on Jan 13 2017 at 16:21:15 with Arduino IDE 10613.
Attempting to enter ICSP programming mode ......................................................
Failed to enter programming mode. Double-check wiring!
Programming mode off.

I checked the wiring and everything is connected as shown...

Try connecting a clock source to the chip that is being re-bootloaded.

I believe Nick's page describes that somewhere.

Ok so I got it working and reflashed the bootloader to the one which uses the 8MHz internal oscillator.

Now, the article explains how to upload sketches by using the FTDI-TTL usb cable. I don't have one, is it possibile to do it via the Arduino that I already have or do I need that cable?

Sure.
On your Arduino, connect Reset to Gnd on the Power Header.
Connect D0, D1 to your chip - D0 to pin 2, D1 to pin 3.
Make sure you have a 10K pullup resistor from the chip's reset pin (pin 1) to Vcc, and a momentary button to connect the chip's reset to Gnd.
Select a board type that goes with the bootloader you put on your chip.
Start the download. When the compiler shows "compiled xxx of 32xxx bytes" press the chip's reset button.
The timing can be easier to catch if you select File:Preferences and turn on Verbose Outputs.

CrossRoads:
Select a board type that goes with the bootloader you put on your chip.

How do I know which it is? I installed the LilyPad one from Gammond page, which board should I choose?

Also, does the ATMega329 on the arduino need to be disconnected?

There should be a liliypad arduino or lilypad arduino w/atmega 328 choice in boards. That is what I have used successfully.

If you installed Lilypad from Nick Gammon's page, select Lilypad.

The Atmega328P (not 329) does not need to removed - connecting Reset to Gnd on the power header makes all of its pins become & stay Inputs, and this it it out of the picture signal-wise.

CrossRoads:
If you installed Lilypad from Nick Gammon's page, select Lilypad.

The Atmega328P (not 329) does not need to removed - connecting Reset to Gnd on the power header makes all of its pins become & stay Inputs, and this it it out of the picture signal-wise.

I'm trying it right now, it doesn't seem to work:

avrdude: Version 6.3, compiled on Sep 12 2016 at 17:24:16
         Copyright (c) 2000-2005 Brian Dean, http://www.bdmicro.com/
         Copyright (c) 2007-2014 Joerg Wunsch

         System wide configuration file is "C:\arduino 1.6.13\hardware\tools\avr/etc/avrdude.conf"

         Using Port                    : COM3
         Using Programmer              : arduino
         Overriding Baud Rate          : 57600
avrdude: stk500_recv(): programmer is not responding
avrdude: stk500_getsync() attempt 1 of 10: not in sync: resp=0xb0
avrdude: stk500_recv(): programmer is not responding
avrdude: stk500_getsync() attempt 2 of 10: not in sync: resp=0xb0
avrdude: stk500_recv(): programmer is not responding
avrdude: stk500_getsync() attempt 3 of 10: not in sync: resp=0xb0
avrdude: stk500_recv(): programmer is not responding
avrdude: stk500_getsync() attempt 4 of 10: not in sync: resp=0xb0
avrdude: stk500_recv(): programmer is not responding
avrdude: stk500_getsync() attempt 5 of 10: not in sync: resp=0xb0
avrdude: stk500_recv(): programmer is not responding
avrdude: stk500_getsync() attempt 6 of 10: not in sync: resp=0xb0
avrdude: stk500_recv(): programmer is not responding
avrdude: stk500_getsync() attempt 7 of 10: not in sync: resp=0xb0
avrdude: stk500_recv(): programmer is not responding
avrdude: stk500_getsync() attempt 8 of 10: not in sync: resp=0xb0
avrdude: stk500_recv(): programmer is not responding
avrdude: stk500_getsync() attempt 9 of 10: not in sync: resp=0xb0
avrdude: stk500_recv(): programmer is not responding
avrdude: stk500_getsync() attempt 10 of 10: not in sync: resp=0xb0

avrdude done.  Thank you.

Problem uploading to board.  See http://www.arduino.cc/en/Guide/Troubleshooting#upload for suggestions.

Suggestions?

D0 to pin 2, D1 to pin 3.

In case that there is confusion here.

I am pretty sure that Crossroads means chip physical pin 2 (RX) and 3 (TX) (physical pin 1 is reset), that is Arduino IDE pins 0 and 1.

Yes, that was clear.

It doesn't work, with this output:

avrdude: Version 6.3, compiled on Sep 12 2016 at 17:24:16
         Copyright (c) 2000-2005 Brian Dean, http://www.bdmicro.com/
         Copyright (c) 2007-2014 Joerg Wunsch

         System wide configuration file is "C:\arduino 1.6.13\hardware\tools\avr/etc/avrdude.conf"

         Using Port                    : COM3
         Using Programmer              : arduino
         Overriding Baud Rate          : 57600
avrdude: stk500_recv(): programmer is not responding
avrdude: stk500_getsync() attempt 1 of 10: not in sync: resp=0xb0
avrdude: stk500_recv(): programmer is not responding
avrdude: stk500_getsync() attempt 2 of 10: not in sync: resp=0xb0
avrdude: stk500_recv(): programmer is not responding
avrdude: stk500_getsync() attempt 3 of 10: not in sync: resp=0xb0
avrdude: stk500_recv(): programmer is not responding
avrdude: stk500_getsync() attempt 4 of 10: not in sync: resp=0xb0
avrdude: stk500_recv(): programmer is not responding
avrdude: stk500_getsync() attempt 5 of 10: not in sync: resp=0xb0
avrdude: stk500_recv(): programmer is not responding
avrdude: stk500_getsync() attempt 6 of 10: not in sync: resp=0xb0
avrdude: stk500_recv(): programmer is not responding
avrdude: stk500_getsync() attempt 7 of 10: not in sync: resp=0xb0
avrdude: stk500_recv(): programmer is not responding
avrdude: stk500_getsync() attempt 8 of 10: not in sync: resp=0xb0
avrdude: stk500_recv(): programmer is not responding
avrdude: stk500_getsync() attempt 9 of 10: not in sync: resp=0xb0
avrdude: stk500_recv(): programmer is not responding
avrdude: stk500_getsync() attempt 10 of 10: not in sync: resp=0xb0

avrdude done.  Thank you.

Problem uploading to board.  See http://www.arduino.cc/en/Guide/Troubleshooting#upload for suggestions.

The timing and duration of pushing the reset on the chip to be programmed is kind of critical. I have found it to be more difficult to get it right on the newer versions of the IDE. Did you try with verbose output enabled in Preferences?

Yes, the one I posted is the verbose output. I've set verbose output for compilation and upload too

Yeah, I should have known that. I am out of ideas.

The arduino is able to flash sketch on its own processor. Is there a pin which regulates the reset and enables/disables it at the right time? I can't believe this has to be done by hand...

Do you have power going to VCC and to AVCC, with 0.1uF cap to Gnd on each?
I bootload and program parts all the time, but I made a little ZIF socket board with an ICSP header and a FTDI header, so I'm not messing with wires all the time. So a wirewrap version of this, less the Arduino headers and LEDs.

Like a '328P version of this, with a ZIF socket soldered to the chip socket.

I don't have capacitors, are they necessary? Why?

Caps keep the power stable for the fast switching internal transients on the Vcc lines. VCC must connect to AVCC, and both should have a cap.

I finally did it. I did not use capacitors, yesterday night I tried to wire everything like the instructables tutorial posted before, and the sketch got uploaded without errors.

Thank you!