Hello,
I have 50 RGB led (ws2811 individually addressable) that I control with Arduino uno using the USB port (serial communication) without problems (power + control), my project is to light a specific LED following the approach:
Switch off the led already on.
Turn on the desired led
At some point I have to turn on all the led in a specific color for example the red color.
NB: I do not do animation.
But, i plan to use 200 LEDs that cannot be lit by the Arduino
So I have to use an external power supply, in this case all the leds are on and I can not turn them off by program i mean I must turn on the desired led and turn off all other leds and is not the case i can not turn off the other leds
Thank you for your answer I use the 1st case leds Ws2811 5v. my question is for a strip of 200 LEDs if I use an external power supply can i put them on/off at run time programmately using Arduino controller.
cmsdesigner:
Thank you for your answer I use the 1st case leds Ws2811 5v. my question is for a strip of 200 LEDs if I use an external power supply can i put them on/off at run time programmately using Arduino controller.
That you can "put them on/off at run time programmatetely" will be up to you with your electronic and programming skills.
OK, now you have - presumably - a strip of 200 LEDs.
They will require 60 mA per LED, so 200 makes 12 Amps if all are lit at full white brightness - and at some point, you are likely to do so. You need a 15 A rated 5 V regulated supply. And you need to supply power to every group of 40 LEDs (2.5 A) because the foil in LED strips is not capable of carrying too much current any you will lose voltage.
This means you must have a cable - 5 V and ground - running along with the LED strip and connecting into its 5 V and ground lines every 40 LEDs, including both ends of the strip. If you were to power only one end of the strip, you would find the colour going orange by the other end if you attempt to illuminate it all white. If you only ever wanted to light a few LEDs at a time it would not be so much of a problem but this is a limitation of the LED strips.
Now, to feed the data into the "IN" end of the strip, you need to connect the data and ground from the Arduino to the strip - two wires running together as a pair. If there are more than a few inches of wire required, you should put a 330 Ohm resistor in series with the data wire where it connects to the strip. And you should also put a 1 mF (that is 1 millifarad, not 1 µF) capacitor across the 5 V and ground at that point.
Now you have a nicely regulated 5 V supply to power the strip, so you can use that to power the Arduino as well with a 5 V wire running back together with the data and ground wire from the strip to the "5V" pin on the Arduino.
Hi Paul__B thanks for your response it now clear for me cause I a novice in electronic I will use this type of led because they are suitable for my project at one time I must light on all of them in red color otherwise I light only one led in specific position of strip. The important thing is that all leds must be off until I decide witch one must be on or off.
My question now if I use a good supply can I ritch my goal.
If you can guarantee that you only want the whole strip to be illuminated in red, never all white or a combination, then the current demand will be 4 Amps - a 5 Amp supply will probably suffice.
The important thing is that all leds must be off until I decide witch one must be on or off.
My question now if I use a good supply can I ritch my goal.
cmsdesigner:
The important thing is that all leds must be off until I decide witch one must be on or off.
Ah yes, a small caveat there. Put a 22k resistor to ground on the output pin you are using to send data to the LEDs. This prevents any noise on the line while the Arduino is initialising its code and the pin has not yet been set as an output, which might cause the first LED to light.
Hello everyone, thank you for your answers. Hi Paul B I guarantee that only one color is used either (red, worms or blue) whatever the case to light one or 200 leds.
and if I plug this wire on the ground of the arduino controller the LED goes off is what it is normal or there is another solution
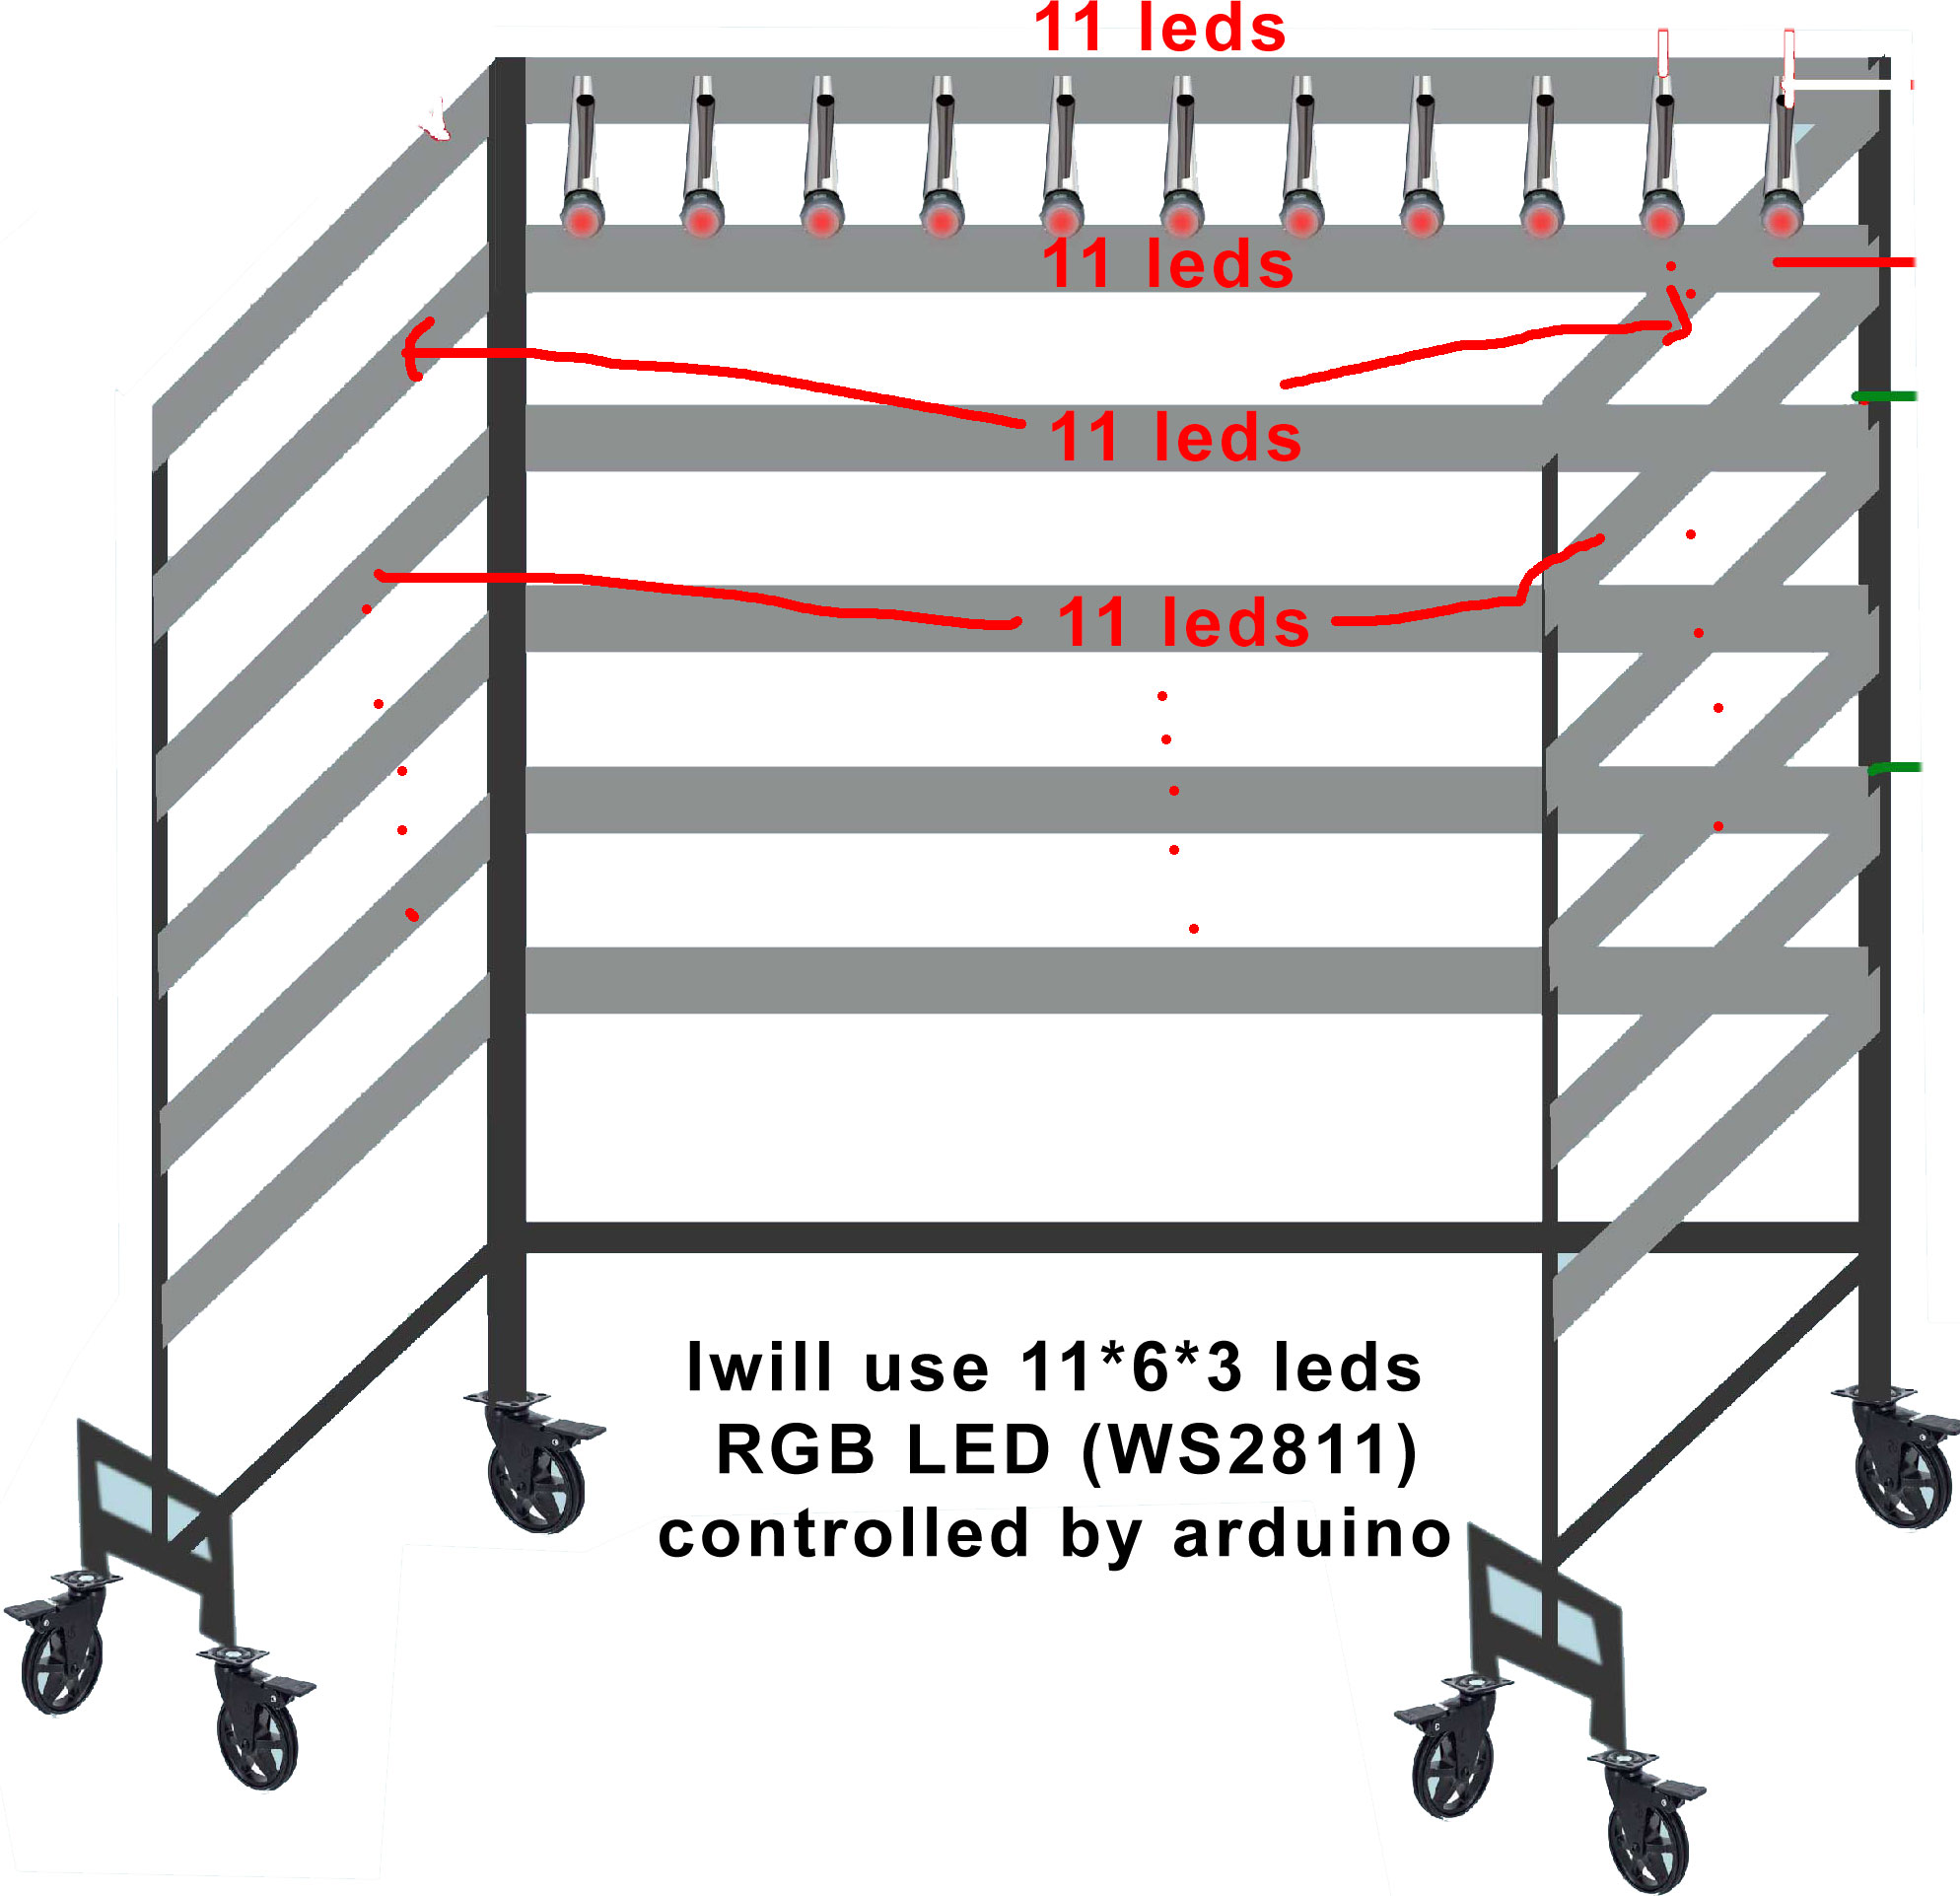
and here is how i connected my leds and schema of my project in attachments.
Do all the LEDs have that extra white wire or just the first?
If just the first, I think it's just another ground wire to be run alongside the data wire back to the Arduino. This ensures the Arduino and LEDs share a common ground.