Im new to Arduino and I was working on a countdown clock to the release of an upcoming video game. The plan was to have a 4-digit 7-segment display that would display the hours until the video game launch. I hooked up everything like the schematic below and used the code below. After about 45 minutes, the 7-segment display started flickering and eventually it turned off. I thought it was the battery running out, but when I plugged it back in again 30 min later it started out fine, but again, after about 45 minutes the flickering and turning off happened again. Why is this happening?
Is the regulator getting hot and shutting down? It is possible you are correct on the battery please post a schematic, the frizzy picture does not show power connections. A hand drawn sketch would help. Post links to the hardware devices that give technical information. It is also possible the resistance of your battery is increasing as it warms up and expends energy. When it cools down it will partly recover.
Please read the post at the start of any forum , entitled "How to use this Forum".
If you place your finger on the component near the DC socket, you should be able to feel how hot it is getting.
As explained this regulates the battery voltage to 5V, the regulator is really only big enough to supply power the the controller and a few low power sensors.
If you have a 5V supply you can power your project by directly connecting the 5V to the 5V pin of the UNO.
You would. But you shouldn't. You should certainly heed @Paul_B's words:
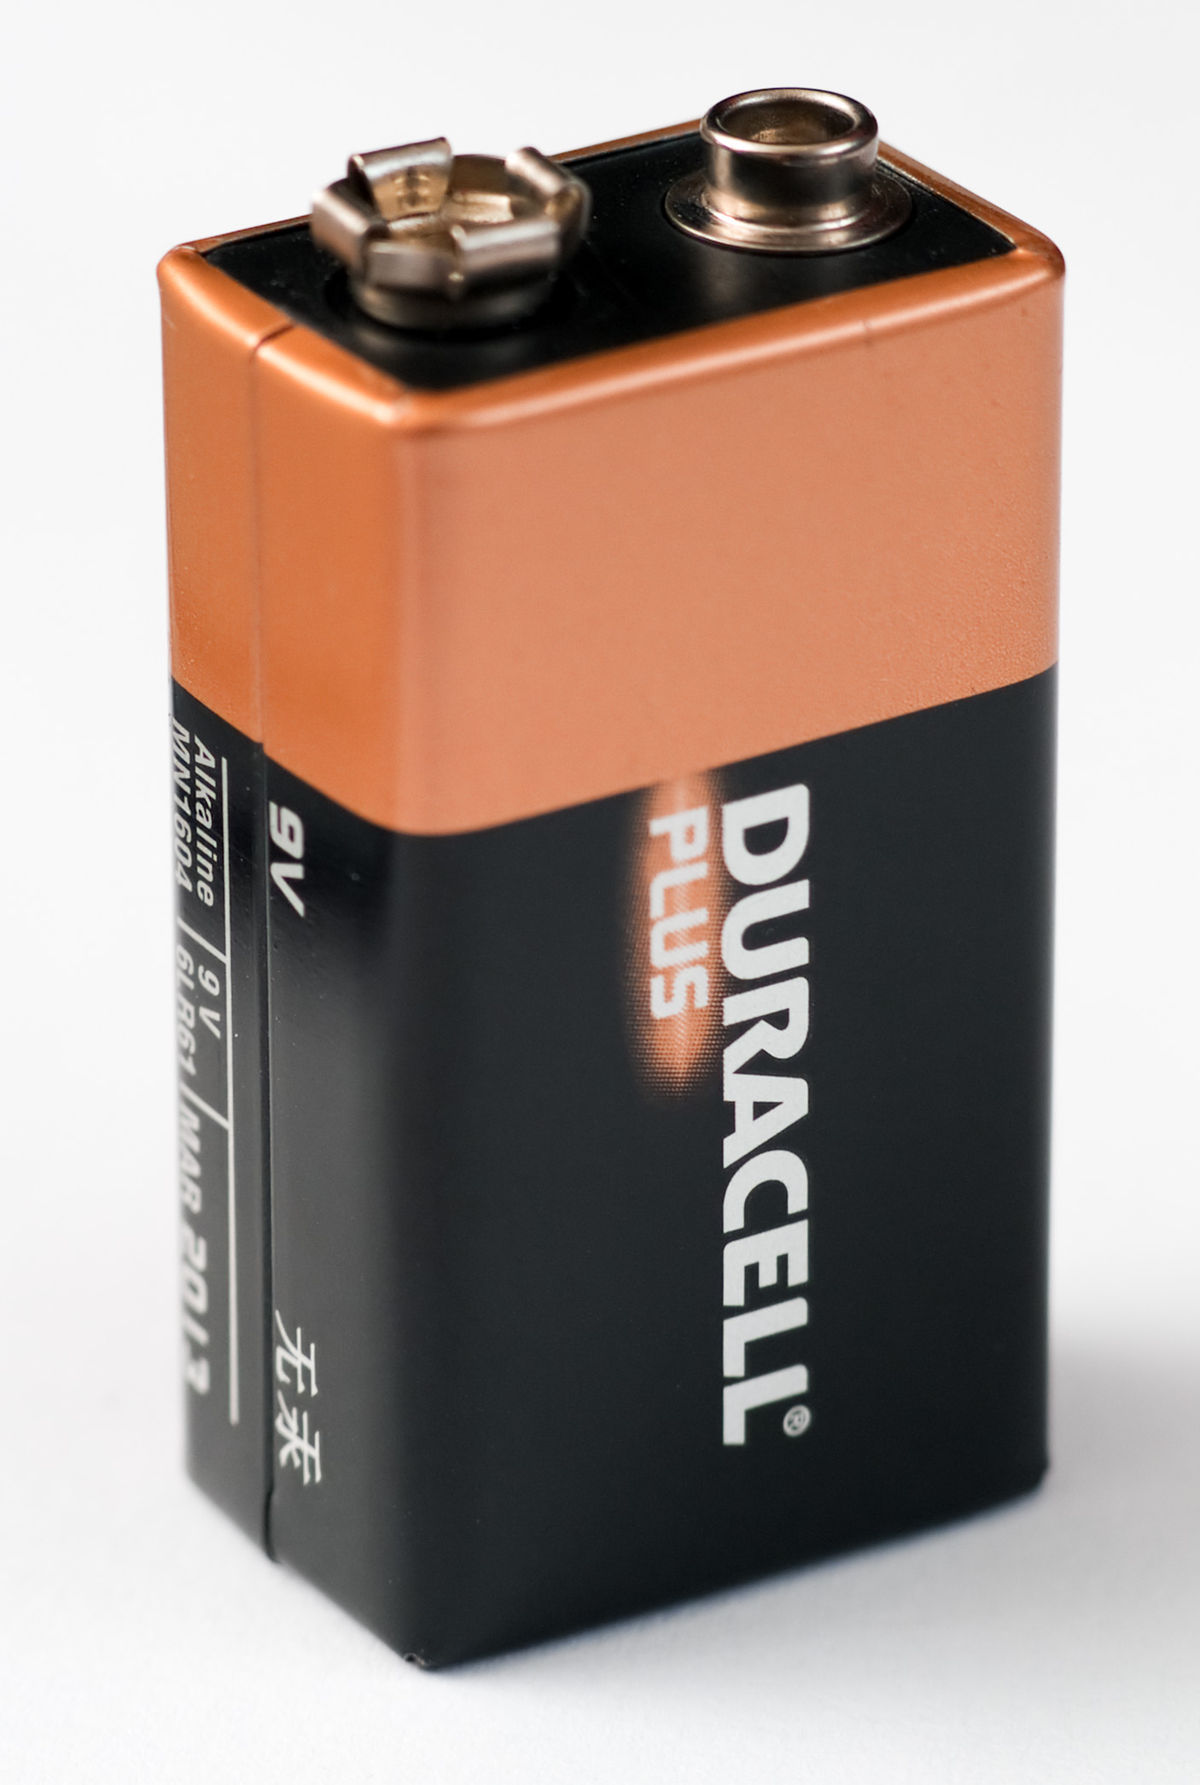
So don't. No 9V alkaline batteries for this kind of thing.
And seriously, why on earth run hobby projects on disposable batteries? Aren't we done yet turning this planet into a landfill???
Just run it from a little switch-mode power supply (a phone charger is nice for most projects), or if your project cannot live near a wall socket, use rechargeable LiIon batteries.
Never, ever, use alkaline batteries for projects that draw more than, say, 1mA, which includes everything that starts with "Ardui....".
More correctly, Never, ever, use "smoke alarm" batteries for projects that draw more than, say, 1mA, which includes everything that starts with "Ardui....".
Fine for smoke alarms and tiny transistor radios (though most now would use "AA"), but even there you would not use anything other than the alkaline version.
The other problem is the whole idea of powering an Arduino project using "Vin" or the "barrel jack". An only too real real danger here is that the obsolete tutorials on the Arduino site and others misleadingly imply that the largely ornamental "barrel jack" and "Vin" connections to the on-board regulator allow a usable source of 5 V power. This is absolutely not the case. It is essentially only for demonstration use of the bare board back in the very beginning of the Arduino project when "9V" transformer-rectifier-capacitor power packs were common and this was a practical way to power a lone Arduino board for initial demonstration purposes. And even then it was limited because an unloaded 9 V transformer-rectifier-capacitor supply would generally provide over 12 V which the regulator could barely handle.
If you are asking questions here, it is highly likely that you will wish to connect something else to the Arduino. In which case, the answer is to use regulated 5 V to the "5V'pin.
This is because the on-board regulator is essentially capable of powering only the microcontroller itself and no more than a couple of indicator LEDs or as in your case, one display digit at a time (§). The on-board regulator might be able to power a few other things if it had a heatsink, but on the (older) Arduinos, it does not.
Powering via the "barrel jack" or "Vin" connections is asking for trouble. The "5V" pin is not by any means an output pin, if anything a "reference" pin but most certainly the preferred pin to which to supply a regulated 5 V. Actually, for your project, in need not be regulated and need not be exactly 5 V.
A practical power supply for the Nano (or UNO, Pro Mini, Leonardo etc.) is usually a "phone charger" with a USB output connector for 5 V, generally up to a couple of Amps though you can not feed more than 500 mA through the USB connection. Or as suggested, a "Power Bank" for battery operation. But actually, for your purpose, a battery carrier with three "AA" alkaline cells providing 4.5 V should work just fine.
(§) Incidentally, I do not know from where you got that circuit, but it is also wrong.
Note:
You have the resistors on the digits. This will mean that the number displayed will vary according to how many segments are lit - a "1" will be much brighter than "8" as the same current is being shared.
The resistors should be 1k, and one in each of the eight segment drive lines.