If you have one arduino board (Me!) and want to keep a project together, tape all the wires together in the correct order for a kind of plug.


That's actually genius. 
Thanks. Very simple, but an useful thing to have in the drawer 
Hi,
Sorry if this has already been presented here.
But if not, this is my contribution.
Support for handling PCB.
RV mineirin

NICE work!


Can you shows bit more on this angel eye thing, please? I recently made a 2 color indicator that works off an existing signal. Had a lot of community help with it. 2 or 3 LED colors on a single digital pin - #32 by chrisknightley
I'm interested to see how yours works.
@er_name_not_found
It looks like an anti-parallel LED to me.
https://electronics.stackexchange.com/questions/408880/antiparallel-led-circuit
BTW, there are also ready-made products.
https://www.ebay.com/sch/i.html?&_nkw=led+bi+color+2pin
Ah, 2 pins then
I use two LEDS and two pins yes. One LEd for the inner light and one for the ring light. With two lights you can use many combinations.
THT foam compression tool
See also:
A commercial PCB holder/soldering jig is quite useful but expensive and takes up a lot of space on your work bench. We can make our own version of this jig.
Seeing we already have our magnetic High Boy tool set, lets make a compression tool end for soldering THT components flush to PCBs.
We need the following M2 hardware:
- Flat headed screw
- PCB disc of a shape you desire
- Nut
- 10mm set screw
- Knurled nut
- 15mm brass standoff
- Brass knurled nut
The following images show how to make and use our soldering compression tool set.
https://canada.newark.com/weller/esf-120-esd/circuit-board-holding-vise/dp/66F7803


The foam compression tool end can also be attached to the Torsion Spring Clamp made earlier.
See the following 4 images.


Bench Block
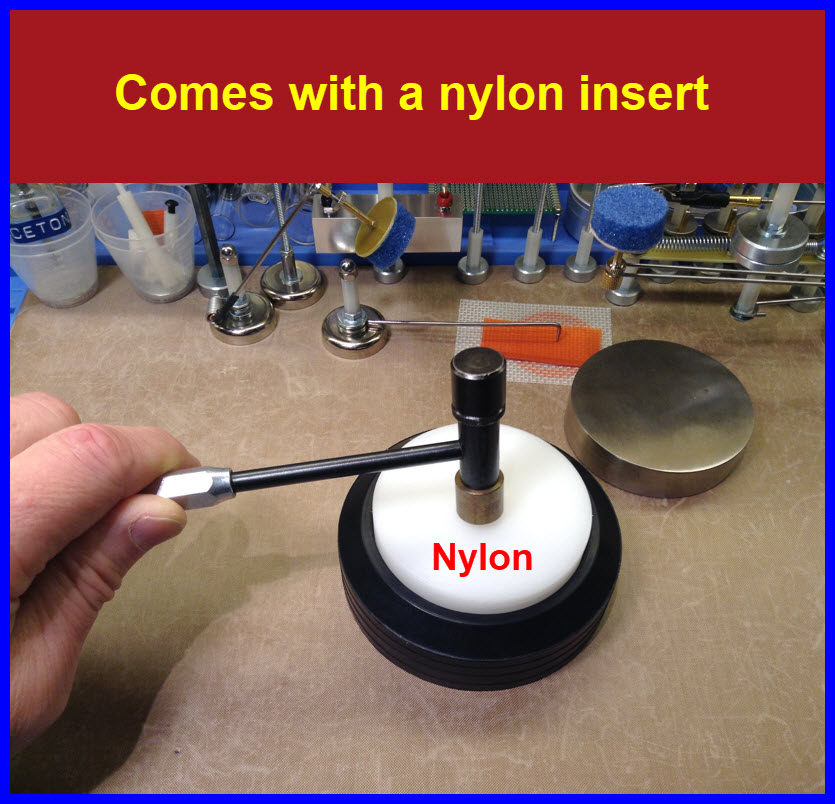
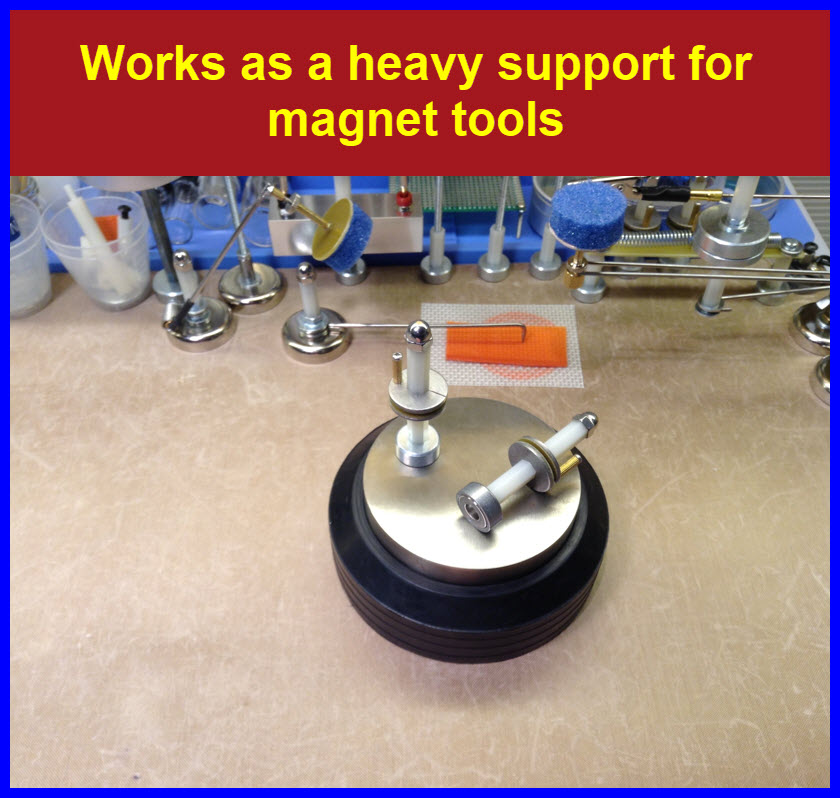
When hammering on your work bench it is nice to have a Bench Block tool.
This gives you several different surfaces to hammer items on.
Not only does the tool protect your work surface, but the rubber base in this version also keeps the hammering noise down.
The rubber is also a non-slip support for the inserts and the rubber can be hammered on too.
I have to make a few wooden inserts as backstops for drill items.
I will use the nylon insert as a template to be used with a flush trim router bit.





I looked for answers to "Programmer not responding" on upload attempt and it was only after I remembered that the UNO clone manufacturer had used a special USB chip (CH340) and that I needed to download and install their driver which finally led to it working; now, to re-install the beta release if the Arduino IDE.


Blind Standoffs, Mounting Feet for PCBs
See also, post #1110
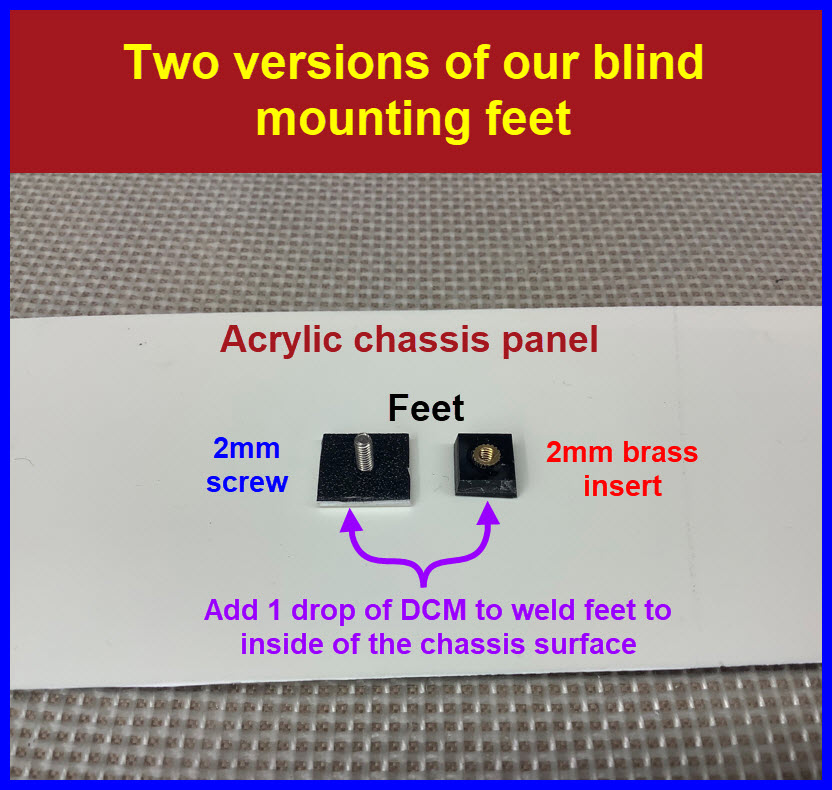
We have covered chassis PCB mounting without the need of drilling through the chassis itself.
This method used a M2 brass insert in an Acrylic foot; the height of the finished foot is about 3.5 mm.
The assembly is glue welded with DCM (Methylene Chloride) to the chassis inside surface.
There are, however, times when the 3.5 mm brass insert foot is too high.
See also:
About 6 months ago I ordered Phillips M2 FLAT headed screws.
The screw heads are only 0.34 mm thick with a diameter of about 4 mm.
With the flat headed screws being so thin a shorter PCB mounting foot can be made.
The following method does not require a brass insert.
Used here is 1.6 mm Acrylic plastic feet that measure 8 mm by 8 mm.
For the foot to lay flat on the chassis inside panel, the screw head needs to sit in a counter sunk well.
A square cut 6 mm milling bit is used to counter sink the screw hole to a depth of 0.4mm.
A drill guide, made from PCB material, is clamped on top of our work to prevent the milling bit from skating on the Acrylic plastic, when making the counter sunk hole.
The images below discuss the process for making the shorter mounting foot.


At the time of this writing, example where you can get the screws from:
(I got mine from a different vendor)
eBay has many other vendors.


Breadboard Wire Storage
The following is the best method I have used to manage wires for my solderless breadboard.
Binder Clips are inexpensive and come in 4 to 5 different sizes; they are strong and easy to open.
Simply open the clip and drop in or take out the wires as needed.
If you have: M to M, M to F or F to F, etc. use a separate clip for each combination so you can quickly find the version you want.


