Hi folks,
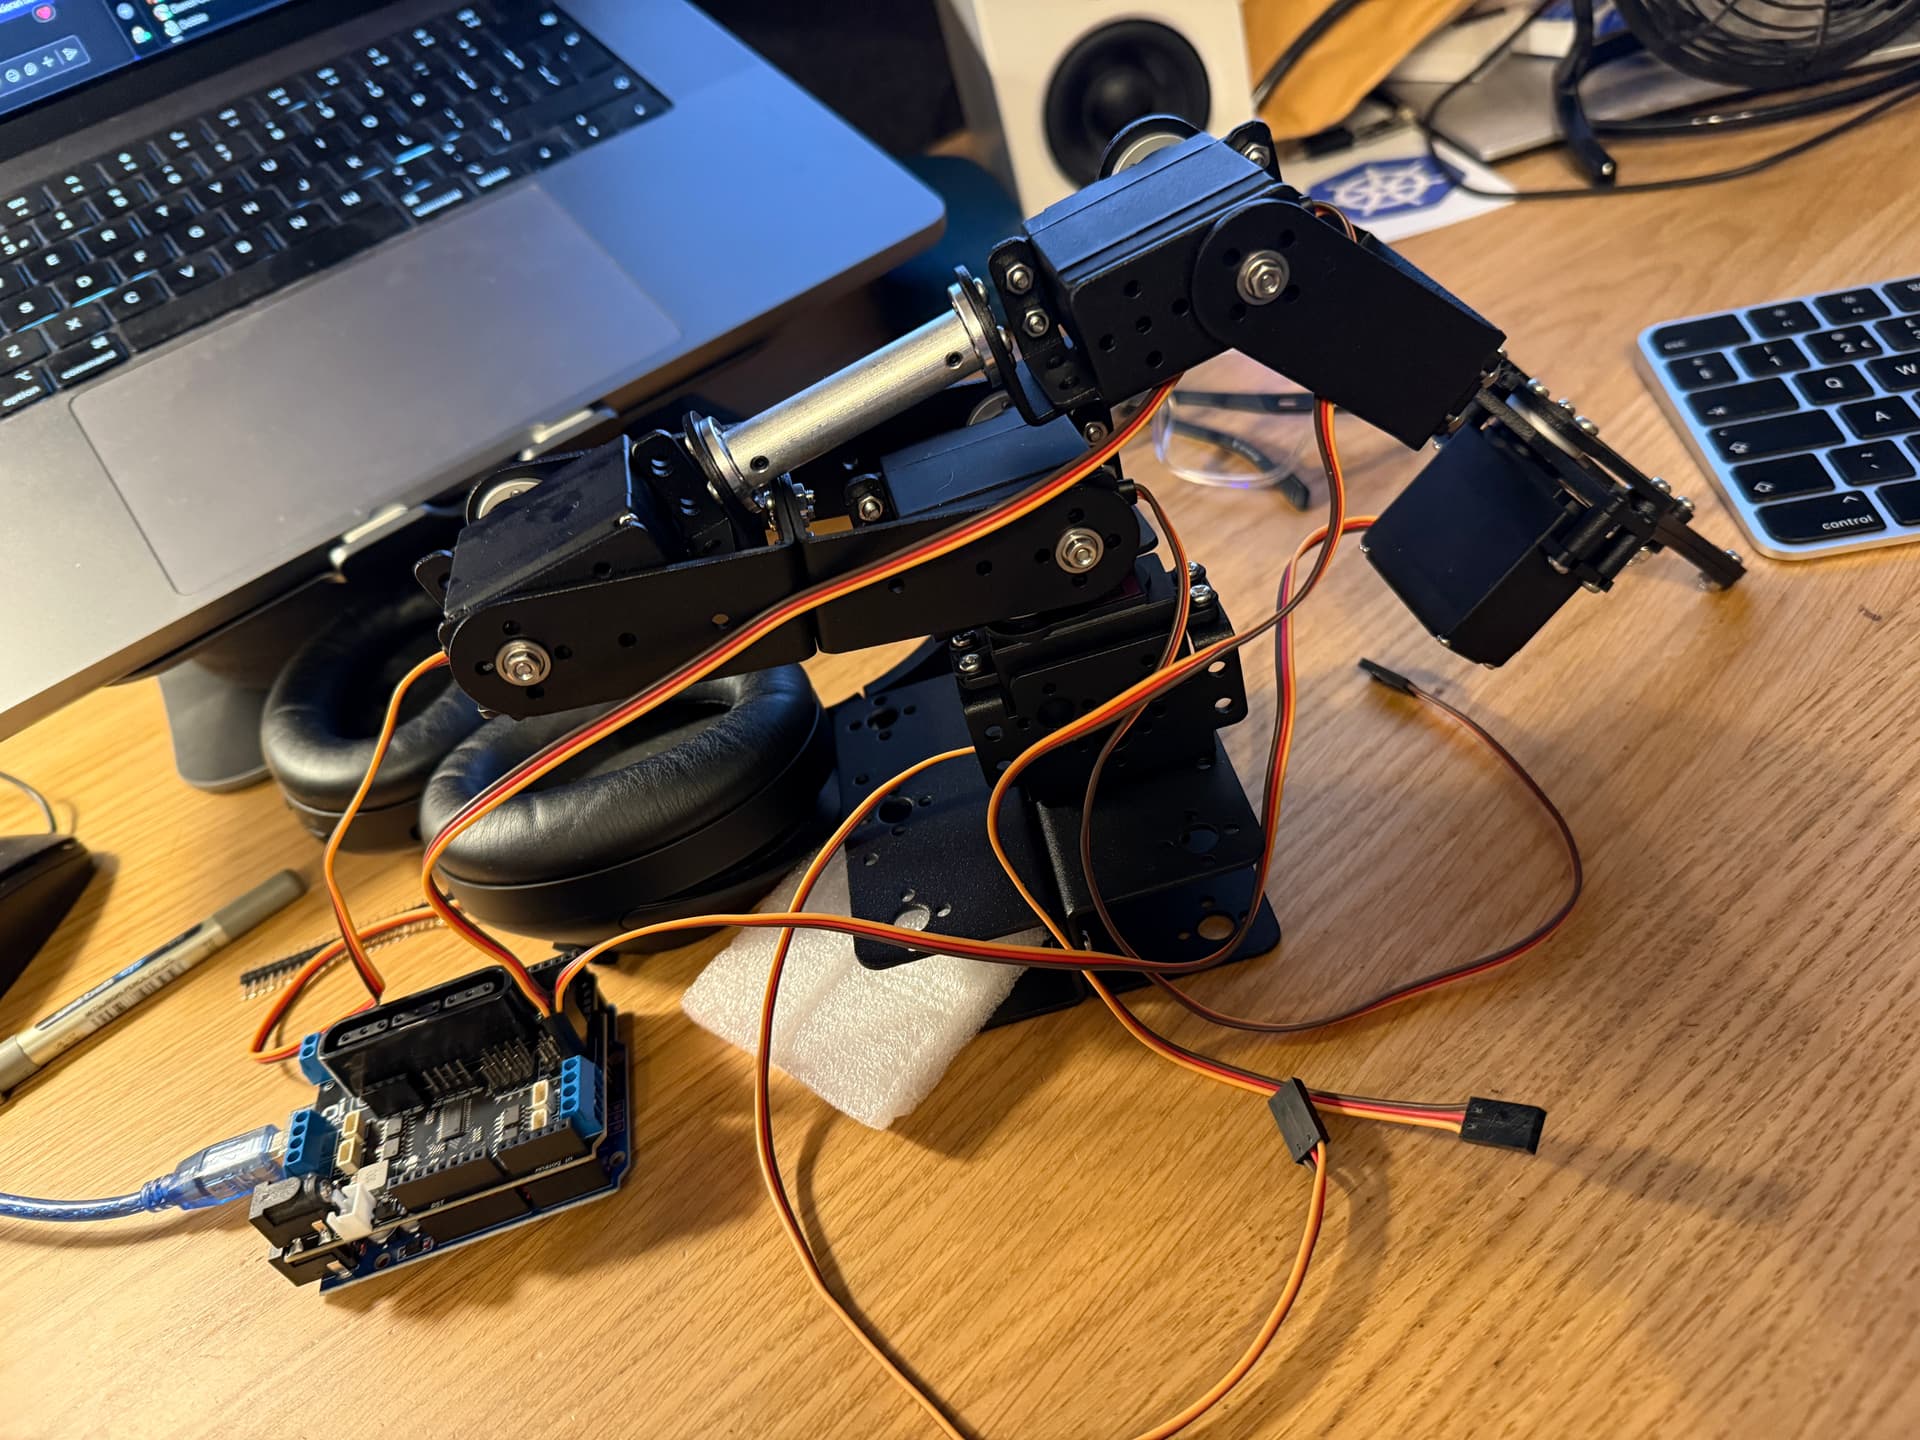
I have bought one of these "Robot Arm" kits of AliExpress, and assembled it, it comes with an (I believe) SNA41 PS2 Controller/Motor/Servo controller board. I believe this is the spec for the board.
I have dug through their example code and tested the PS2 Controller portion, and I can see the output in the serial monitor on 57600. Great.
However, their main example code was for DC Motors, which I do not have, the arm is connected to servos. So I found some example servo code just to test it somehow, and I basically get nothing, no matter which servo I connect to which set of pins. I tweaked it slightly to actually test all the servos and I don't even get a twitch out of any of them. Am I doing something wrong here (alas all the servos are now installed in the arm and I'd rather not take it all apart)
Here is my very dumb test code and none of the servos even twitch at all, but I can see the looping numbers in serial (so it is running)
Any ideas would be amazing.
UPDATE: So I removed the control board, and I wired up 3 pins directly to the arduino itself and used the Servo.h library to run a quick and dirty test on all the servos and they all worked ok, I just had a dumb loop to move to 45 degrees and then back. They all worked and jiggled the arm around the desk. So it is either the control board isn't working, or the example code isn't right.
#include <Wire.h>
#include "Adafruit_MotorShield.h"
#include "Adafruit_MS_PWMServoDriver.h"

Adafruit_MotorShield AFMS = Adafruit_MotorShield();
Adafruit_Servo *Servo1 = AFMS.getServo(0);
Adafruit_Servo *Servo2 = AFMS.getServo(1);
Adafruit_Servo *Servo3 = AFMS.getServo(2);
Adafruit_Servo *Servo4 = AFMS.getServo(3);
Adafruit_Servo *Servo5 = AFMS.getServo(4);
Adafruit_Servo *Servo6 = AFMS.getServo(5);
Adafruit_Servo *Servo7 = AFMS.getServo(6);
Adafruit_Servo *Servo8 = AFMS.getServo(7);

void setup(){
  Serial.begin(57600);
  AFMS.begin(50);  // create with the default frequency 1.6KHz
  Serial.println("===========beging==========");
}

void loop() {
  Serial.println("===========1==========");
  Servo1->writeServo(90);
  delay(1000);
  Serial.println("===========2==========");
  Servo2->writeServo(90);
  delay(1000);
  Serial.println("===========3==========");
  Servo3->writeServo(90);
  delay(1000);
  Serial.println("===========4==========");
  Servo4->writeServo(60);
  delay(1000);
  Serial.println("===========5==========");
  Servo5->writeServo(90);
  delay(1000);
  Serial.println("===========6==========");
  Servo6->writeServo(90);
  delay(1000);
  Serial.println("===========7==========");
  Servo7->writeServo(90);
  delay(1000);
  Serial.println("===========8==========");
  Servo8->writeServo(60);
  delay(1000);
}