If it's unrelated to the LCD, start a new topic. Else stay here.
It depends on what you want to do with it
For permanent setups, Nano is prefered over Uno. You will need some extra stuff like female headers and some stripboard so you can solder headers on the stripboard and fit the Nano in there; if you blow up your Nano, it's easier to replace. Alternatively, design your own PCB
Direct alternative to the Nano is the SparkFun ProMini; it does not have a TTL-to-USB converter for easy uploads and communication with the PC. So you either have to add it or upload via ICSP.
Other alternatives are an Arduino Micro or a SparkFun ProMicro; nice about these is the option to use them as a HID (keyboard/mouse). The ProMicro has less pins broken out.
Both the ProMini and the ProMicro are available in 3.3V/8MHz which can be useful for low power application.
Interconnects are the biggest stumbling block to stable, long term operation. You have to use screw terminals instead of DuPont connectors for IO and power connects.
Mounting is another issue. Some modules, in order to minimize size, have no mounting holes. I bought a 3D printer to make specific mounts and accessories.
If your dexterity is not what it was, I developed 3D printed shrouds that slip over groups of DuPont connectors to make it easy to attach them as a group and less prone to pullout or falling off while bring handled.
Hi Thanks for the tips and your pictures which are a big help because I am now starting to think about moving from the breadboard to hardwired hardware.
I am yet to successfully get my head around using CNC. I do a lot of wood and metal turning because my hobby is designing and building electromagnetic clocks (this one is number 14) to which I have started adding "bells and whistles'' (not chimes, I hate chimes) that are external to the clock and the reason I decided to learn to use Arduino.
The other reason for Arduino is that I have added a couple of Nema 23s to a Taig lathe and I am interested in learning to use GRBL to see if I can get them to do something that looks a bit like CNC.
Glad to help.
TinkerCAD is free easy to learn for 3D printing. It's for KIDS on the STEM track. It even has LEGO mode! LOL
NanoCAD is an autoCAD workalike that is free. There are programs that can convert .DXF (Drawing eXchange Format - spoken by most all CAD programs) files into GCODE that the CNC's all ultimately run on. Your CNC, Laser engraver, 3D printer, etc. all ultimately run on Gcode. Good news: Gcode isn't hard. Better news: most programs create the Gcode automatically.
Both .DXF and .GCODE files are plain ASCII and can be edited in NOTEPAD or any other ASCII editor.
Just made a new version of the Power Board with bigger terminals and caps FINALLY arrived:
I have just had a look at Tinkercad which is new to me. It looks fantastic.
It may be directed at kids but it will be ideal for an old bloke like me.
Incidentally, I do have a Webpage that is very out of date but gives you an idea of what I like to do. Let me know if it is likely to be of interest and I will post the link.
nice work there woodie
those old pbp users are still pic-ing away [here] (MEL PICBASIC Forum) me included
and you might like this
the gear design program forum by art fennerty of MACH3 fame
where wooden clockmakers abound
Hi To avoid inadvertently deleting something that Bill included in his corrections to my previous attempts to use the LCD library, I have included it all - even the comments.
My Hello World etc. work fine but attempts to include a temperature sensor run (it runs on the serial monitor - when I breath on it the humidity goes up) but the LCD is not responding or registering the changed code. I have included the code if anyone can shed any light.
// how to convert "non-bperrybap lcd code" to "bperrybap lcd code"
// ymmv
// replaced #include <LiquidCrystal_I2C.h> // Library for LCD... with:
#include <Wire.h> #include <hd44780.h> // main hd44780 header #include <hd44780ioClass/hd44780_I2Cexp.h> // i2c expander i/o class header
hd44780_I2Cexp lcd; // declare lcd object: auto locate & config exapander chip
#include<DHT.h> #define Type DHT11
// LCD geometry
const int LCD_COLS =16;
const int LCD_ROWS = 2;
// end of stuff for bperryybap library
// not used LiquidCrystal_I2C lcd(0x27, 16, 2); //I2C address 0x3F, 16 column and 2 rows
int sensePin=2;
DHT HT(sensePin, Type);
float humidity;
float tempC;
float tempF;
int setTime=500;
int dt=1000;
void setup()
{
//not used lcd.init(); //initialize the lcd
//not used lcd.backlight(); //open the backlight
// put your setup code here, to run once:
Serial.begin(9600);
HT.begin();
delay(setTime);
}
void loop() {
// put your main code here, to run repeatedly:
humidity=HT.readHumidity();
tempC=HT.readTemperature();
tempF=HT.readTemperature(true);
Serial.print("Humidity: ");
Serial.print(humidity);
Serial.print(" Temperature C ");
Serial.print(tempC);
Serial.print(" C ");
Serial.print(tempF);
Serial.println(" F ");
delay (dt);
DHT is slow, takes a couple-three seconds to update.
I don’t see and code sending data to the LCD.
.
Why are you using the I2C expander?
Keep minimizing until it stops working and then add the last thing cut out back in.
Its called "Muntzing" after the rock bottom cost/minimal functionality TV line. He'd carry a pair of insulated diagonal cutters and snip out parts. If it kept working, that part STAYED out. When it stopped working, he'd reconnect whatever broke it, and say "Ship it!"

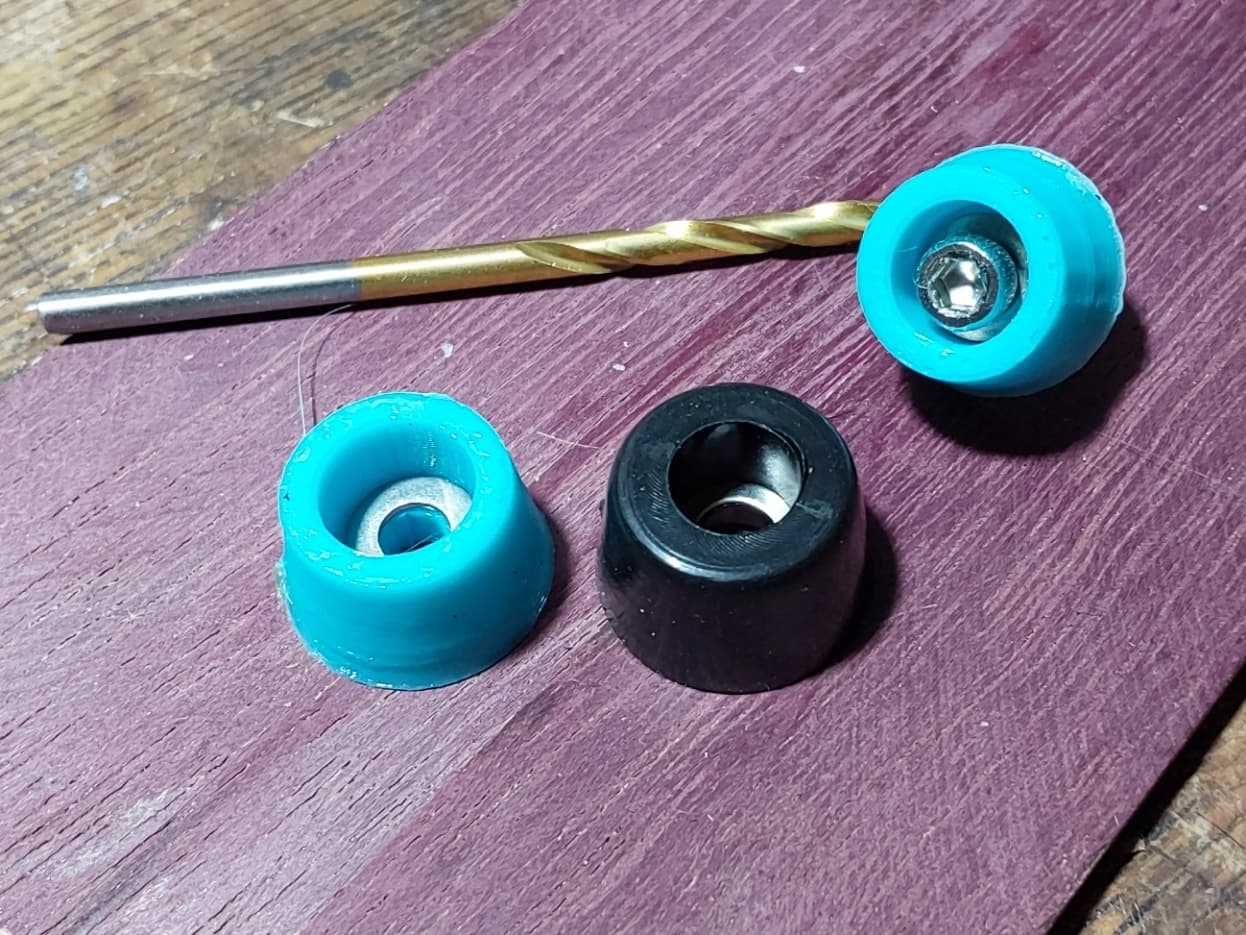


 I've made spares.